Listivo Panel - dashboard
A tour of the Listivo Panel: what each section of the theme's WordPress settings controls, so you know where to go when you want to change something.
3 minute read
The Listivo WordPress theme (listivotheme.com) gives you everything you need to build a listings website. This article is for people who have already installed Listivo — if you haven't done that yet, start with Installing demo content on your website.
Listivo Panel
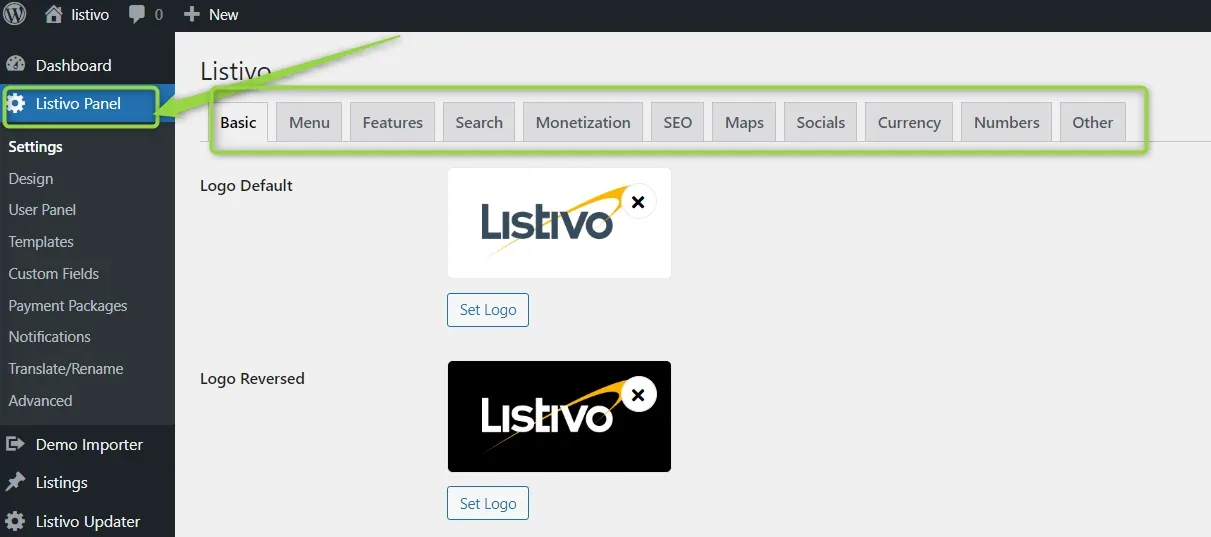
Listivo Panel is very flexible, and it allows you to customize Listivo to your website's needs. Take your time and discover the options that the theme provides.
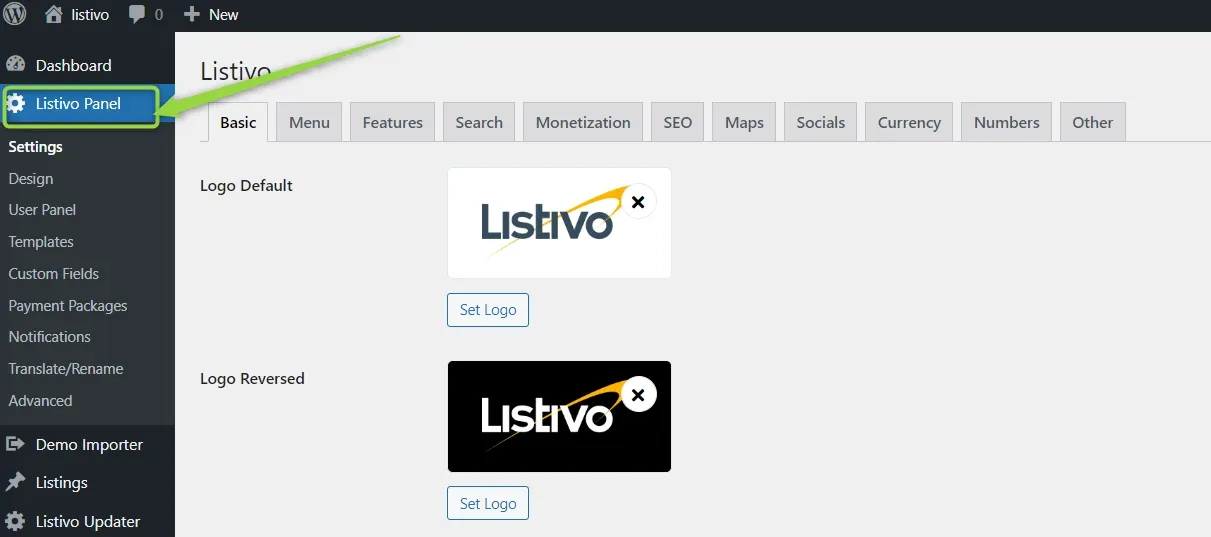
Settings
Here you will find the most important and global options, including:
- Your logo
- Your phone number
- Your currency and number format
- Menu options
- Maps
- Socials
- and many other options
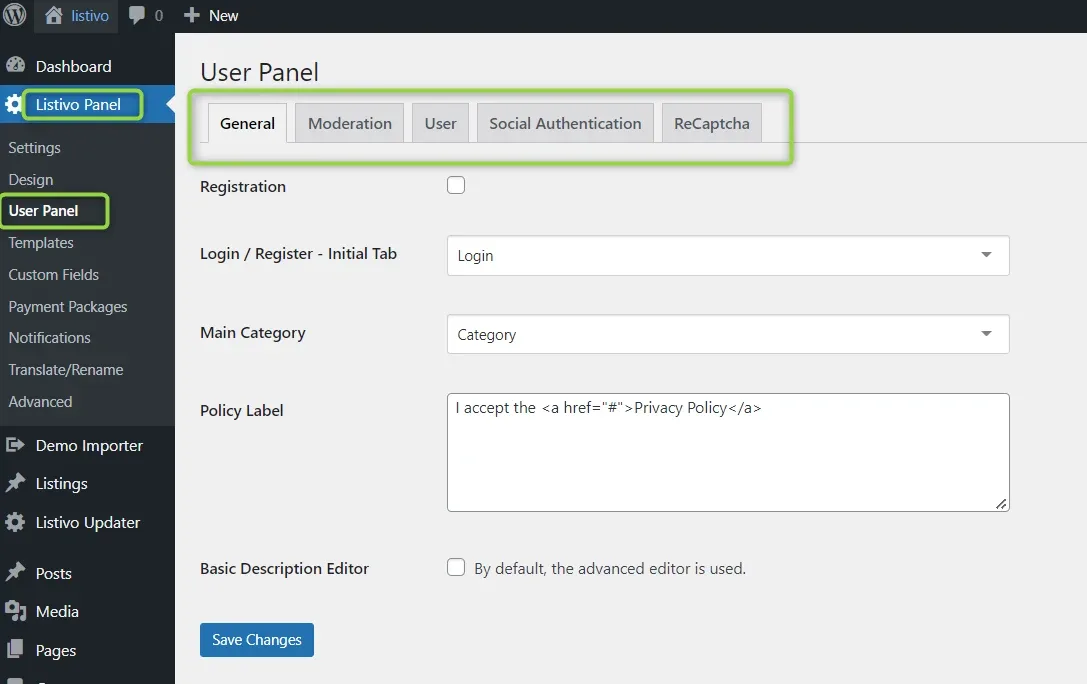
User Panel
Do you plan to open your website to the public? If so, turn on Registration and customize the other options you need. Even if you use the site on your own, there are some options here you may like to configure — they are spread over the General, Moderation, User, Social Authentication and ReCaptcha tabs.
Templates
The Templates screen holds your layouts and the templates behind the ad page, search results page, print ad, user page and blog.
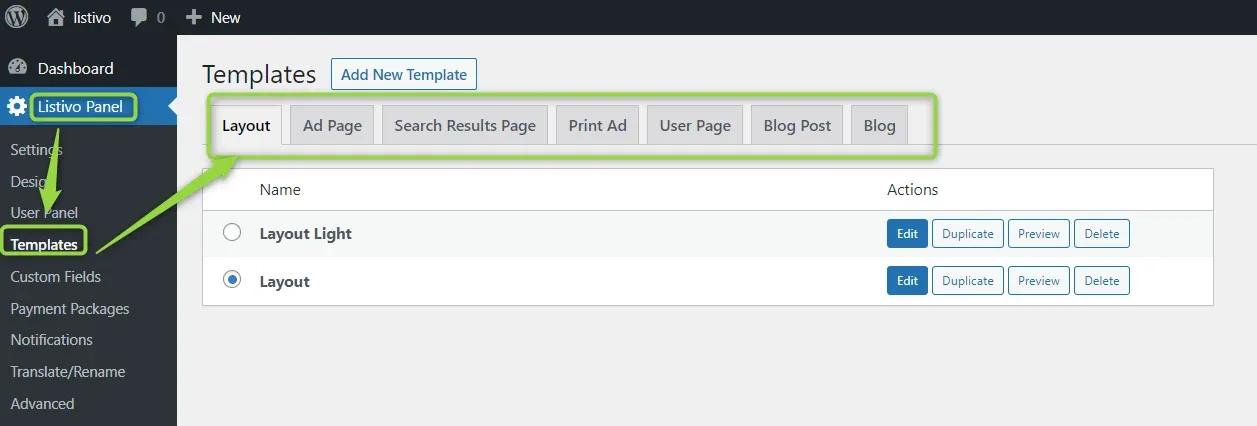
Listivo has a layout system: layout = header + <page-content> + footer.
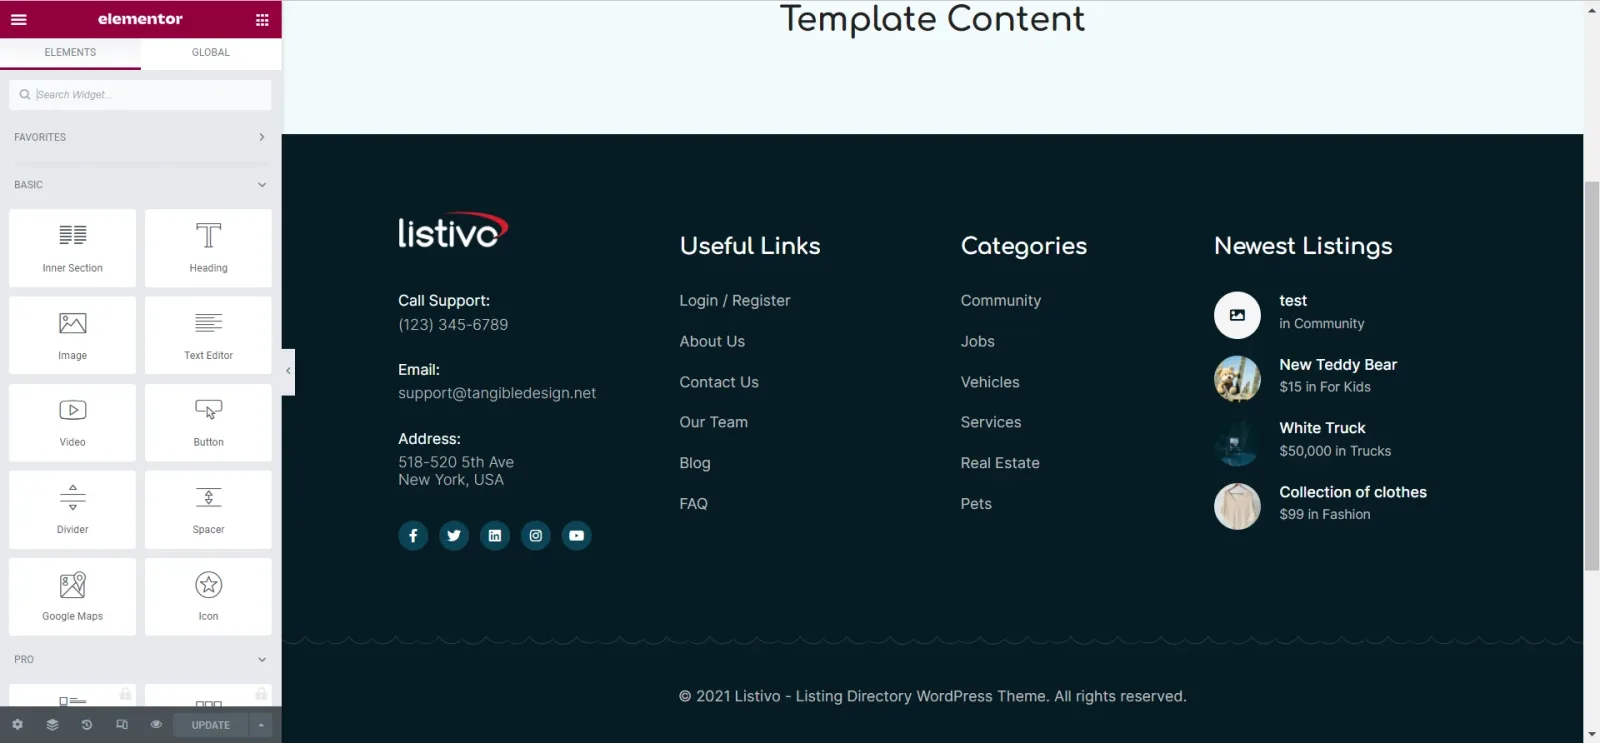
Templates are dynamic page contents:
- Listing template — example
- Search form — classic example / map example
- User template — example
- Blog archive — example
- Blog single — example
Here is how you can customize a single listing template: Editing single listing page.
Custom Fields
If you want to know more about custom fields, see Types of custom fields.
Monetization
Do you want to earn when users submit listings? If so, enable this module: users are then given the chance to buy a package when they submit a listing.
More information about monetization — Monetization – WooCommerce Payments Gateways.
Google Maps
Listivo is fully integrated with Google Maps. Get your Google API key to display listings on the map and allow searching via the Location field.
Notifications
Listivo can send emails to you or your users when something important happens. Configure the emails you need and use the special variables to make them more effective — see Notifications: setup, management and Twilio integration.
If you do not receive emails, please check this article: How to prevent emails go to SPAM folder? How to use SMTP?
Translate & Rename
You can translate and rename here all text that is not part of Elementor Page Builder. There is more on this in How to Translate or Rename All Texts.
Advanced
Here you will find more advanced options — for example, you can bulk add terms such as makes, models or cities, and more.
Remove Not Used Content
This is the quick way to remove demo listings and any pages you do not need.
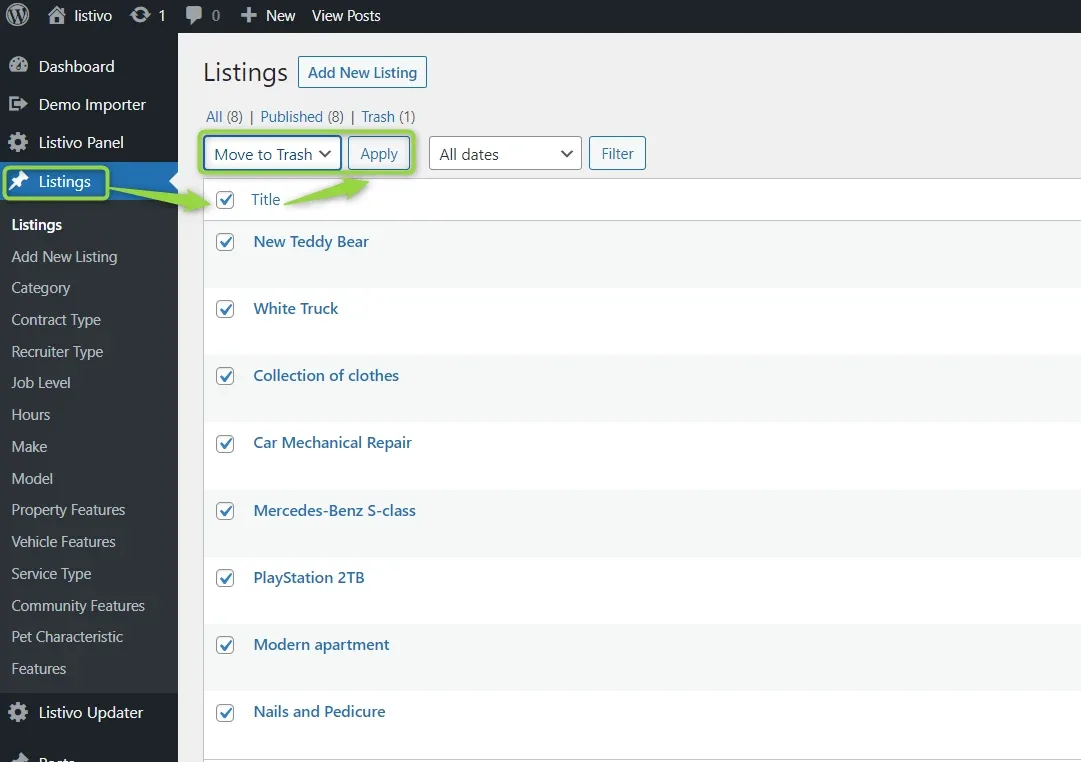
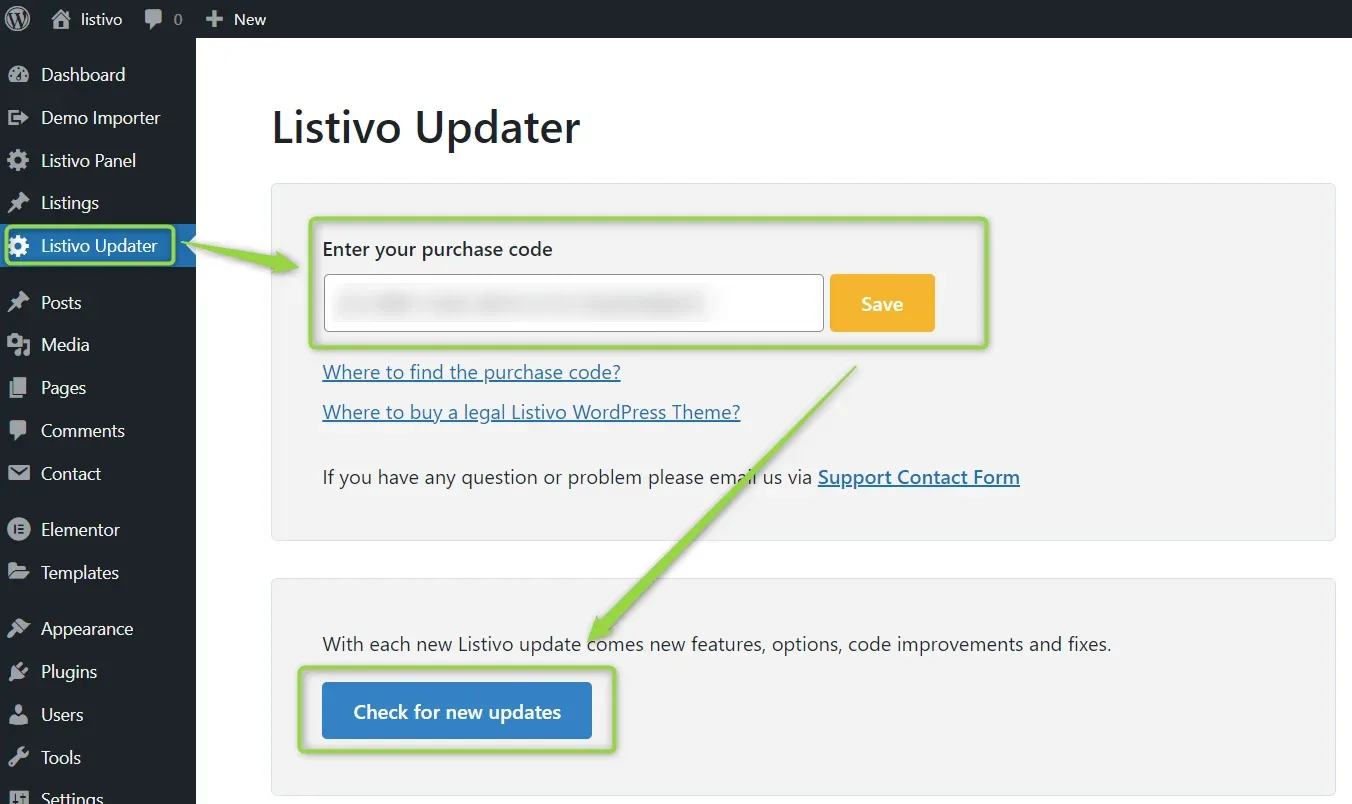
Listivo Updater
When you buy the Listivo Theme from ThemeForest, you get a unique purchase code that entitles you to free upgrades. Enter that code in Listivo Updater and enjoy new features, options, code improvements and fixes.
If you don't have a purchase code yet, read Listivo Theme purchase process.
Ask the people who build Listivo
We answer by email from support@tangiblewp.com. With Premium Support, we also fix your site when something breaks.
We can also run your site for you, or build a new one.
Was this guide helpful?