Installing demo content on your website: easy steps to follow
Set Listivo up on a fresh WordPress site: upload the theme, install the plugins it needs, and import one of the ready-made demos so you start from a complete website instead of a blank one.
2 minute read
This article walks you through installing the Listivo theme and importing demo content on your website.
Install and activate the theme
-
1
Download the theme file
Download the Listivo Installable WordPress file only from https://themeforest.net/downloads.
-
2
Log in to WordPress
Sign in to your WordPress admin panel (
wp-admin). -
3
Open Appearance → Themes
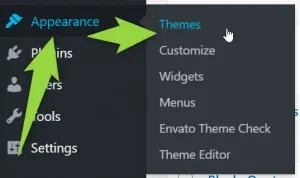
In the left sidebar, hover over Appearance and click Themes.
-
4
Click Add New
On the Themes screen, click Add New next to the heading.

-
5
Upload the theme ZIP
Click Upload Theme, then Choose File, pick the
listivo.zipfile you downloaded, and click Install Now.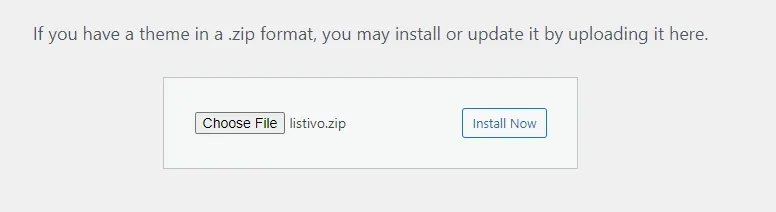
-
6
Activate the theme
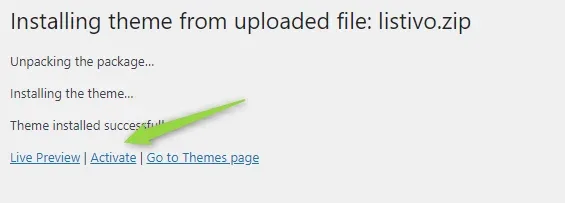
When the installer reports that the theme was installed successfully, click Activate.
-
7
Begin installing plugins
WordPress then shows a notice in the administration panel listing the plugins Listivo needs. Click Begin installing plugins.

Install the plugins and import a demo
-
1
Install and activate all recommended plugins
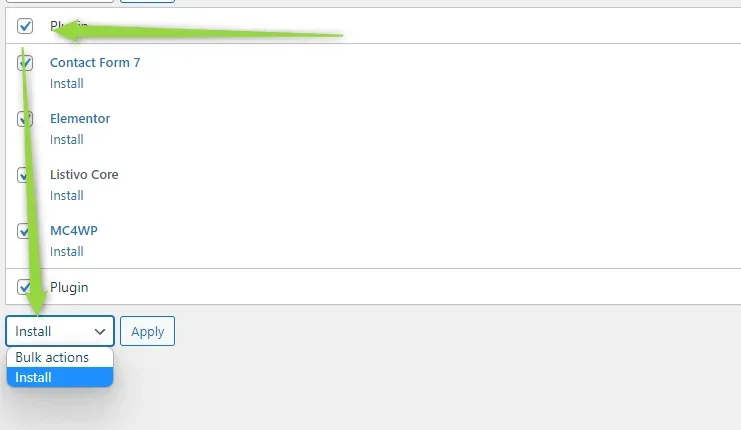
Select every plugin in the list, run the Install bulk action, then activate them the same way.
-
2
Import a demo
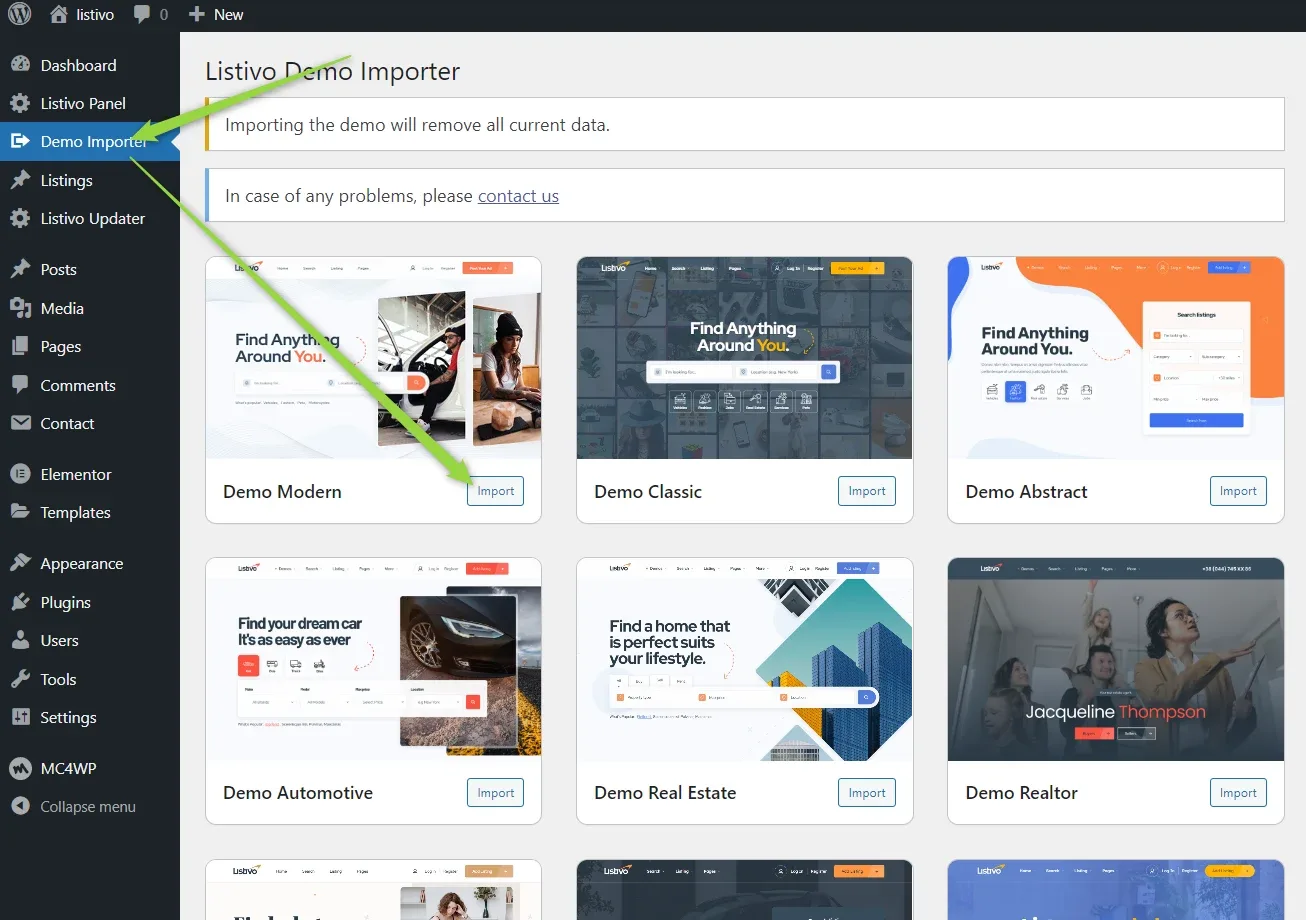
You are then redirected to the demo importer. Before you start developing your website, import the Listivo demo content — homepages, pages, custom fields and so on — to streamline the process. Click the Demo Importer link in the sidebar and the Import button next to the demo you wish to import.
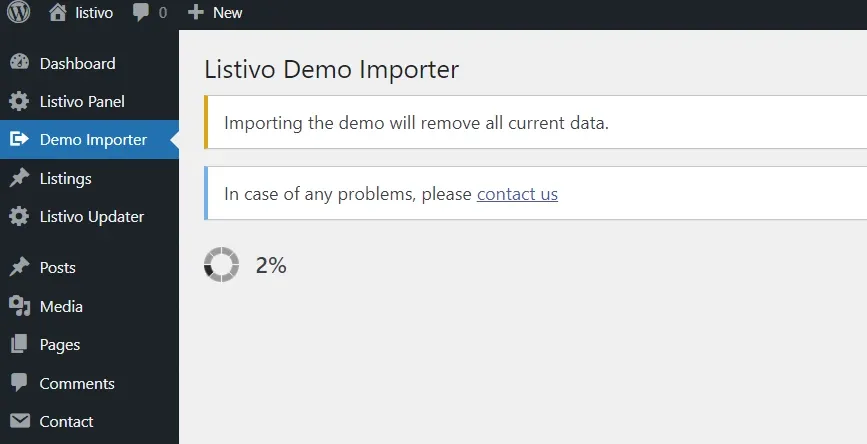
The demo content will begin loading; please wait.
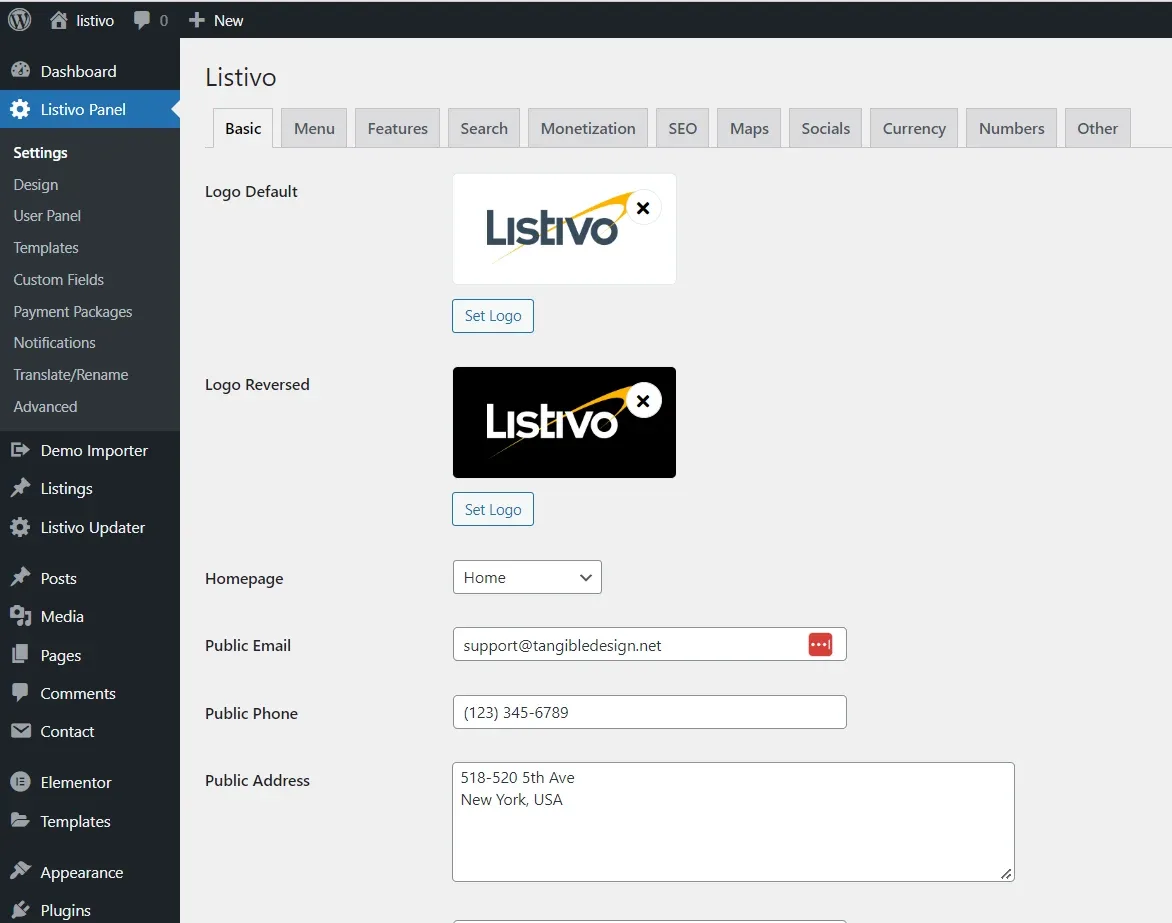
Upon completion of the import, you will be redirected to the Listivo Panel — the theme's own settings screen.
Ask the people who build Listivo
We answer by email from support@tangiblewp.com. With Premium Support, we also fix your site when something breaks.
We can also run your site for you, or build a new one.
Was this guide helpful?