Listivo Panel Advanced Setting
What every option under Listivo Panel > Advanced > Settings does: the pages Listivo redirects to, how to add a second search page, which contact form an ad uses, and the one switch you should leave alone.
3 minute read
This article provides a detailed guide on the options available under Listivo Panel → Advanced → Settings. It includes instructions for setting up Additional Search Pages and creating custom Login and Registration pages that are separate from each other. It also explains all other options available.
1. Additional Search Pages
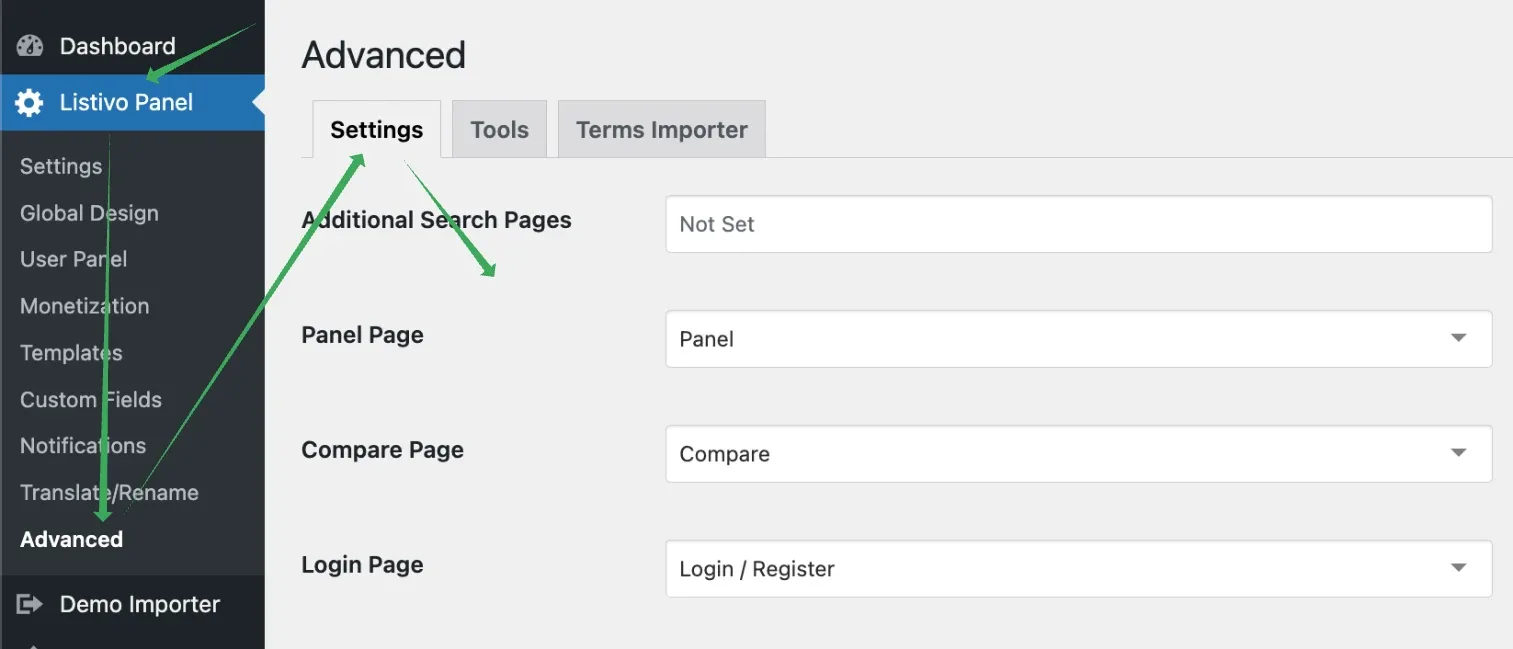
WordPress supports one search page per custom post type — for example demo7.listivotheme.com/ads/. However, some website owners want multiple search pages, such as an additional map search page like demo7.listivotheme.com/map-search/. It is impossible to create a unique search page per term (different search pages for Vehicles and Real Estate, say), as the system supports only one main search, but a second page is still useful in some cases — for example when the map search is secondary and you only want to link to it from the menu. To handle this, create a new page via Elementor and place any of the following widgets on that page:
- Search
- Search V2
- Search Map
Then, select this newly created page in the Additional Search Pages option. After selecting the new page, all search options will work correctly, especially breadcrumbs. This approach avoids loading unnecessary assets globally, improving Listivo's overall speed — which is why you need to set manually which page is an additional search page.
2. Panel Page
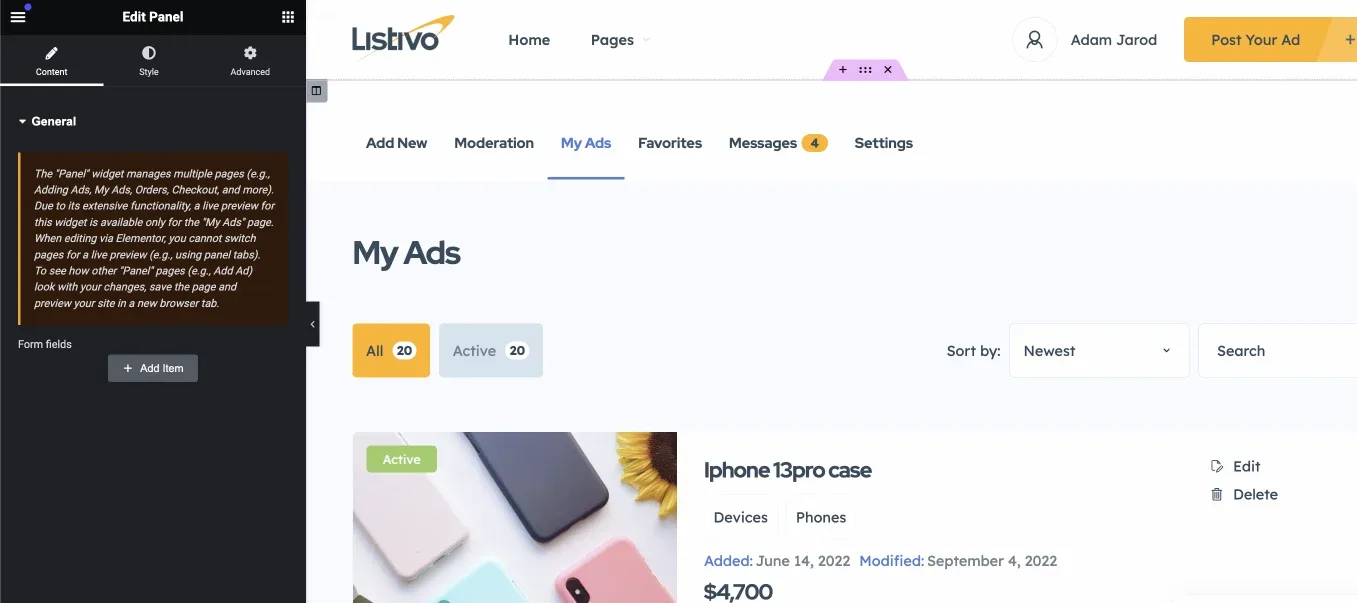
Here you select the page that contains the "Panel" widget. This is required if you use the front-end panel, as many functions across your website will redirect to that page. Examples include clicking "Add new ad" in the menu, logging in after a confirmation link, or using the monetization system.
3. Compare Page
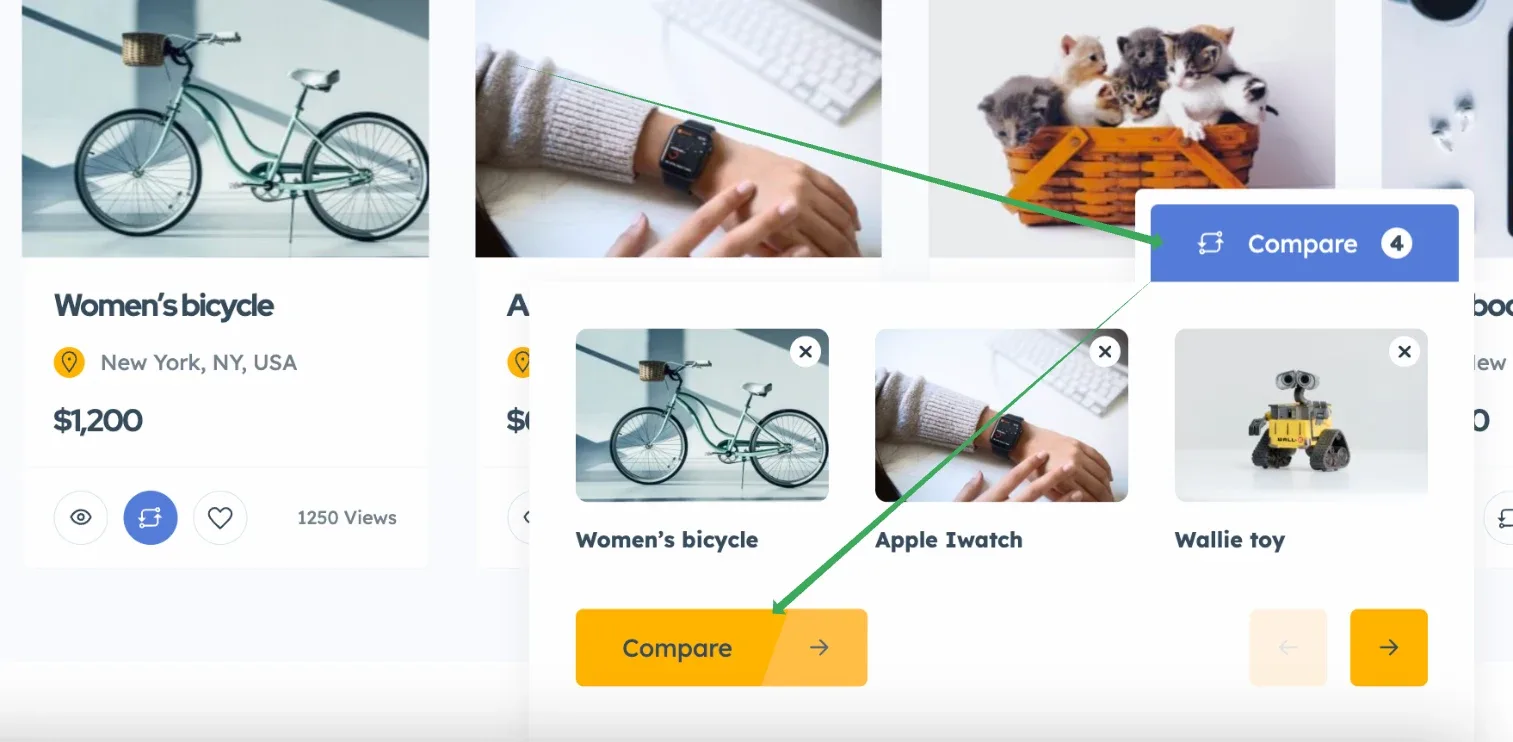
Select the compare page so the Floating Bar across your website knows where to redirect users.
4. Login Page and Register Page
By default, the menu has Login | Register links that go to the same page with a widget containing tabs.
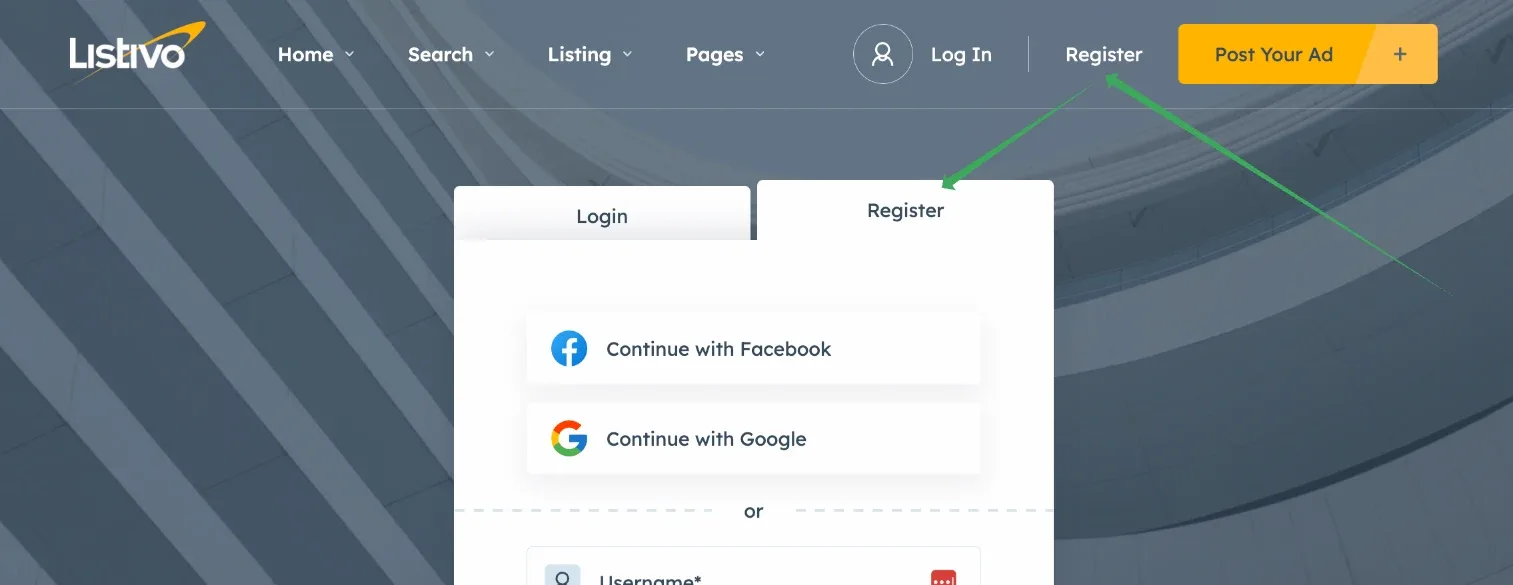
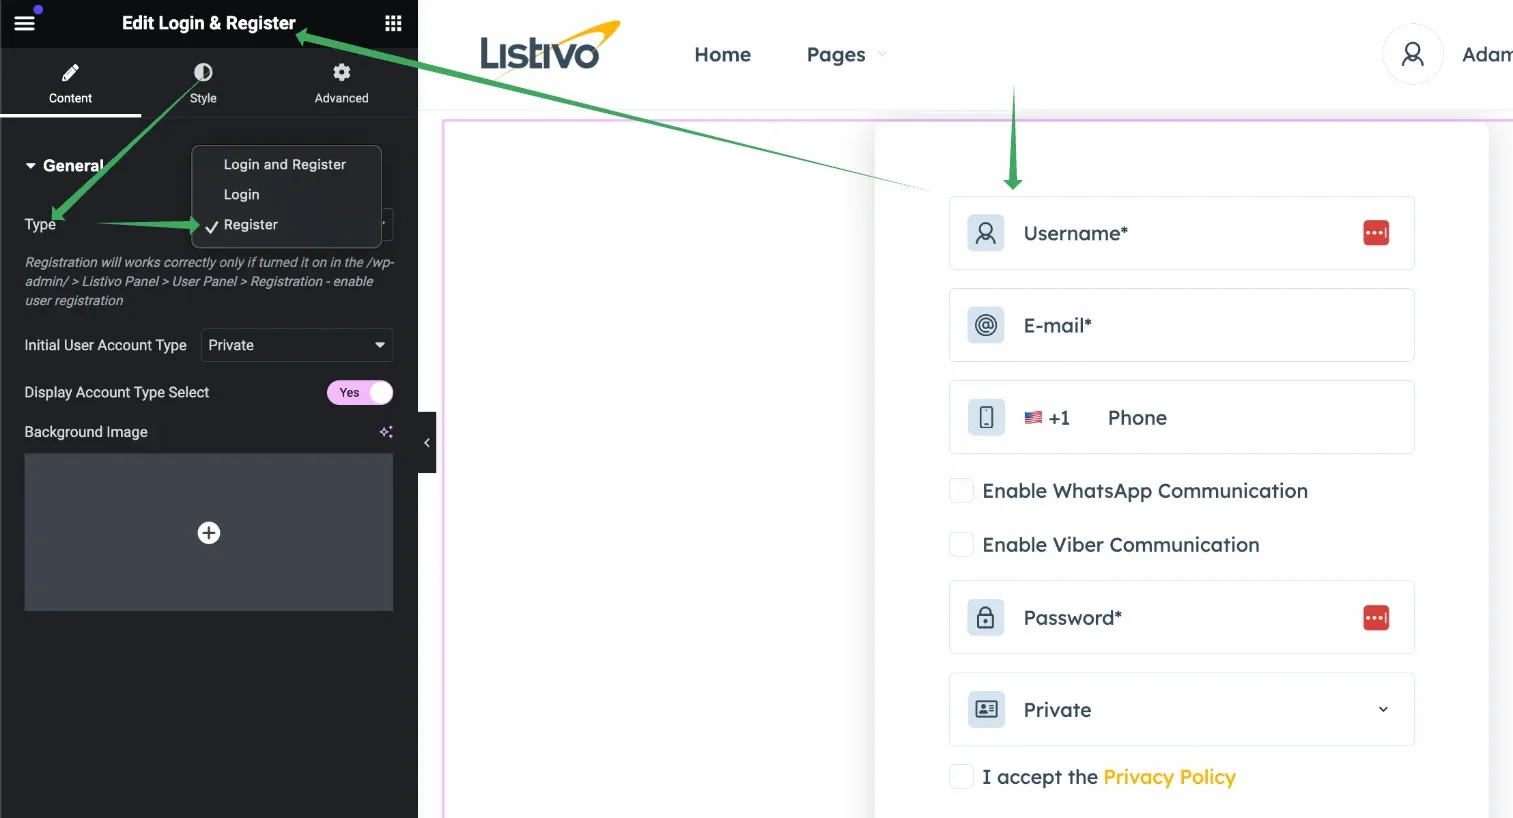
If you prefer separate pages for login and registration, select the new page where each link needs to redirect. This way, your menu and other links across the website will point to your new pages. You can create a page dedicated to registration by making a new Elementor page and adding the "Login & Register" widget. This widget has an option called Type that lets you set it to both Login and Register (tabs), only Login, or only Register, as shown in the screenshot below.
5. Blog
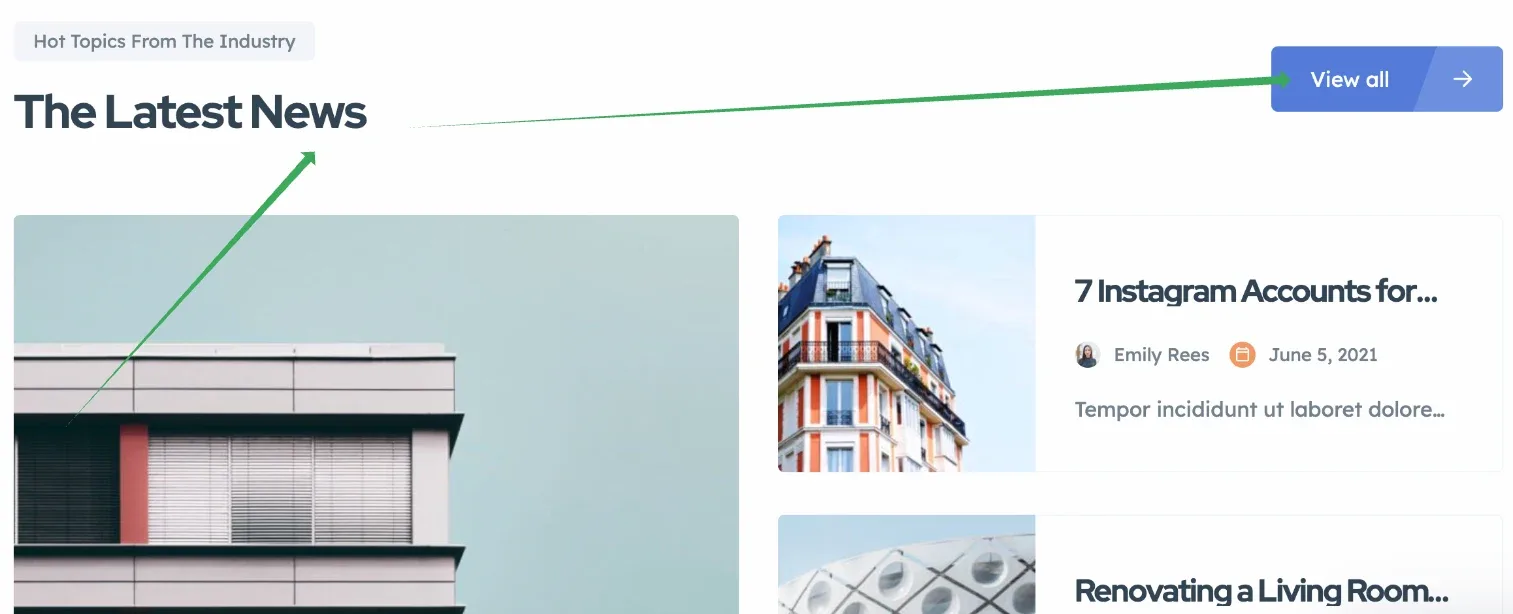
Select your general blog page so widgets about posts know where to redirect users if they click, for example, the View All button, as shown below.
6. 404 Page
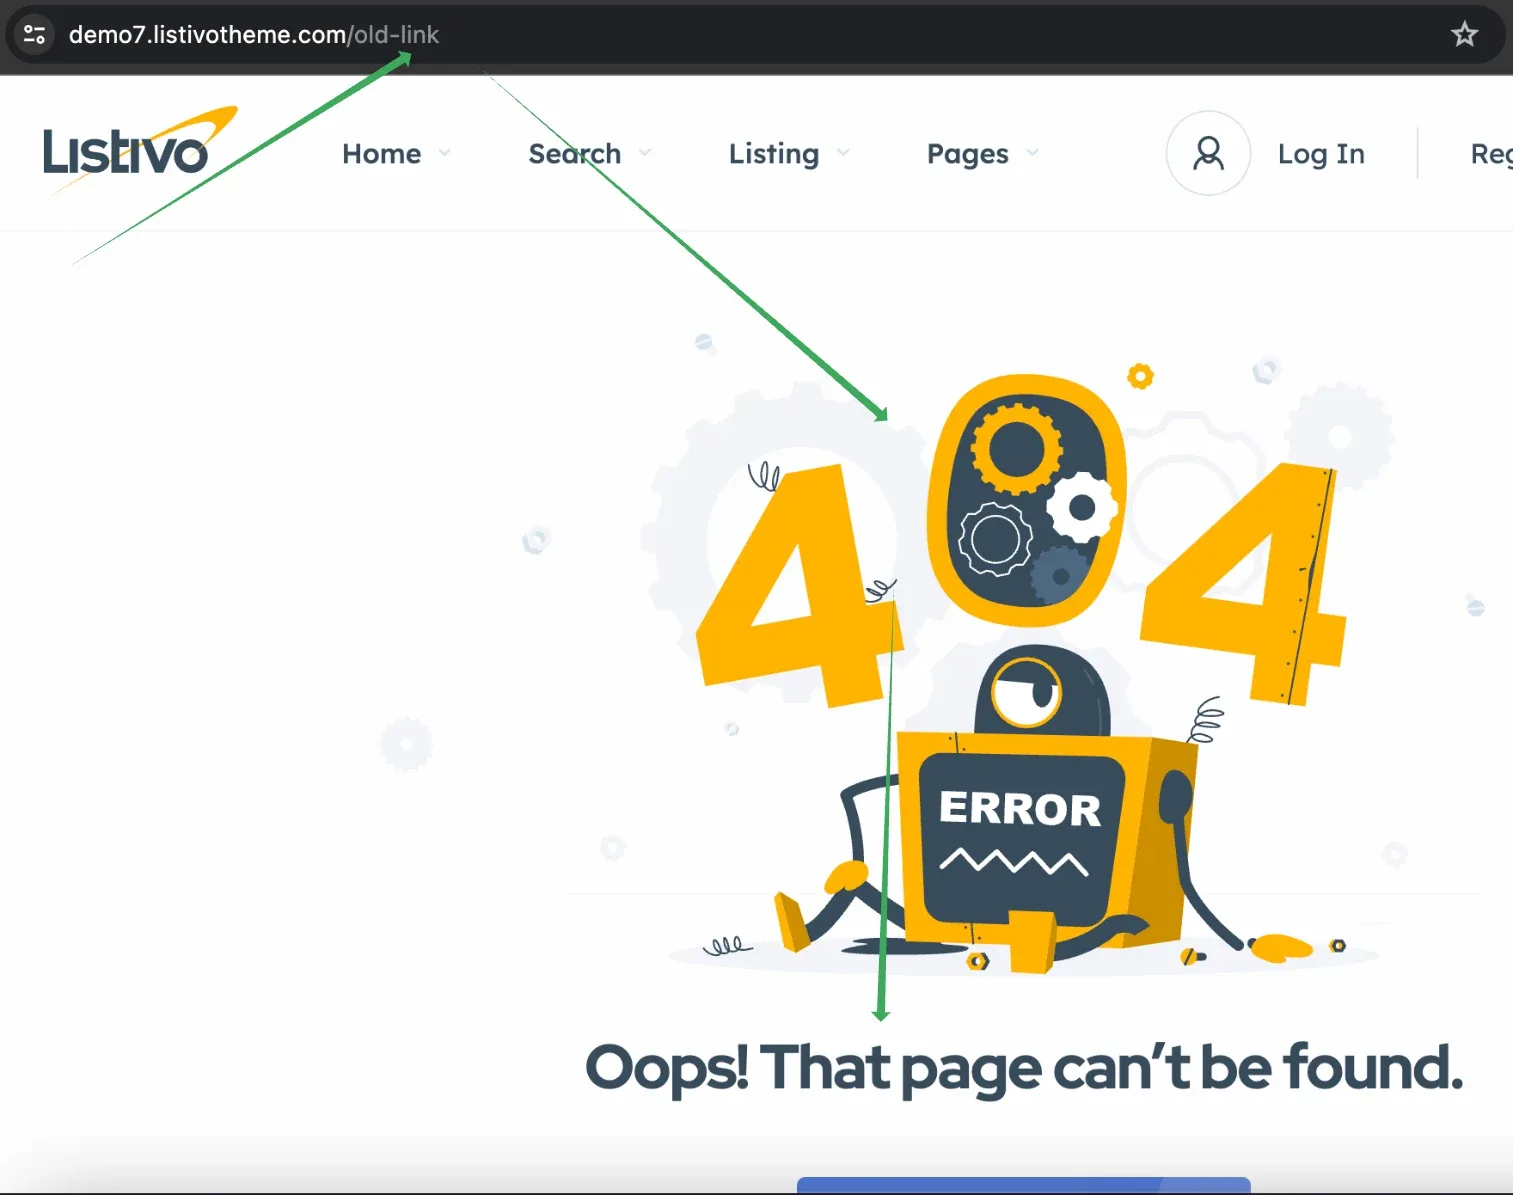
If a page does not exist (for example, an ad was removed), you can redirect users to a specific page.
7. Contact User Form
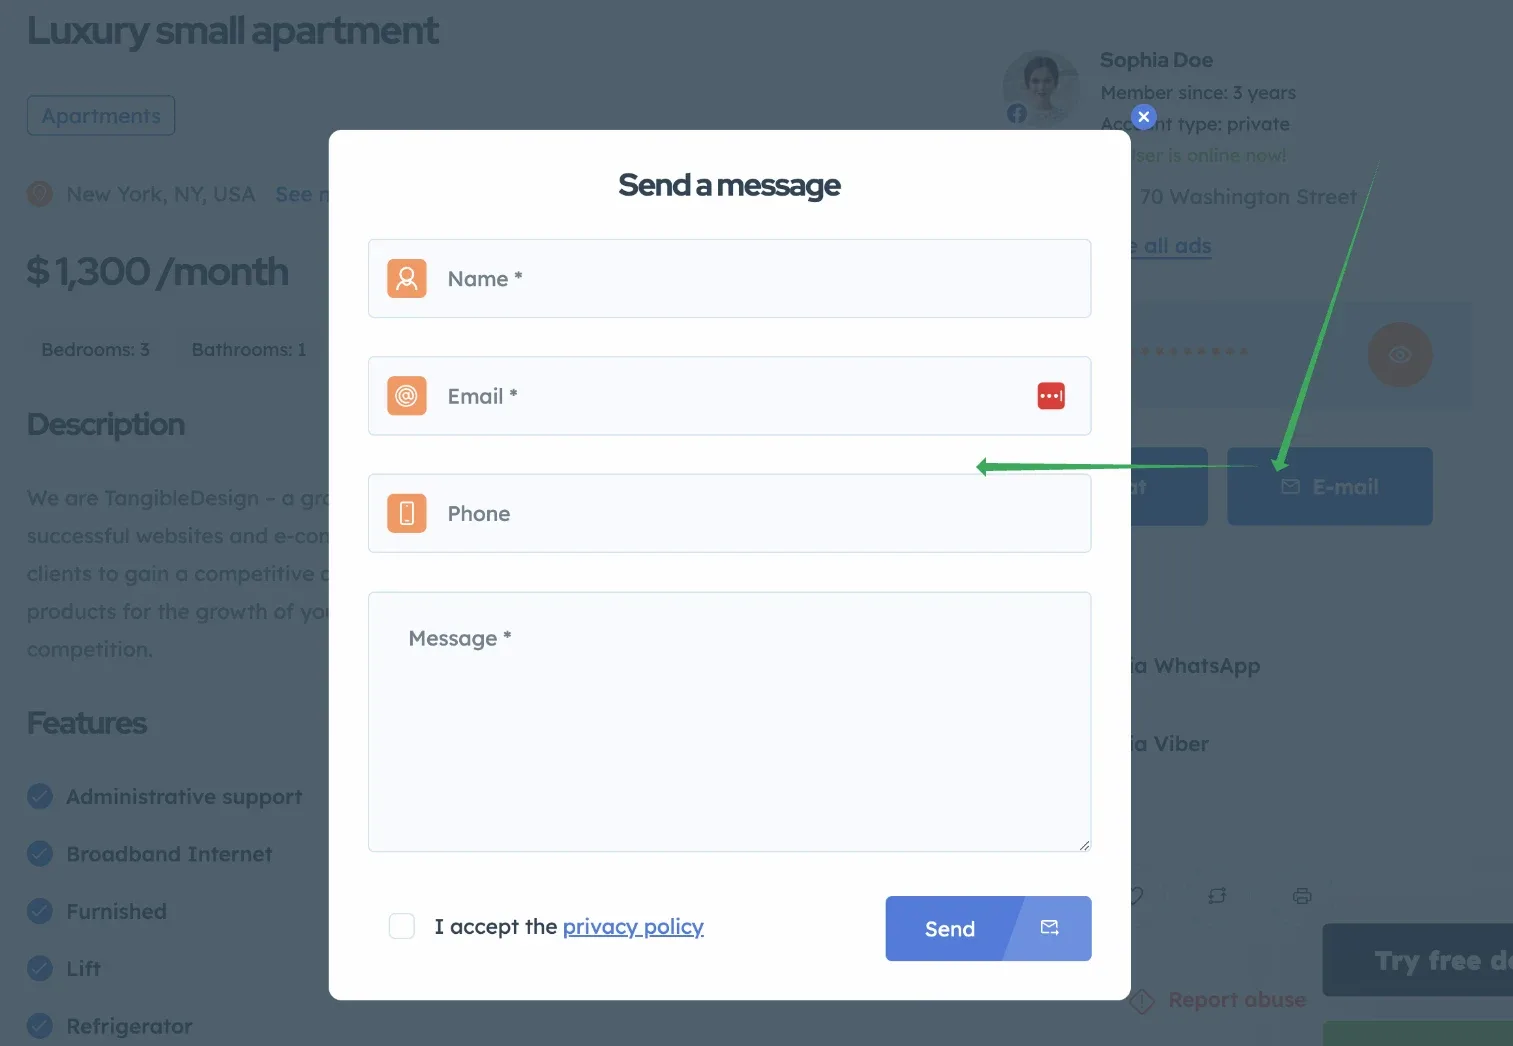
Select the default Contact Form 7 form used on the single ad page user widget after clicking the "E-mail" button.
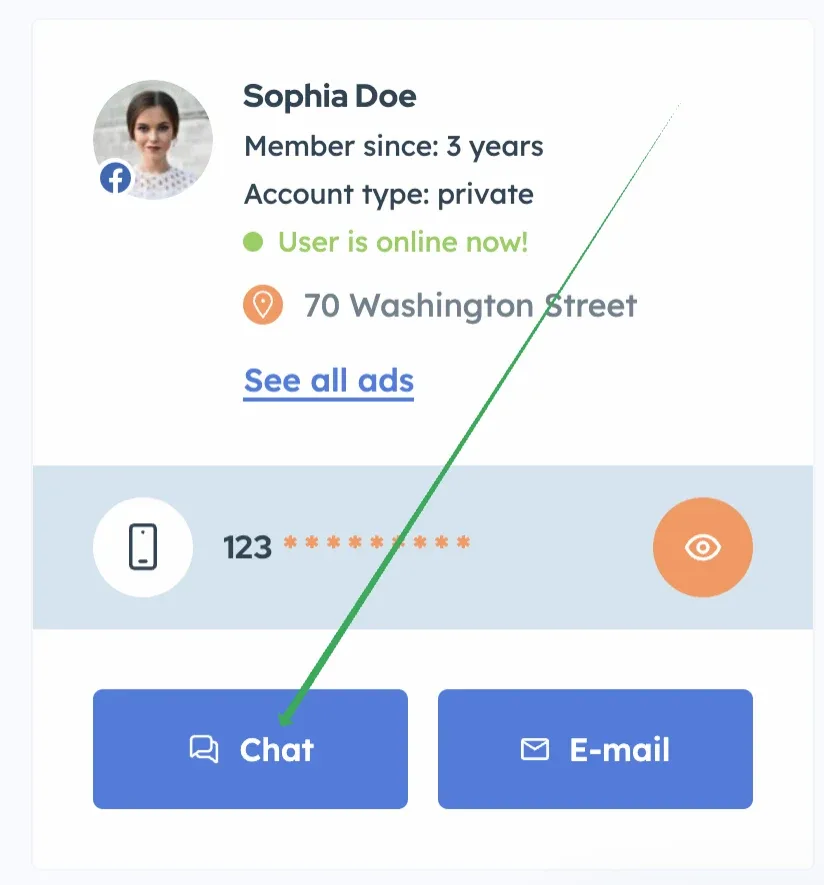
It will open the chosen contact form in a popup.
8. Legacy Mode

Ask the people who build Listivo
We answer by email from support@tangiblewp.com. With Premium Support, we also fix your site when something breaks.
We can also run your site for you, or build a new one.
Was this guide helpful?