How to create a website like OLX
A website like OLX lets anyone post ads in many categories and pay to make them stand out. Here is how to build one on WordPress, step by step and without code.
In this guide
- A site like OLX needs categories, search, user panels and paid ads
- Listivo has all four built in, and you start from a ready demo
- Each category gets its own posting form and its own search filters
- Users pay for packages, featured days and bumps at checkout
- You can follow every step on a free Listivo website for 7 days
A website like OLX is one big marketplace for a whole country. People post ads in many categories, from phones and cars to jobs and flats. The site earns money when users pay to make their ads stand out.
To work like that, the site needs four parts. Each category needs its own details, and the search needs filters built from them. Users need a panel for their ads, and you need a way to take payments.
You could pay a developer to build all of this from zero. A ready WordPress theme gives you the four parts at once, and you change the rest without code. For a local site where people search near them, read How to create a website like Gumtree.
1. Import the demo closest to your idea
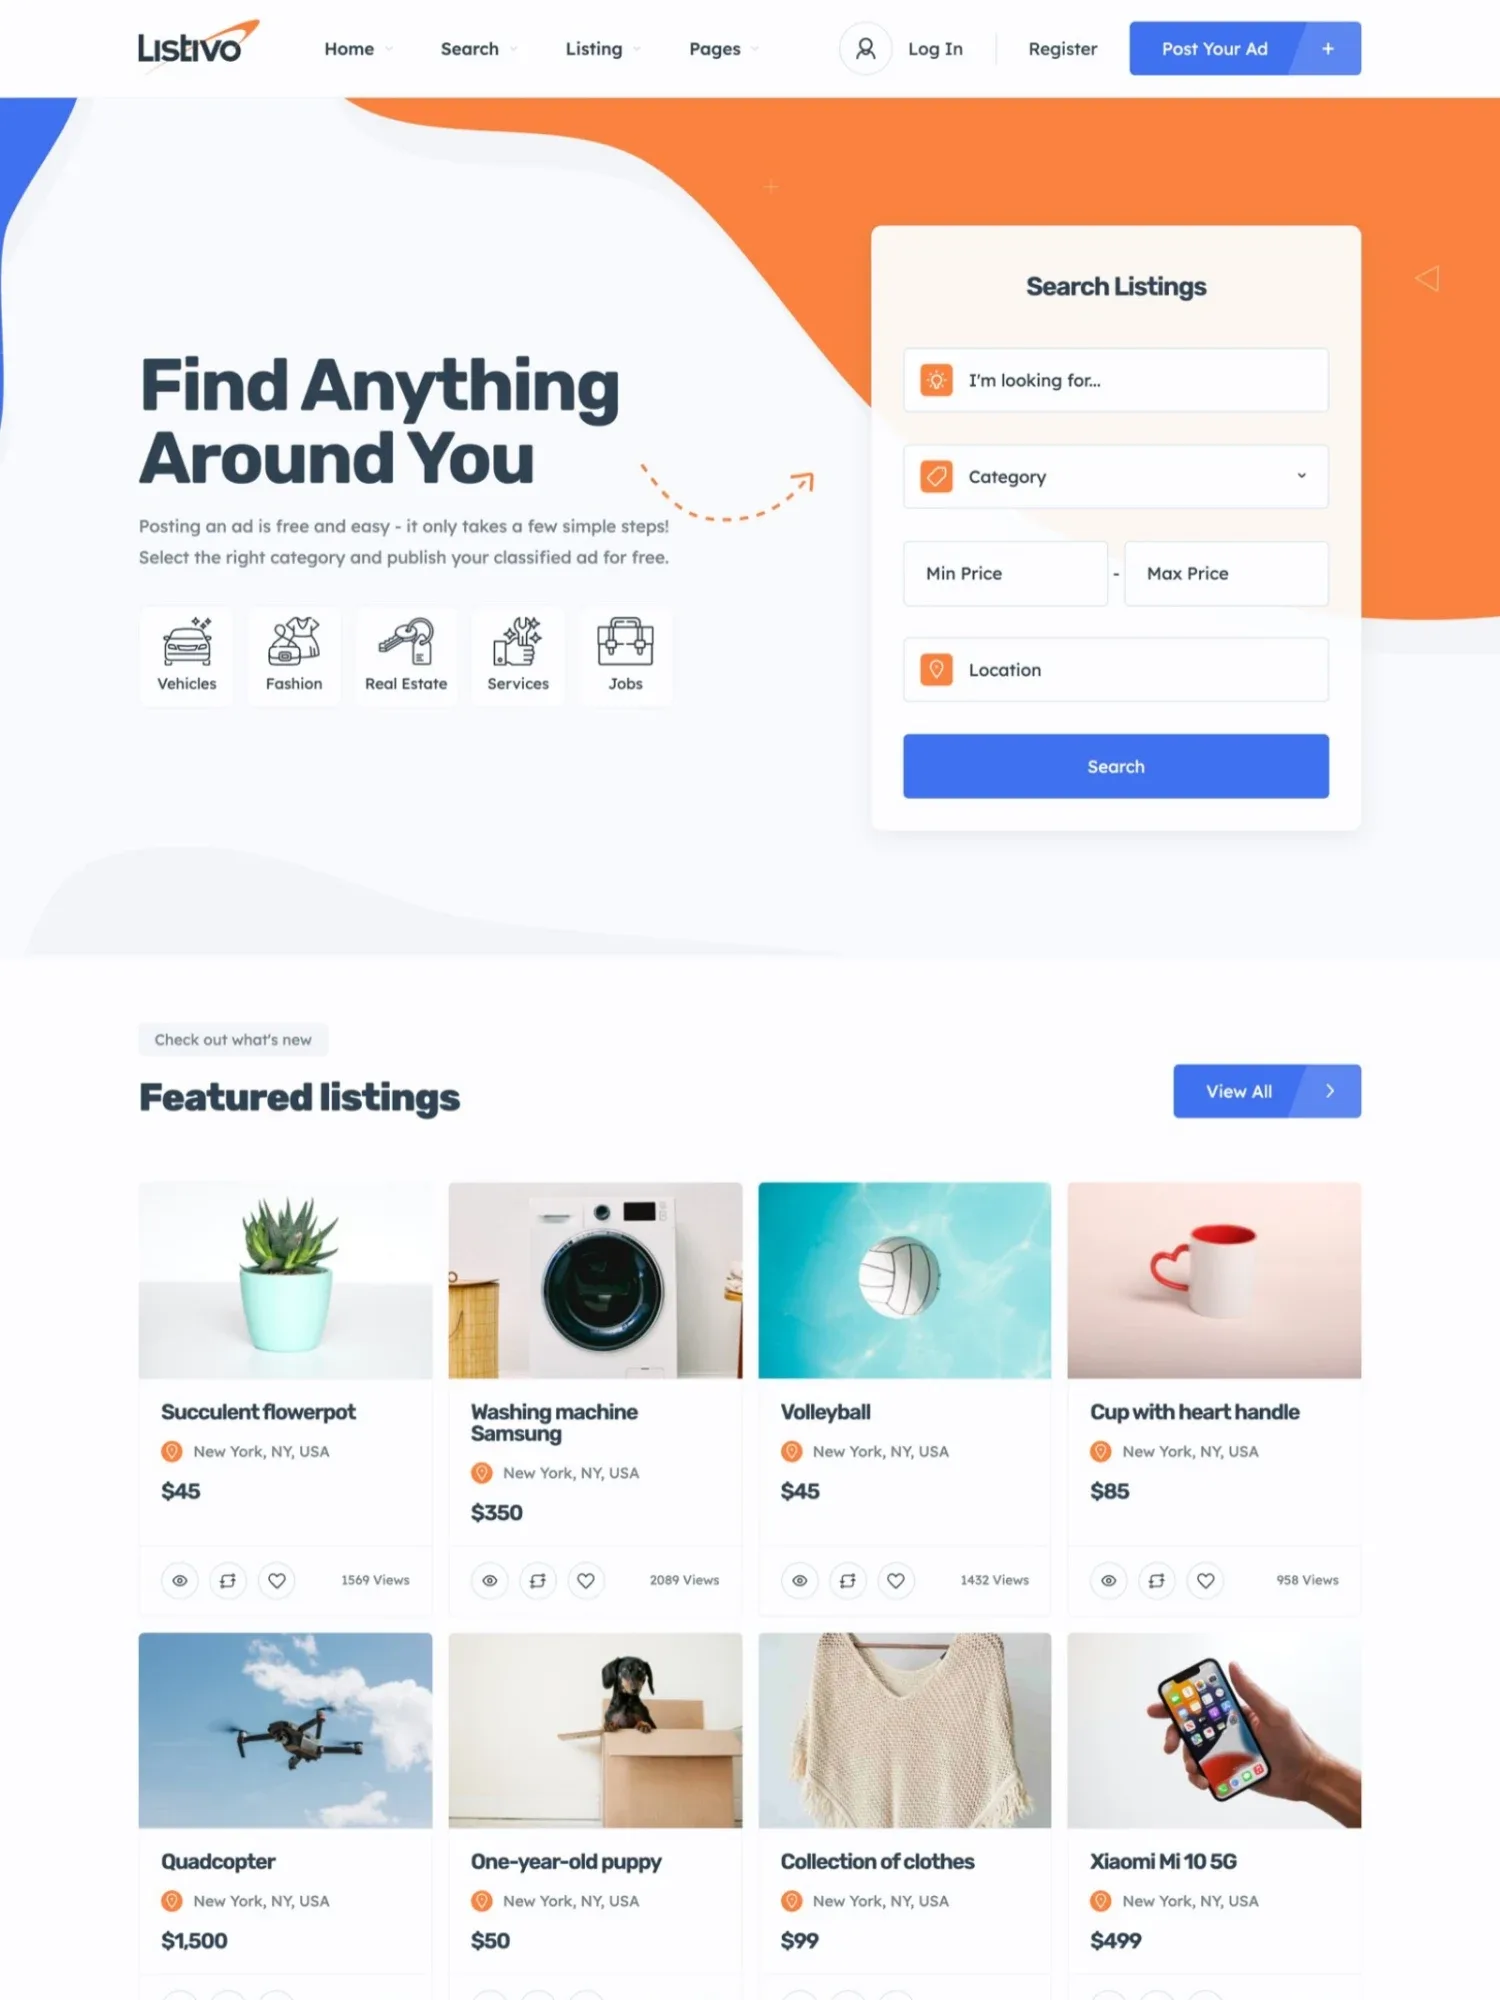
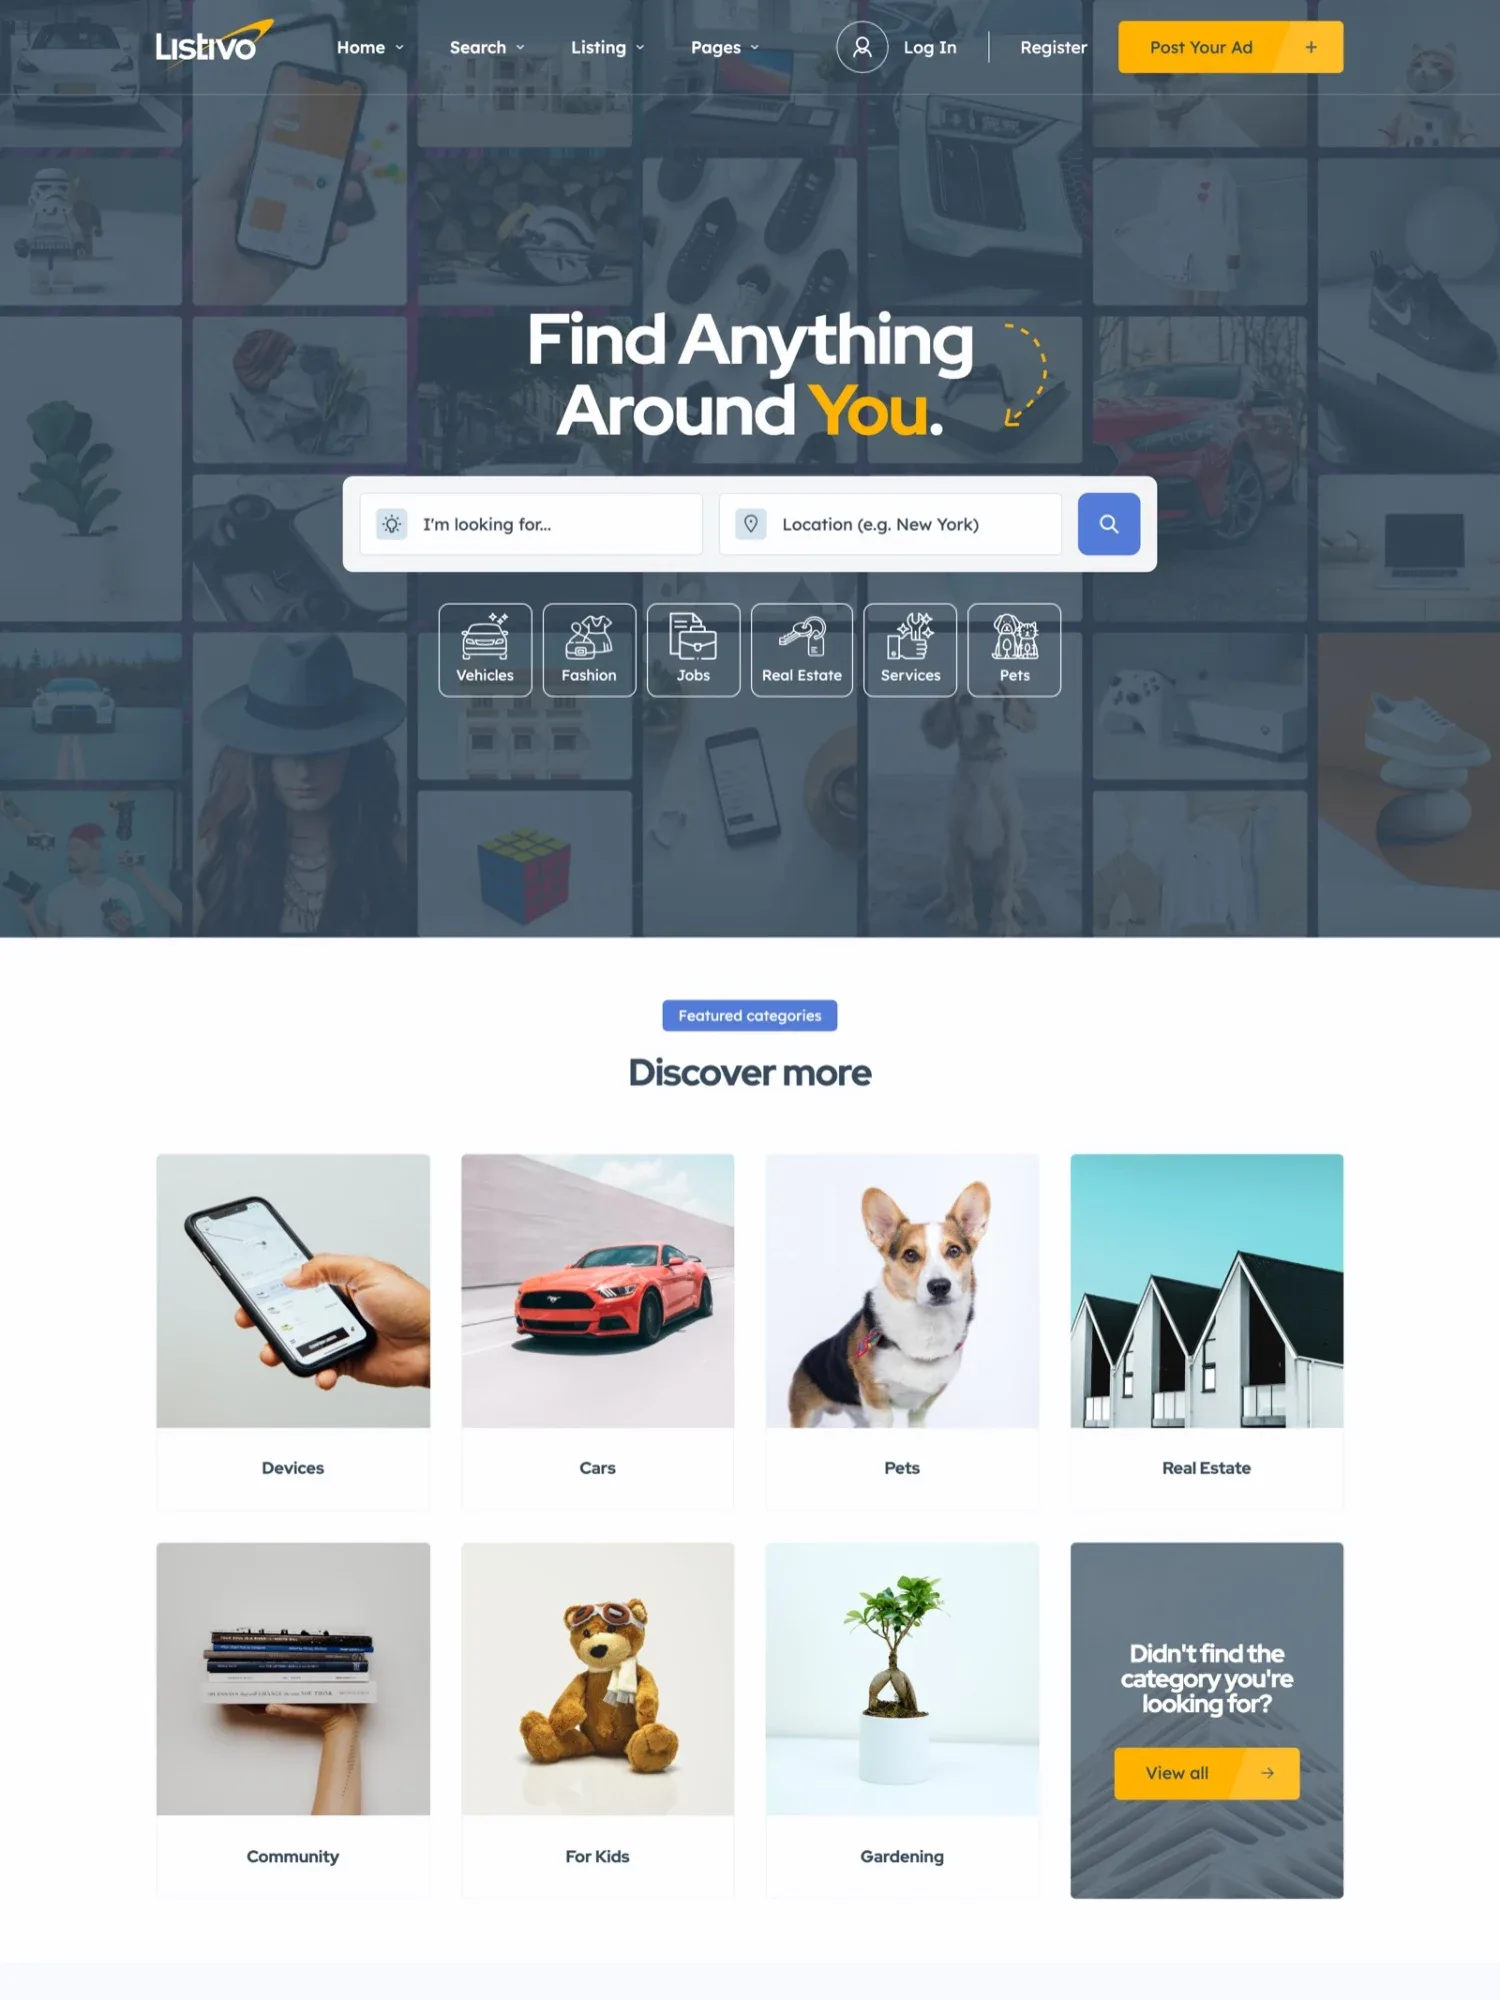
Listivo comes with 11 ready demos, and you import one with a click. For a big general marketplace, start from a demo with many categories on its home page. The import replaces what is on the site, so do it first.
Two demos for a general marketplace
Click through them and open the one closest to your idea.
2. Build your categories and the details each one asks for
Add categories and subcategories, such as Electronics and then Computers. A long list goes in at once, one category per line.
Then give each category its own fields, such as mileage for cars or salary for jobs. The form for posting an ad shows only the fields of the chosen category.
Every field you add can also become a search filter, and the results change with no page reload. Each category gets its own search page too, such as /ads/electronics/, with your own description.
3. Decide what users pay to post
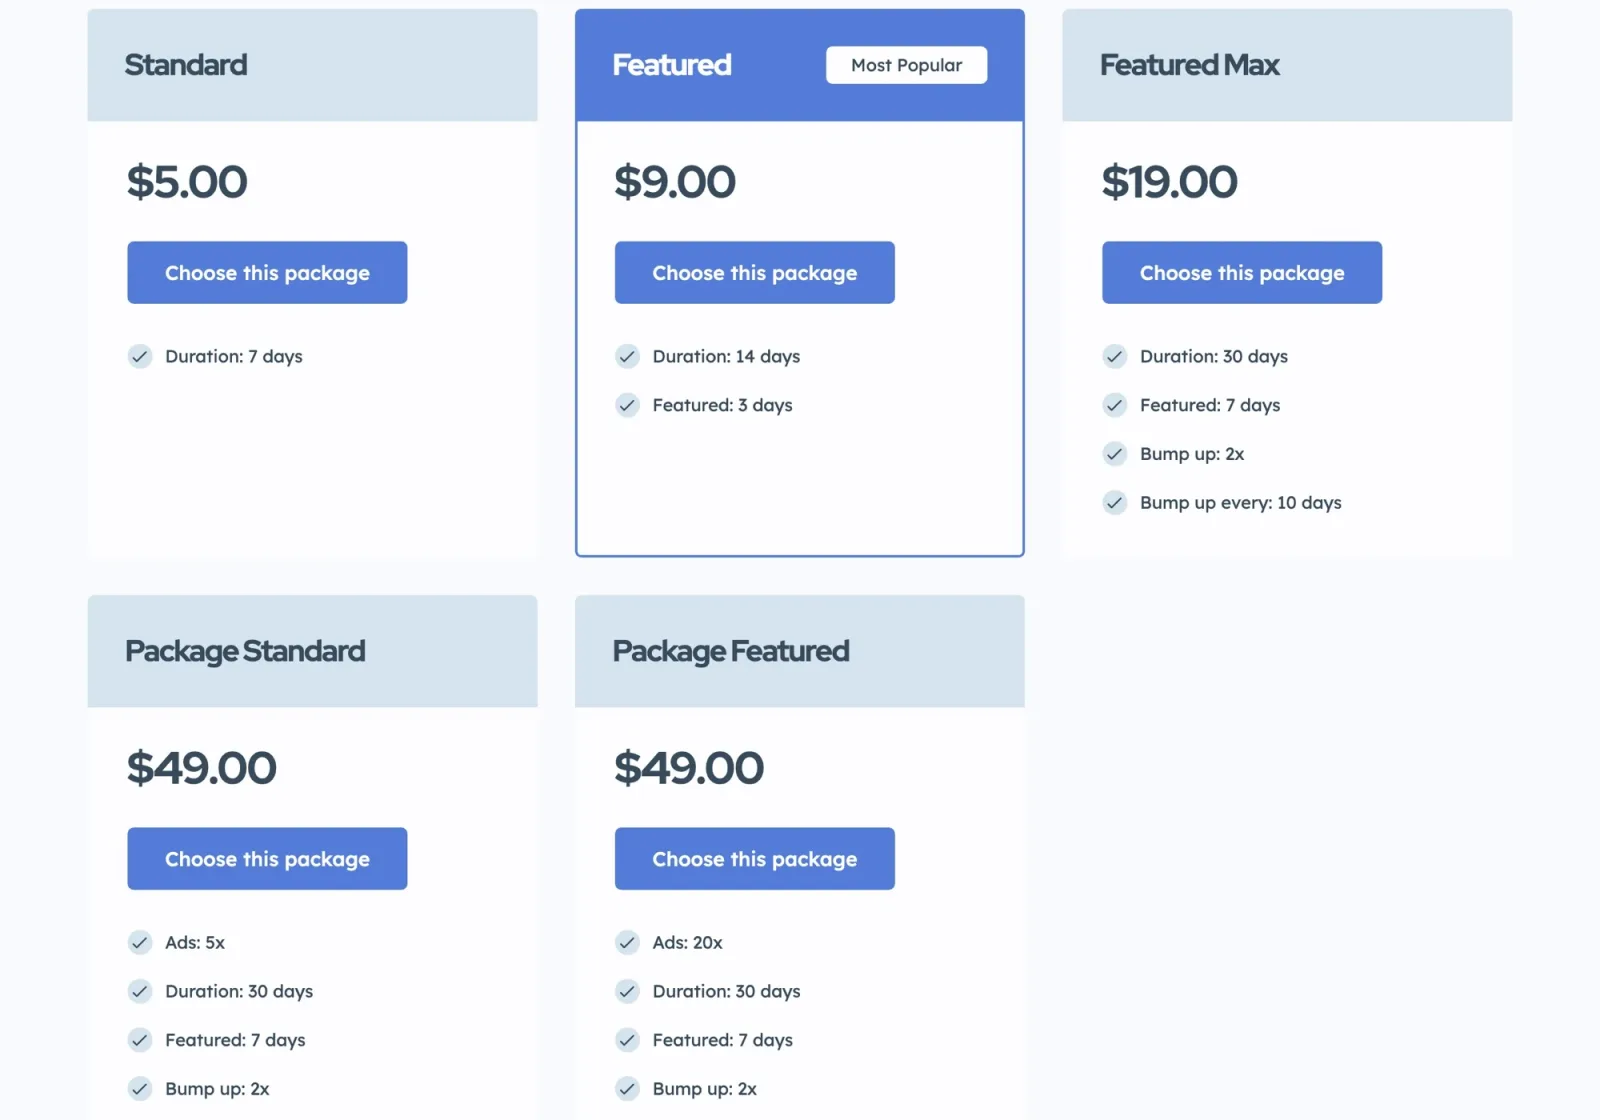
Sell packages that set how long an ad stays online and how many days it is featured. You choose the names and the prices, and one package can hold many ads for users who post a lot. Posting can also stay free, with only the extras paid.
A package can be limited to some categories, or to private or business accounts. Users pay at a WooCommerce checkout, with the payment plugin you choose.
4. Sell a place at the top for ads already live
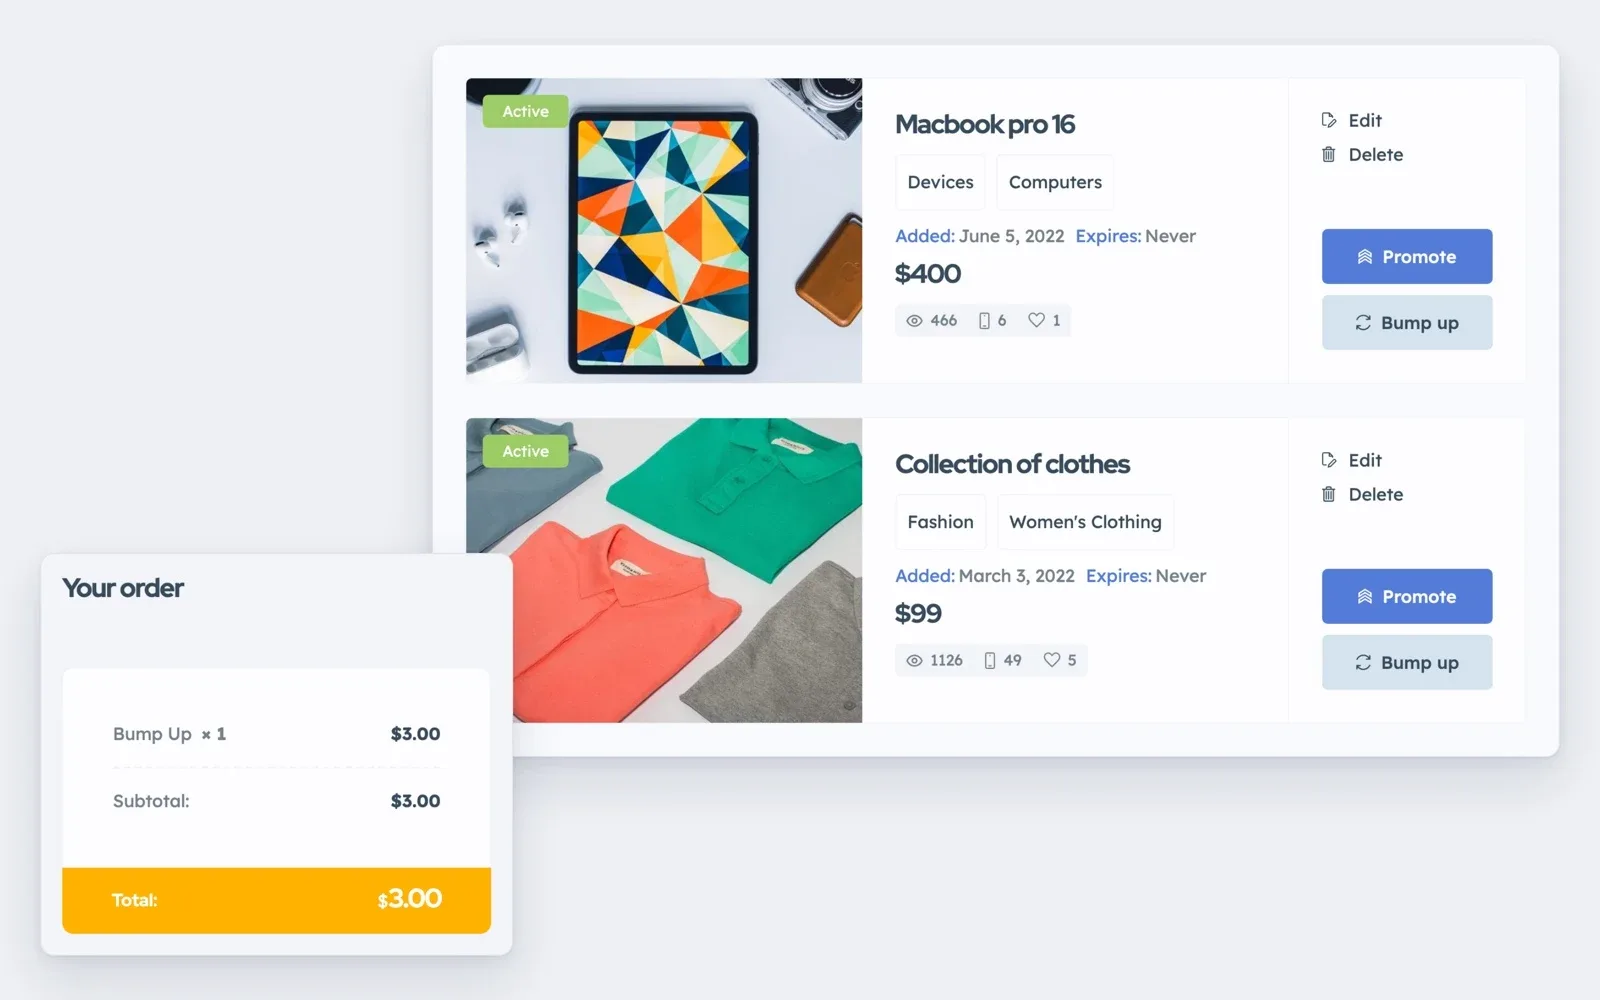
Users can promote an ad they posted earlier, right from their list of ads. Bump Up moves the ad back to the top of the results, and they pay at checkout.
You can also sell extra featured days for a live ad. A package can hold bumps that run on a schedule, such as every 10 days.
Set up your categories and packages for free
Get a real Listivo website with the demo you pick and the full WordPress admin, ready in a minute.
Try Listivo free Free for 7 days. No card needed.5. Change any page in Elementor
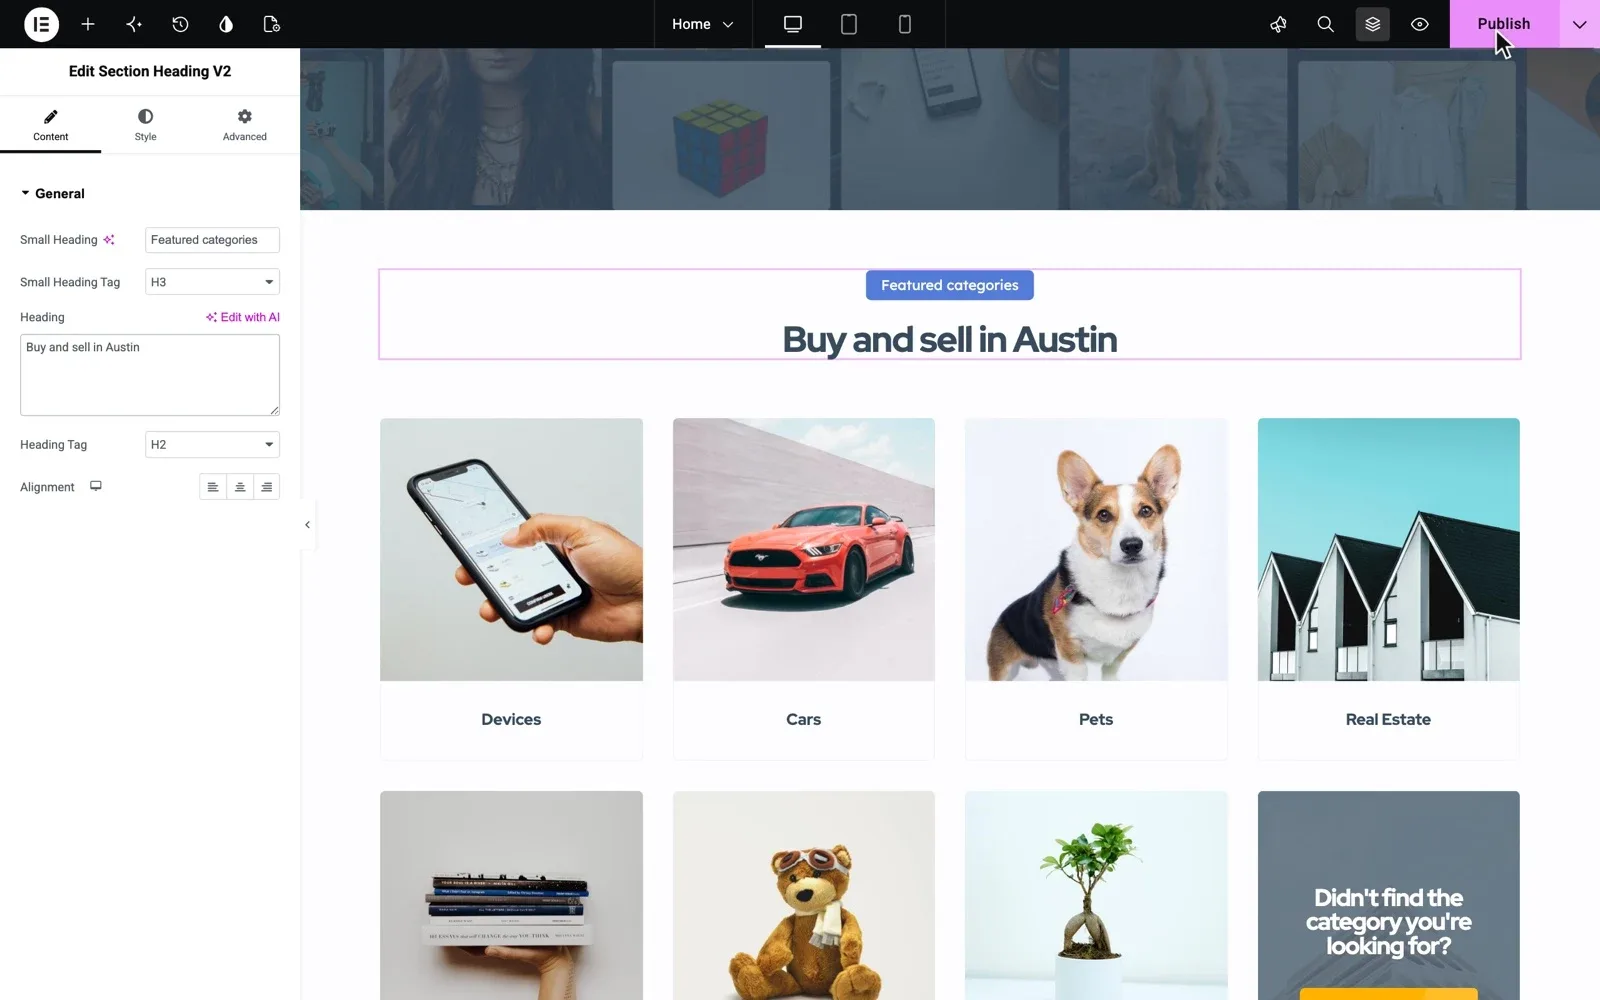
Set your colors and fonts once in Site Settings, and buttons, ad cards and every page follow.
To change a page, drag and drop blocks in Elementor, without code. Ad pages work the same way, with blocks such as the gallery, the map and the user's other ads.
6. Keep fake ads out
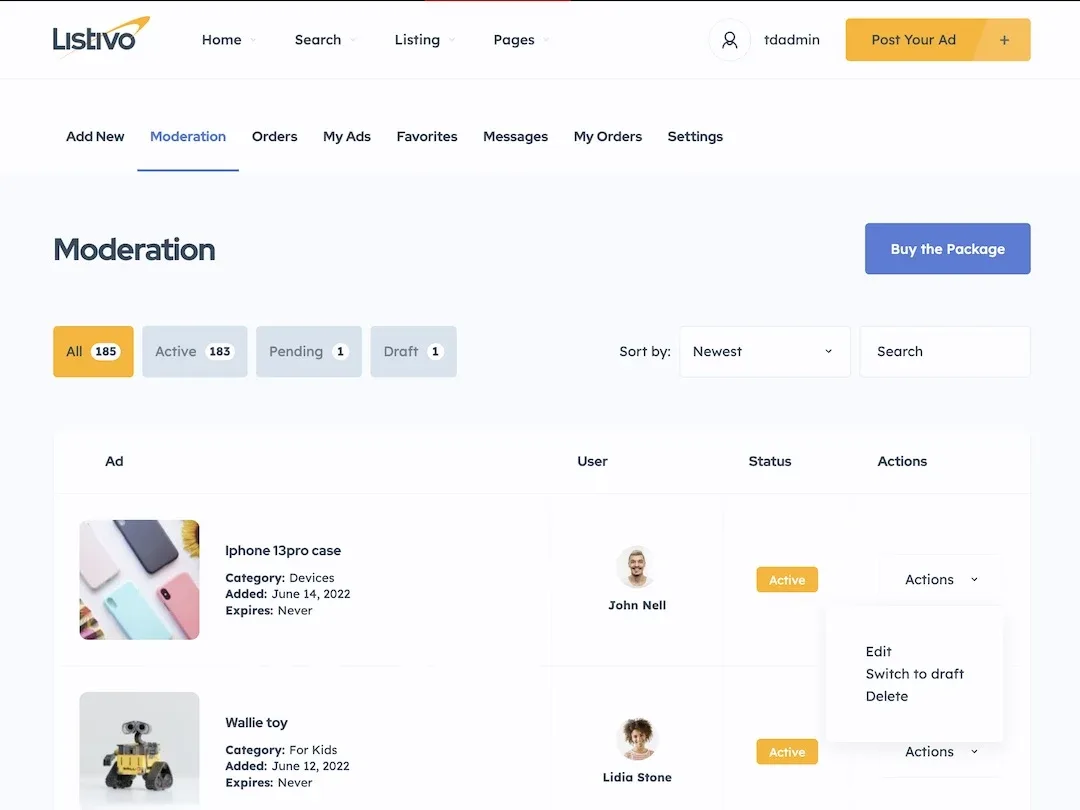
Turn on moderation, and every new ad waits for your approval. You approve, decline or edit ads in one list, and you can add moderators to help.
Google reCAPTCHA stops bots at sign-up. Phone checks ask each user to confirm a number by SMS before they can post.