How to Fix: I cannot upload Listivo theme to my WordPress
Get past a Listivo upload that WordPress refuses: pick the right file from your ThemeForest downloads, raise the PHP limits on your server, or skip the uploader and install the theme over FTP.
1 minute read
There are two reasons why the theme cannot be uploaded.
1. Upload the installable WordPress file only
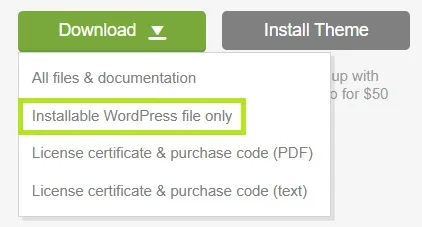
Please make sure you upload Installable WordPress file only from your ThemeForest downloads, not All files & documentation.
2. Increase your server limits
If there is still a problem, the theme file is probably too big for your server and cannot be uploaded. This should be easy to change in the server panel (e.g. cPanel).
PHP Version 5.6 or greater. PHP settings:
- upload_max_filesize = 64M
- post_max_size = 64M
- max_input_time=300
- max_execution_time=300
- memory_limit = 256M
Install the theme over FTP instead
You can also try to install the theme via FTP, which avoids the WordPress uploader altogether.
-
1
Download the installable file
Download Listivo — the “Installable WordPress file only” file — from https://themeforest.net/downloads
-
2
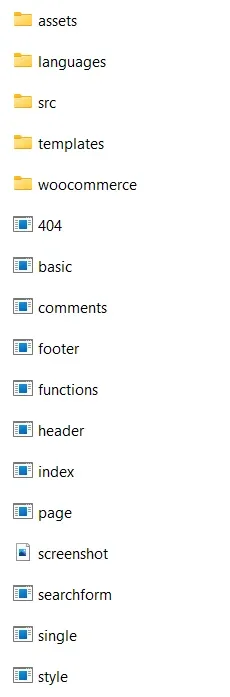
Unzip it
You will see all files.
-
3
Copy the theme folder to your server
Copy the
listivofolder towp-content/themes/.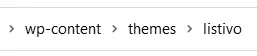
-
4
Open Appearance > Themes
Go to the admin panel, hover over the "Appearance" tab in the left sidebar and click “Themes”.
-
5
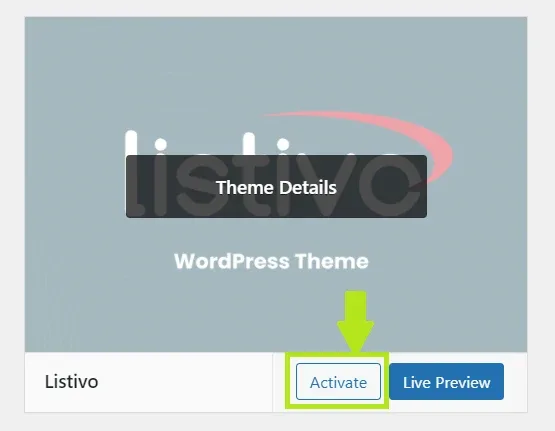
Activate Listivo
-
6
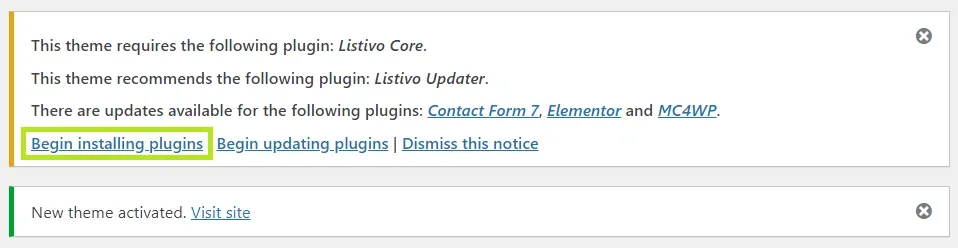
Begin installing plugins
You will receive a notification in your administration panel. Click “Begin installing plugins”.
-
7
Activate all plugins
Installation is finished.
Ask the people who build Listivo
We answer by email from support@tangiblewp.com. With Premium Support, we also fix your site when something breaks.
We can also run your site for you, or build a new one.
Was this guide helpful?