Marking Ads as Sold via Custom Field 'Offer Type'
Build an "Offer Type" custom field so a listing can be switched between Active and Sold, show the Sold label on the ad card, and keep sold ads out of the main search form.
3 minute read
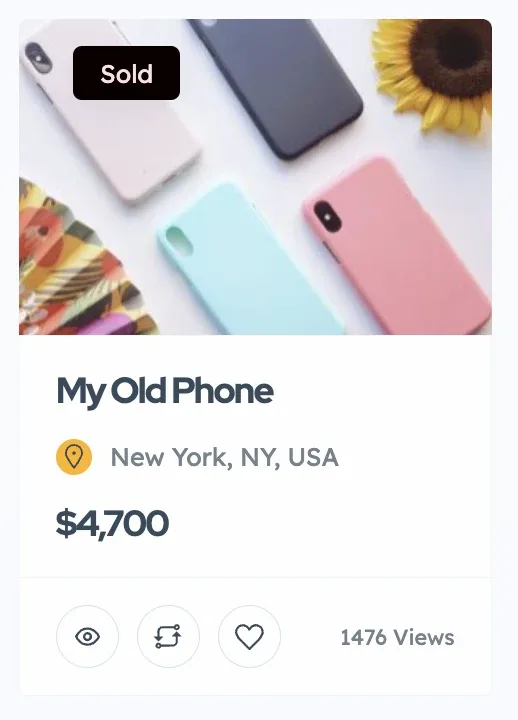
By default, the theme does not provide an option to mark listings as "Sold." However, you can use custom fields to let your forms select between "Active" and "Sold." You can also display this label on the ad card and remove all "Sold" listings from the main search form if desired. Below is a step-by-step guide on how to handle this case.
1. Create a new field
-
1
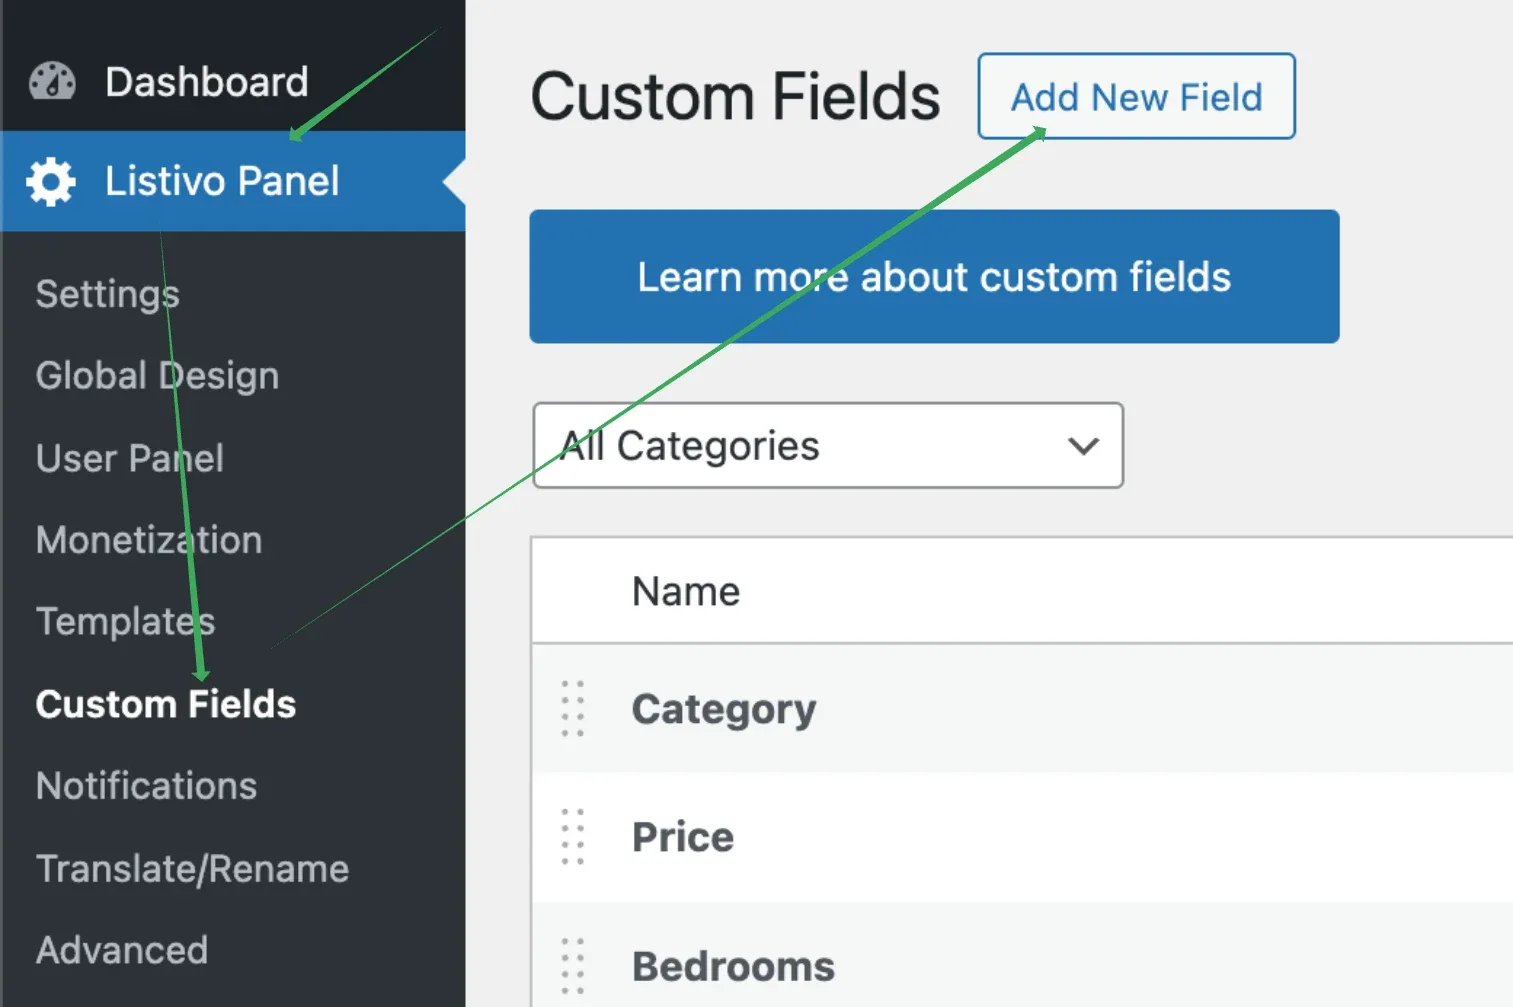
Open Custom Fields
Go to your theme settings and create a new custom field.
-
2
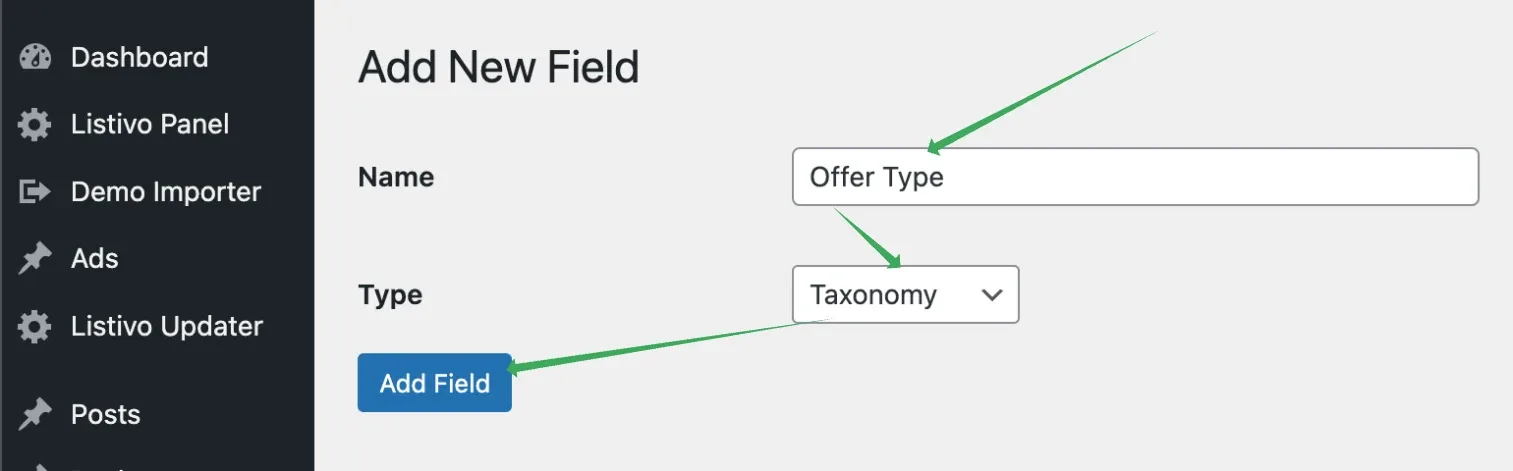
Add the "Offer Type" field
Select the field type as "Taxonomy" and name it, for example, "Offer Type." Refer to the image below for guidance. Click "Add Field."
2. Add two options to "Offer Type" - Active and Sold
-
1
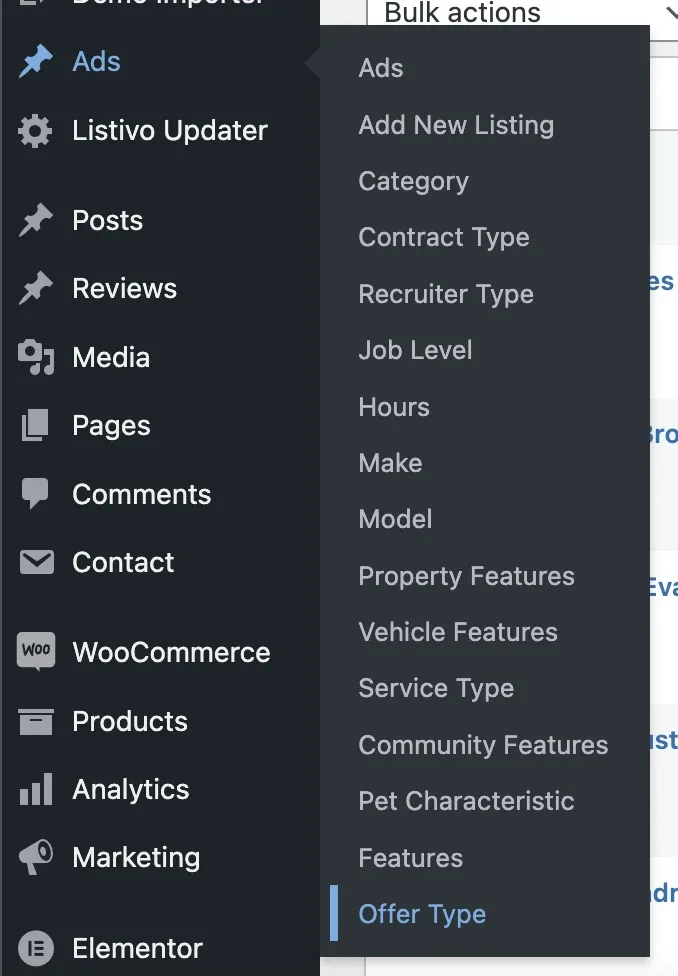
Open the new taxonomy
Hover over "Ads" and select "Offer Type" (your newly created field) from the dropdown menu.
-
2
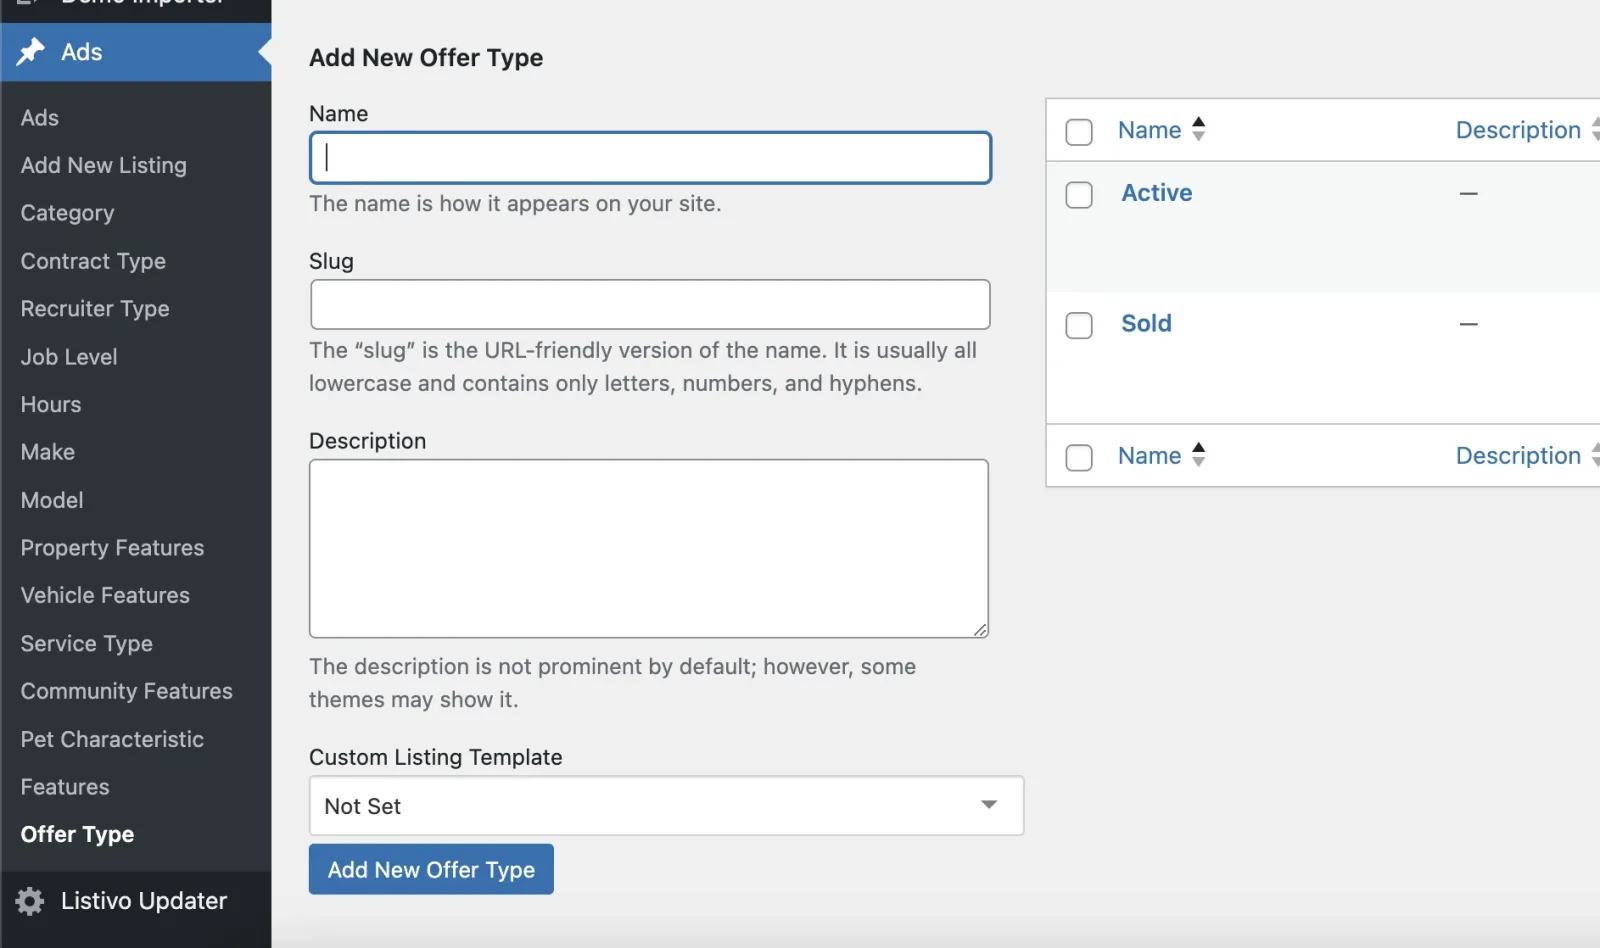
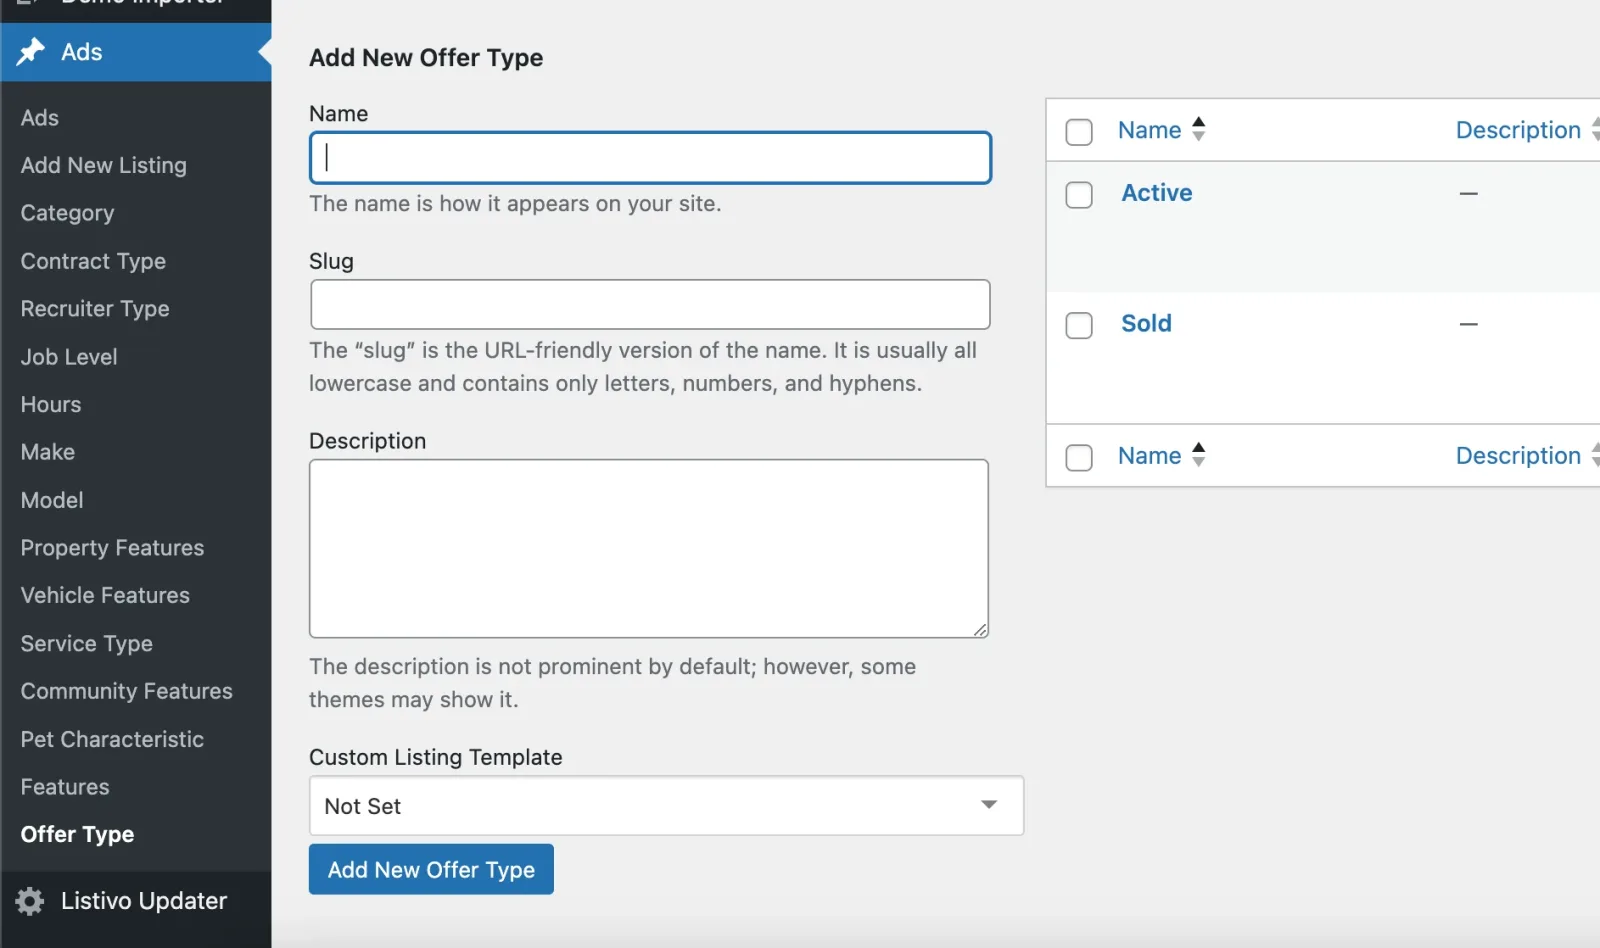
Add the two terms
Add two types of offers: "Active" and "Sold."
3. Display the new field as an ad card label
-
1
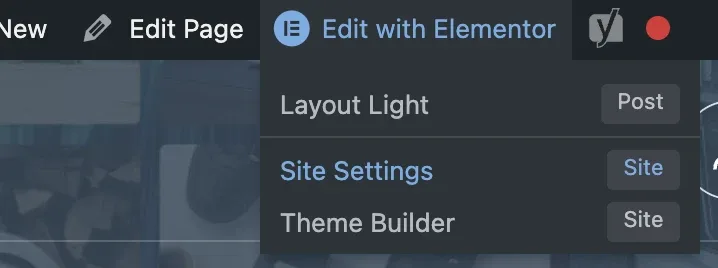
Visit Elementor Site Settings
Open the Edit with Elementor menu and choose Site Settings.
-
2
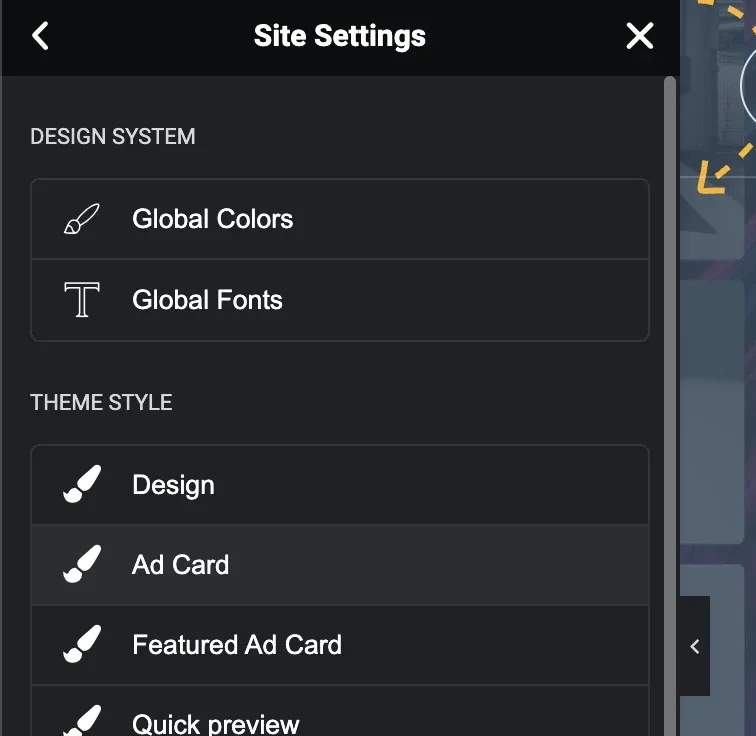
Choose "Ad Card"
Under Theme Style, pick Ad Card.
-
3
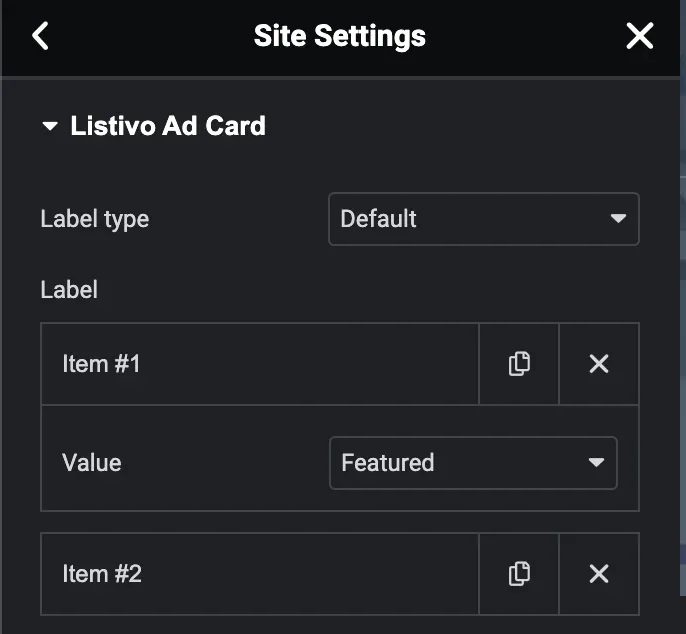
Set Item #1 to "Featured"
Select the "Label type" as "Default" and configure Item 1 as "Featured."
-
4
Set Item #2 to "Offer Type"
Configure Item 2 as "Offer Type."
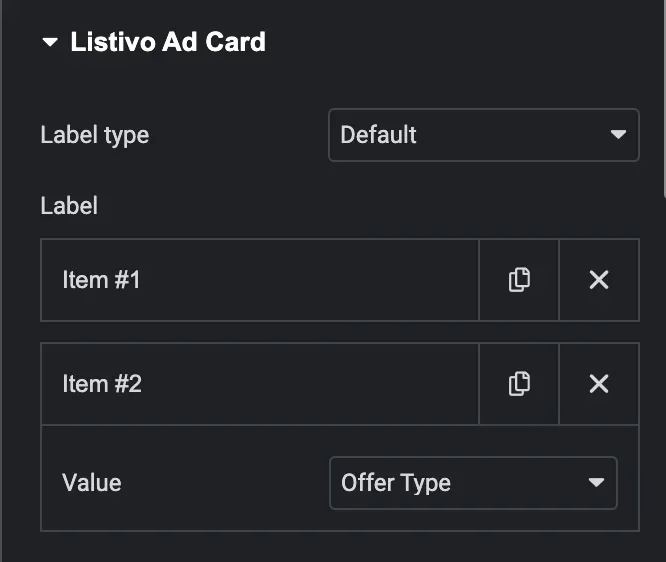
Now, the offer type value will be displayed on your ad cards.
4. Edit the "Sold" term
-
1
Go back to Ads > Offer Type
Return to the screen where you added the terms.
-
2
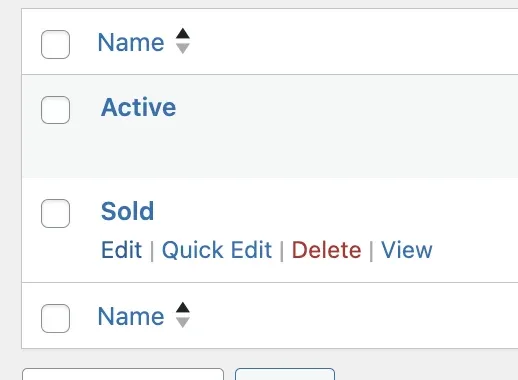
Edit the "Sold" term
Hover over the term and click Edit.
-
3
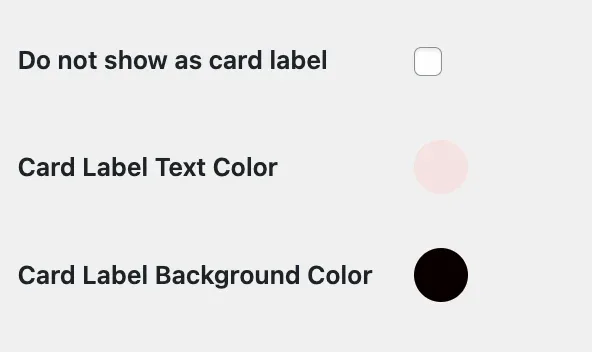
Set the label colours
You will find three new settings. The first, "Do not show as card label," can be useful in other contexts (e.g., check it later for the "Active" term if you do not need the "Active" label to be displayed). More importantly, you will see controls for Card Label Text Color and Card Label Background Color. For the "Sold" label, set these as desired — for example, a black background with a light red text colour, as shown.
5. Mark an ad as sold
Edit any ad you wish via the front-end or backend panel and select the "Sold" option from "Offer Type."
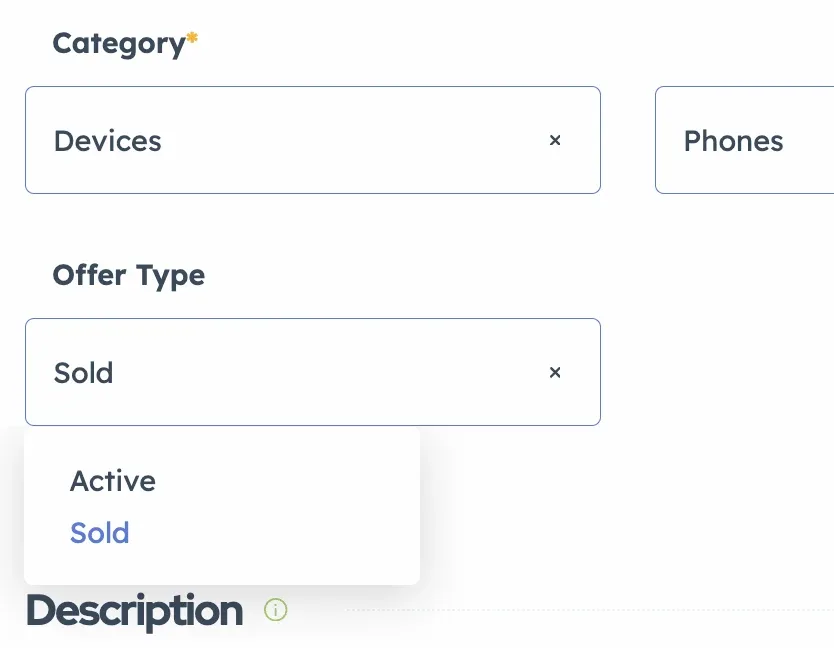
From now on, your ad card will display the "Sold" label.
6. Exclude sold ads from the main search form
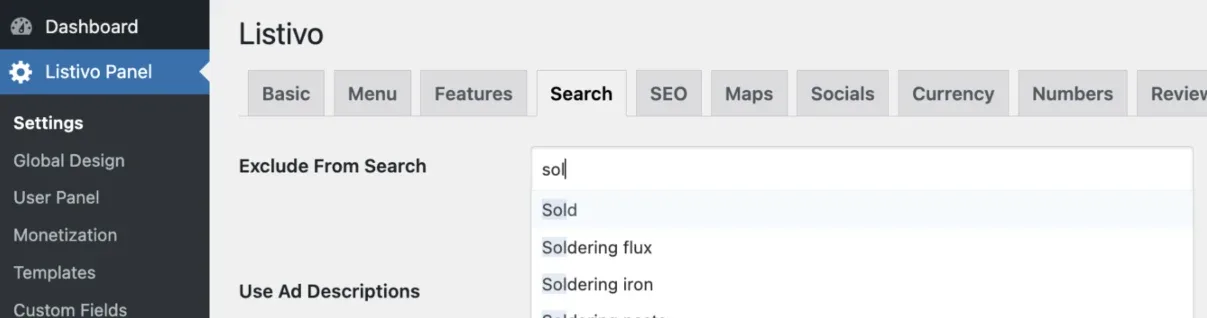
Visit the Listivo Panel > Search. Choose "Sold" in the "Exclude From Search" option. This ensures that sold ads do not appear in the main search results but remain accessible via direct links or search engines like Google, avoiding 404 errors.
Ask the people who build Listivo
We answer by email from support@tangiblewp.com. With Premium Support, we also fix your site when something breaks.
We can also run your site for you, or build a new one.
Was this guide helpful?