Custom fields overview and adding a new field on single / inventory page
Custom fields are how a Listivo listing stores everything beyond its title and description. This guide walks through all ten field types, the settings they share, and how to place a new field on your search results page and single ad page.
5 minute read
We have created a transparent system for adding custom fields that you can quickly adapt to your needs. Below you can find descriptions and detailed information about each type of field.
In this article you will find
- Types of custom fields
- Common settings for custom fields
- Inventory page
Types of Custom Fields
- Taxonomy
- Text
- Rich Text
- Number
- Price
- Location
- Embed
- Gallery
- Attachments
- Salary
1. Taxonomy
In Listivo, you can use a taxonomy to organize groups of your listings. For example, in one of the Listivo demos you can see how a taxonomy was used for the category field.
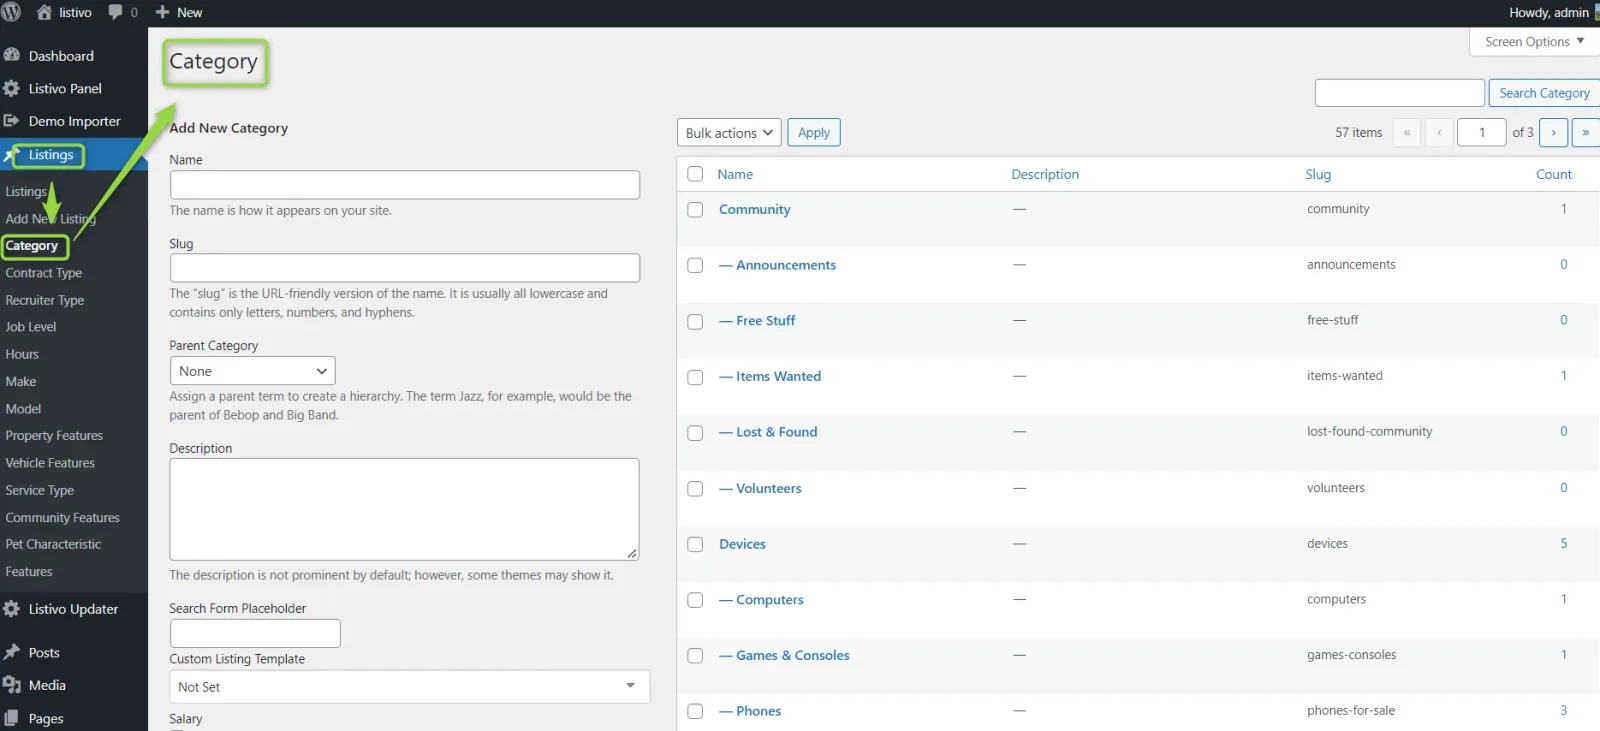
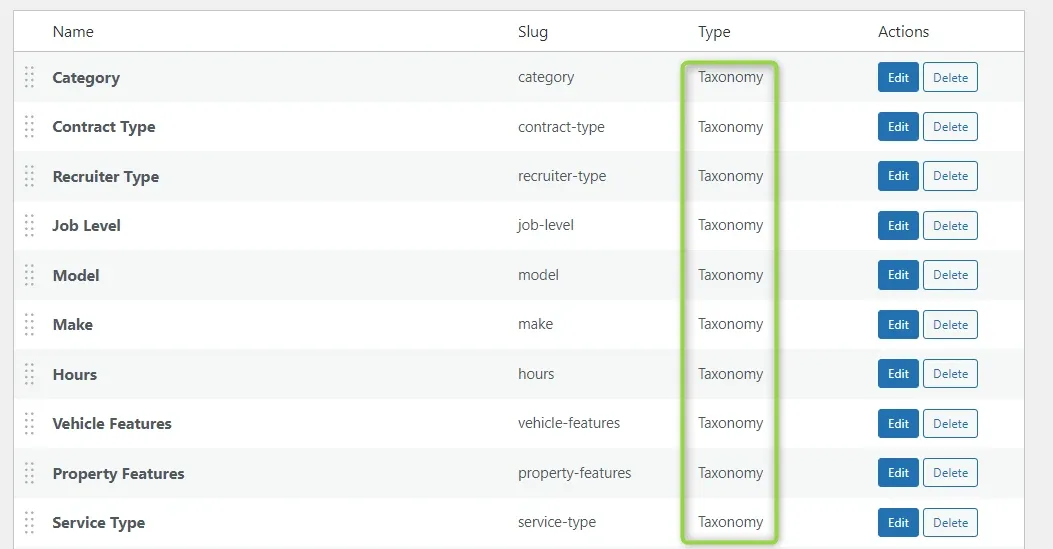
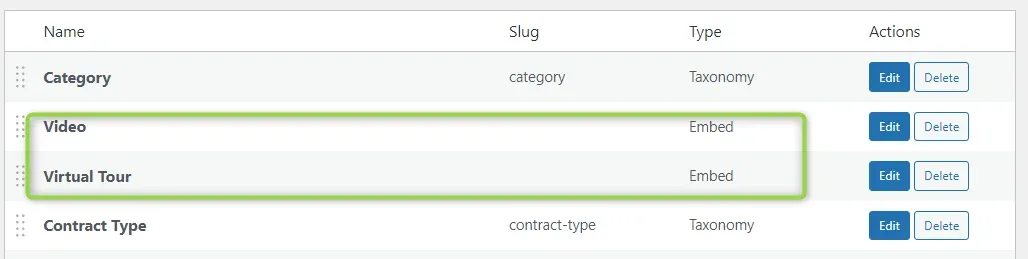
You can use as many taxonomy-type fields as you need on your website. For example, we used this type for the following fields in our demo.
2. Text
Text is intended for a simple, small field. You can use it for a VIN or your internal listing number.
3. Rich Text
You can use it to add additional text beyond the description to the listing — for example, other services or special offers.
4. Number
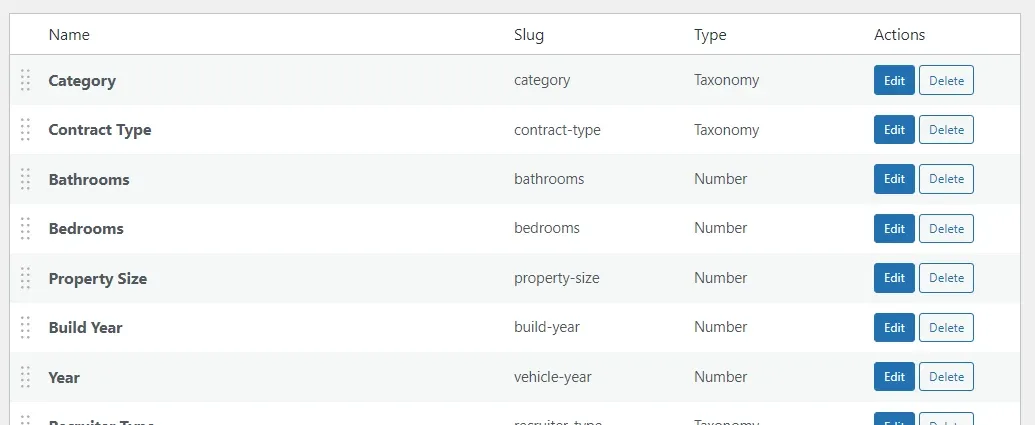
The Number field can be used for the year of construction, the size of a property or the mileage of a car. Depending on your needs, the field can also be configured to display a value after or before the number entered. You can put masks on the field. The values given in it will not appear in the loan calculator.
5. Price
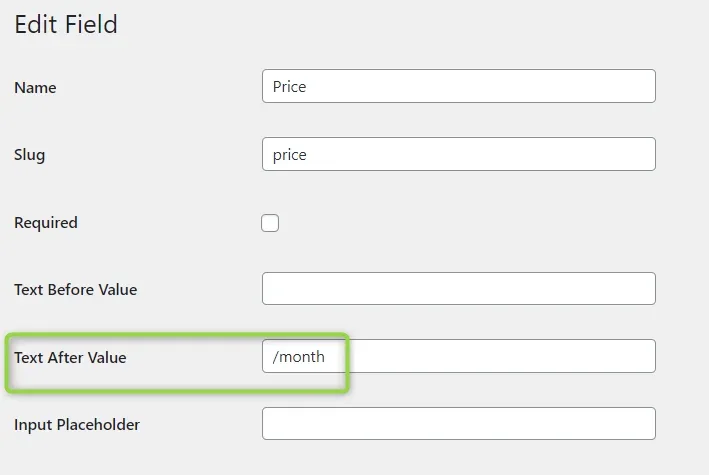
The field is used to provide the price of the added listing. Depending on your needs, the field can be configured to display a value after or before the price entered. The values given in it will appear in the loan calculator.
6. Location
Our product is integrated with Google Maps. After adding your API key, you can add a location to each listing.
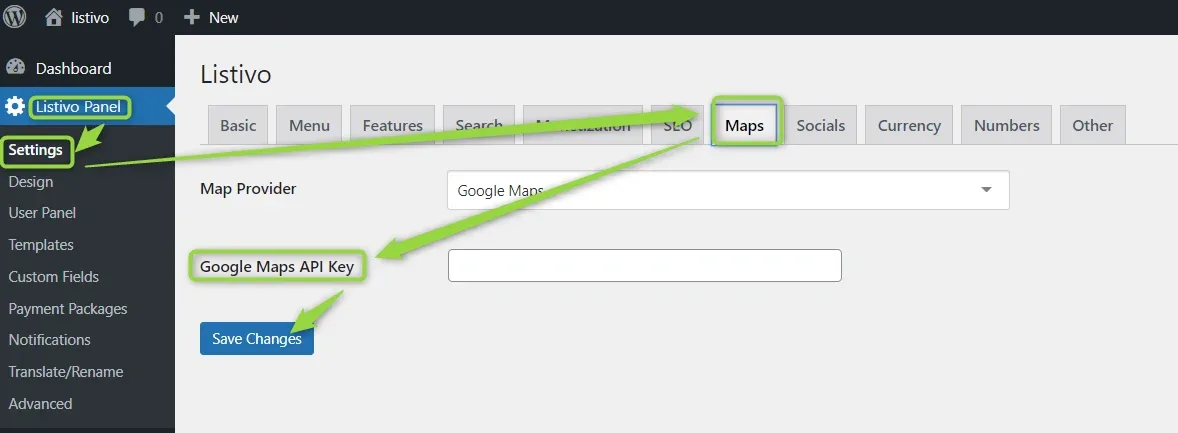
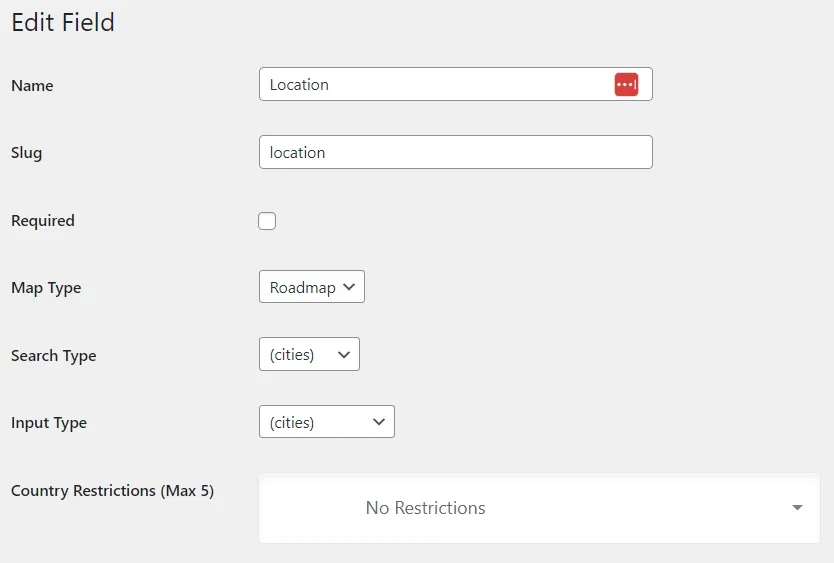
You can adjust the settings depending on your preferences. You can choose the Map Type (roadmap, satellite, hybrid, terrain), the Search Type (cities, regions, address) and the Input Type (geocode, establishment, cities, regions, address). You can also set the countries you want to restrict the location to on your website (max 5).
7. Embed
You can use this type of field more than once. It can be a link to a video (e.g. from YouTube), or for more advanced users you can allow raw HTML.
8. Gallery
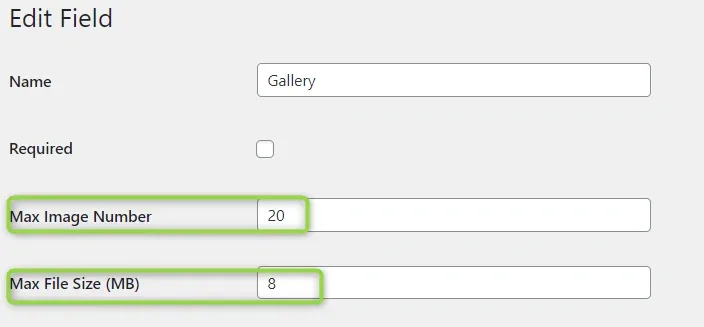
Thanks to this field type, you can add photos to your listing. If necessary, more than one gallery can be added to one listing. You can configure it and add restrictions on the size of photos and the number of photos.
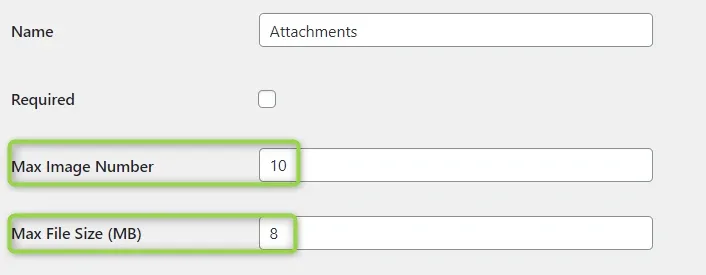
9. Attachments
The field type is used to add the necessary attachments to the listing. It can be a technical specification, a leaflet, or a sample contract. The configuration allows you to limit the size and number of attachments.
10. Salary
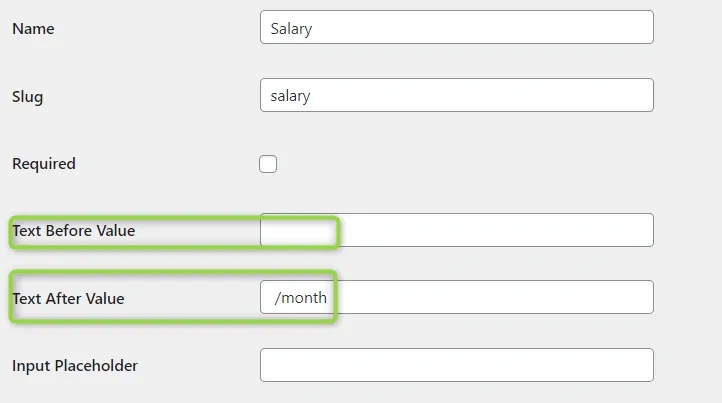
The field is used to specify the salary of an added listing, e.g. for a job advertisement. Depending on your needs, the field can be configured to display a value after or before the amount entered (for example, text after the value such as / month). The values given in it will not appear in the loan calculator.
Common settings for Custom Fields
Some background information about the settings every field type shares.
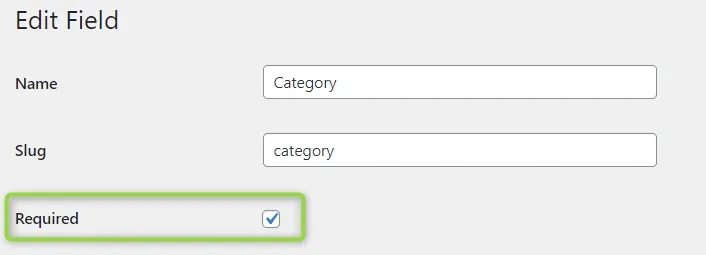
All fields have the possibility to check 'is Required' — thanks to this, you cannot add a listing without this field.
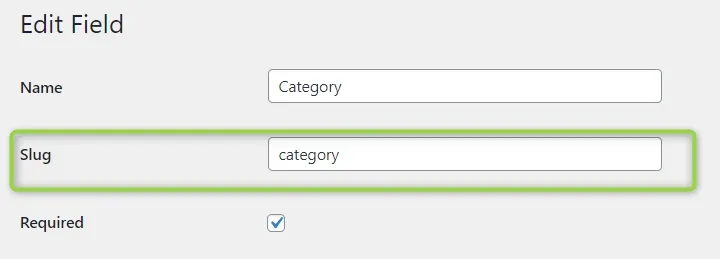
A 'Slug' is automatically added to each field. You can change it if you want. A slug is the part of the URL that explains the page's content.
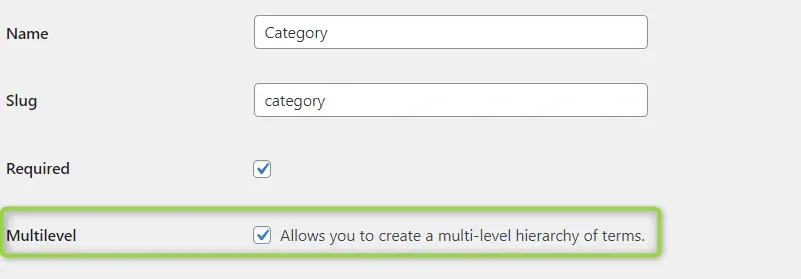
'Multilevel' is an option that allows you to select more than one category for the listing.
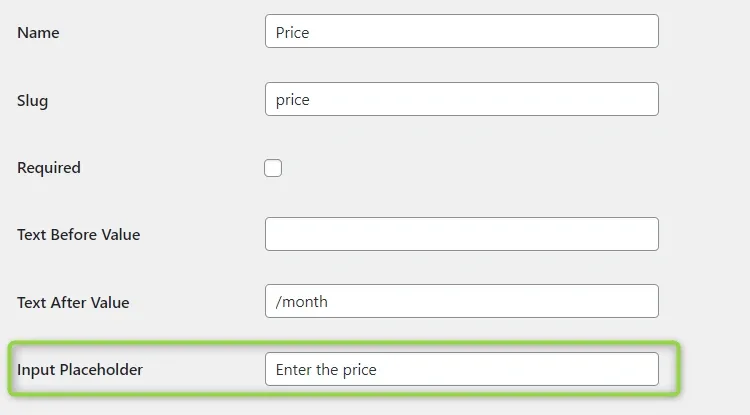
The Input Placeholder field gives a short hint that describes the expected value of an input field. The hint is displayed before the user enters a value. For example, use it to tell the user what information should go in the field.
'Who can see this field on the single listing page?' and 'Who can fill out this field on the frontend panel?' allow you to control visibility depending on the type of user.
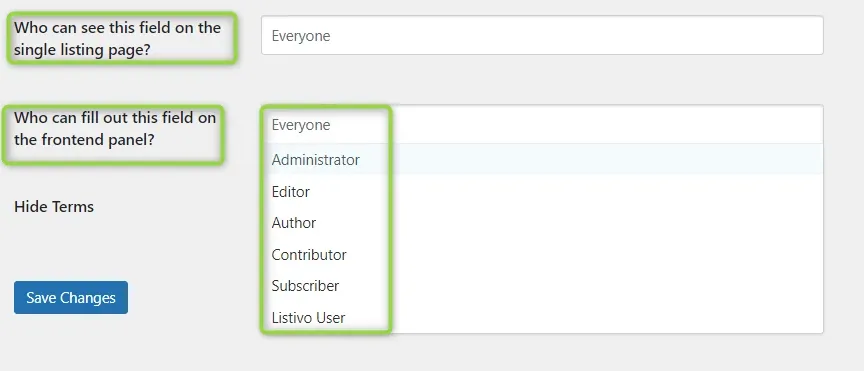
You can also hide chosen fields depending on the categories. In 'Hide Terms', you simply select the categories. For example, the salary field is not used in apartments, boats, or cars.

Inventory page
Add the field to the search results page
-
1
Open the template
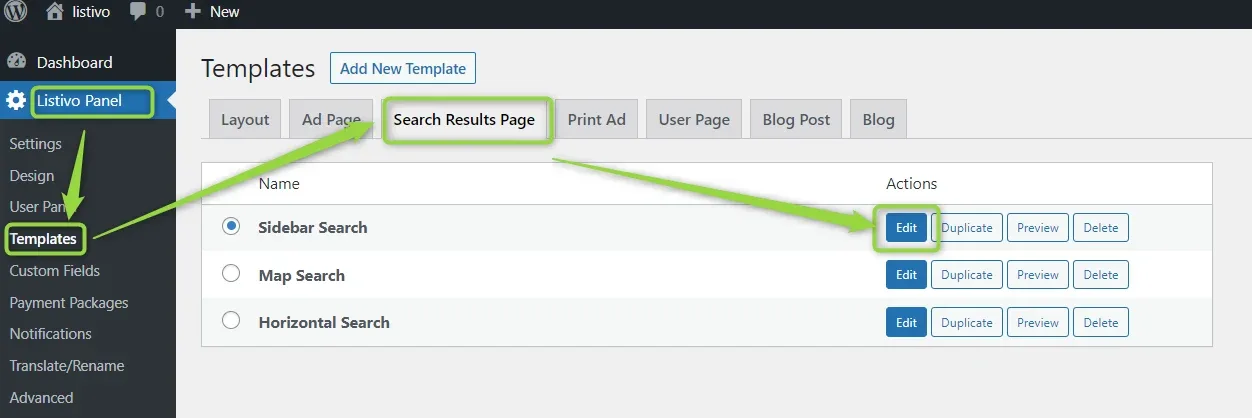
Go to Listivo Panel -> Templates and pick the template you want to edit. In the example below, we edit the search results page.
-
2
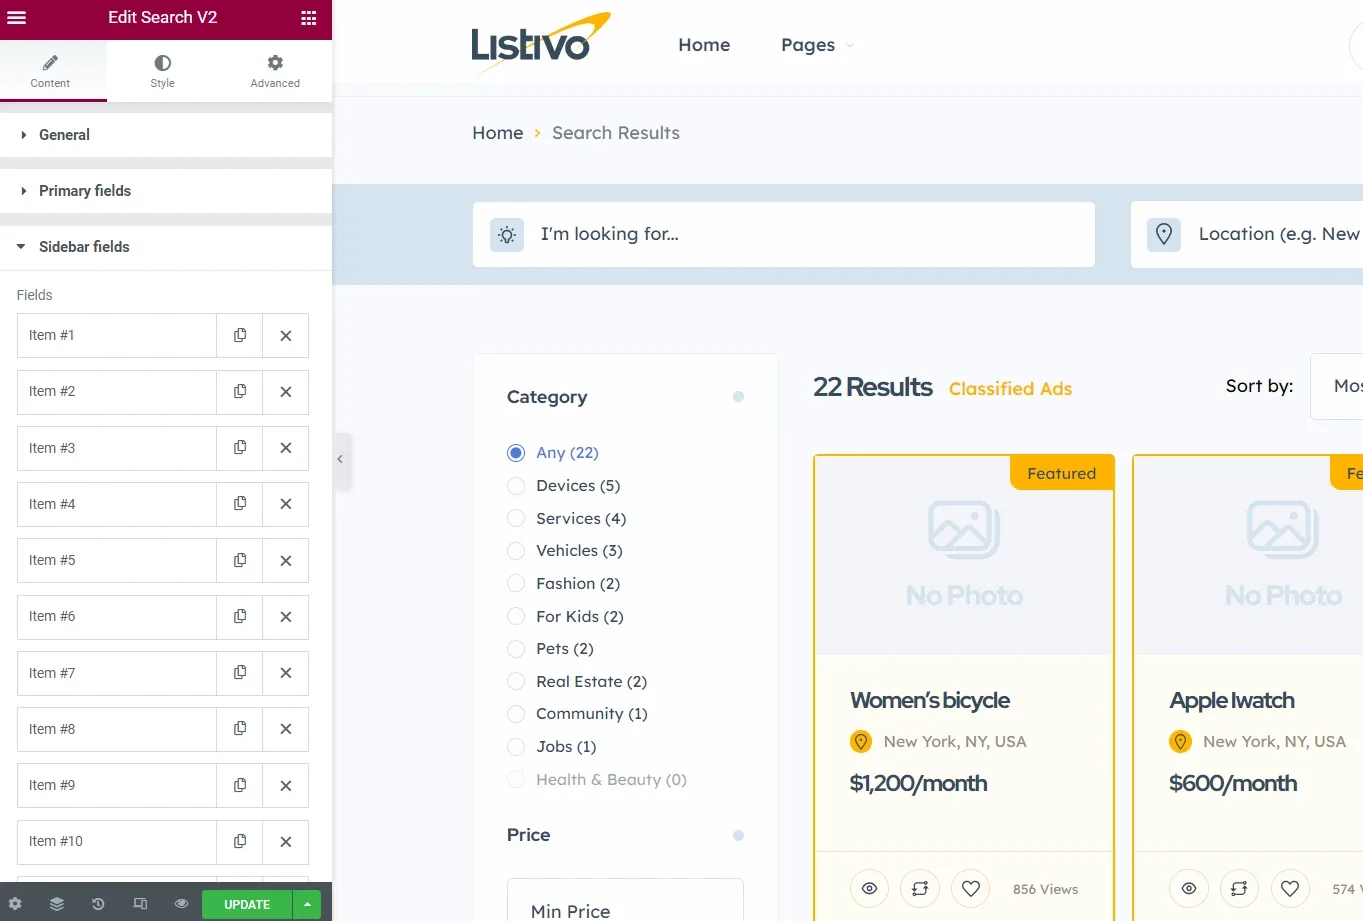
Open the Search V2 widget
Using Elementor, you can add your new field to the Search V2 widget.
-
3
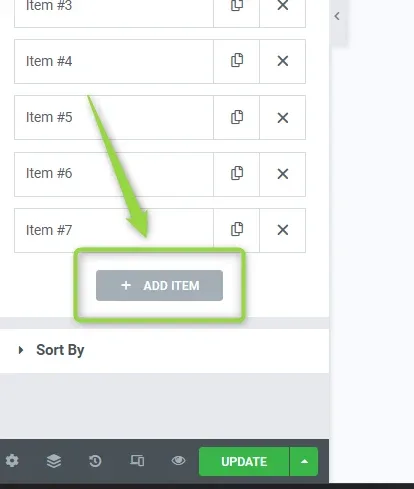
Add an item
Click on the "Add item" button under the list of fields.
-
4
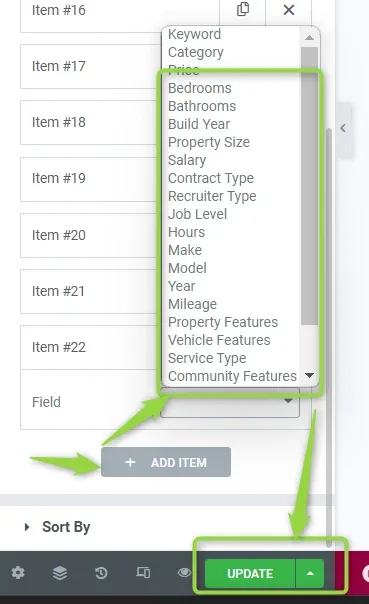
Pick your field
Select the new field from the list. Configure how you would like to display it, and remember to update.
Add the field to the single ad page
-
1
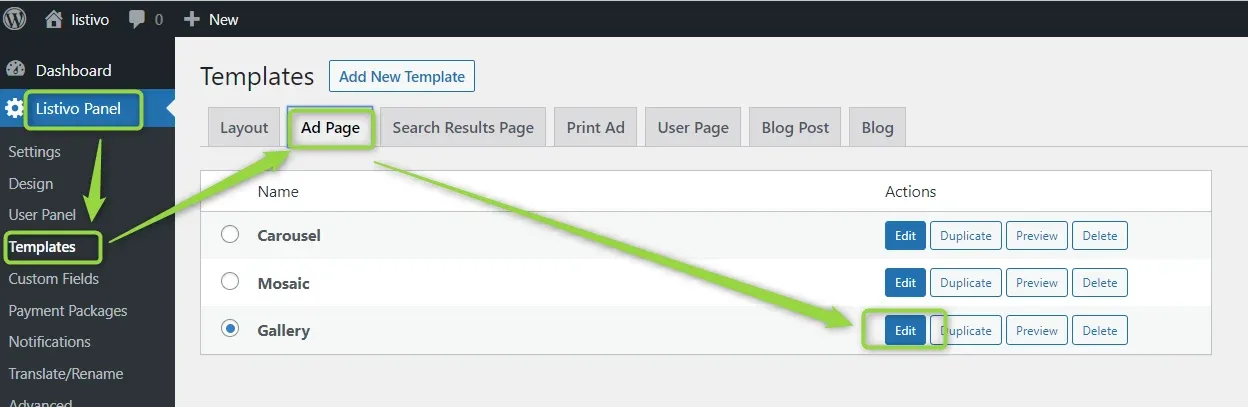
Open the template
Go to Listivo Panel -> Templates and pick the template you want to edit. In the example below, we edit the Single Page.
-
2
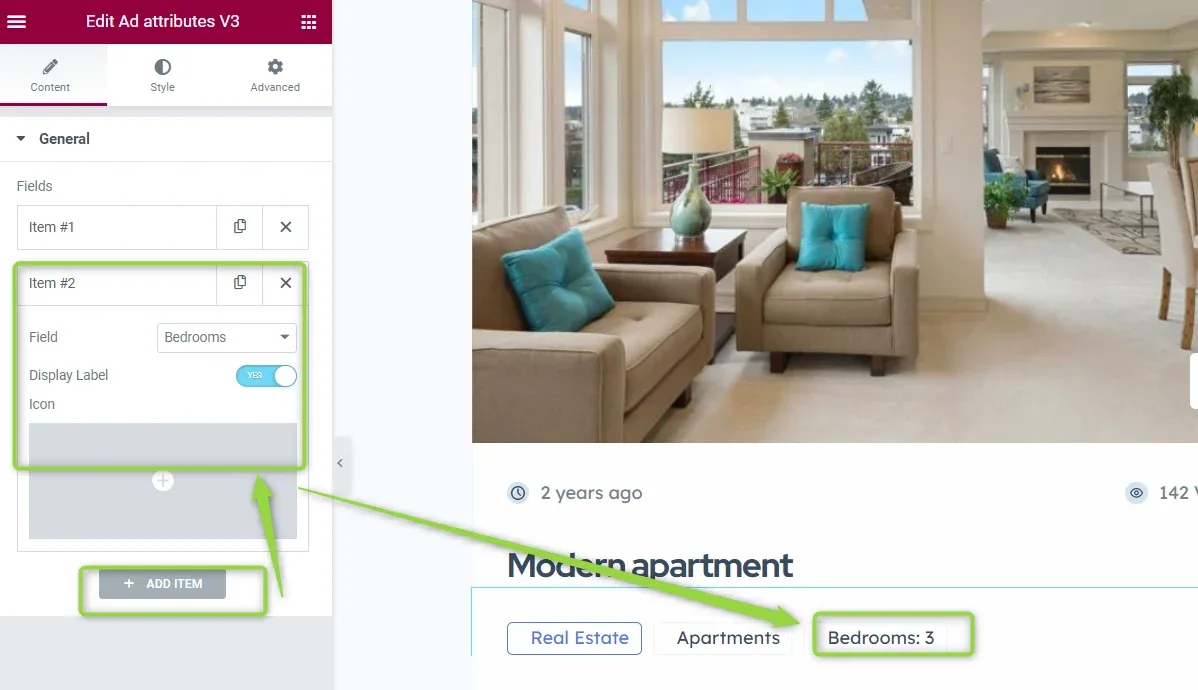
Add the field to the widget
Using Elementor, you can add your new field to the widget.
-
3
Pick your field
Select the new field from the list. Configure how you would like to display it, and remember to update.
Ask the people who build Listivo
We answer by email from support@tangiblewp.com. With Premium Support, we also fix your site when something breaks.
We can also run your site for you, or build a new one.
Was this guide helpful?