Skip to content

Quick View

Switch Quick View on so every ad card carries an eye icon that opens a popup preview of the ad, and decide which fields, colors and fonts that popup uses.

1 minute read

Turning Quick View on

Quick View can be turned on or off in the Listivo Panel under Features > Quick View.
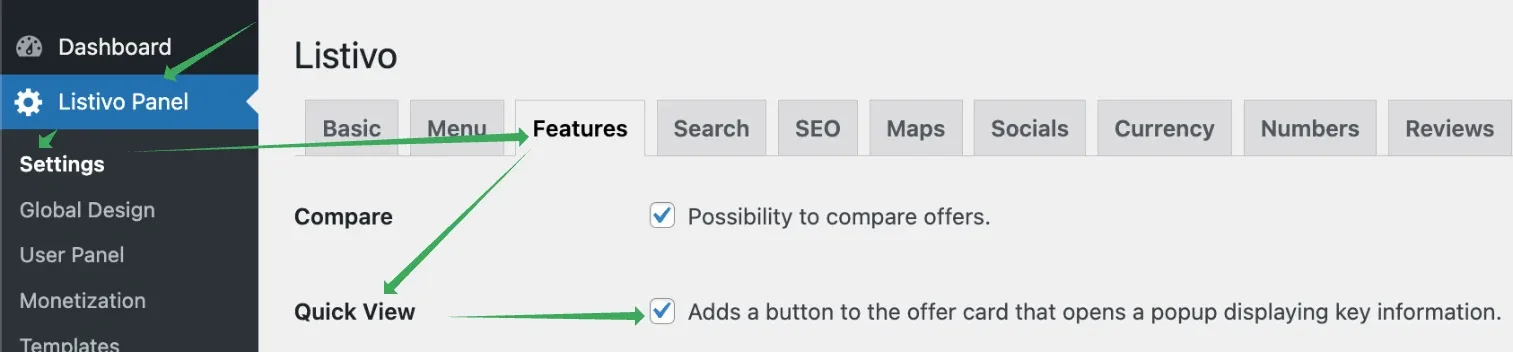
The Listivo Panel with the Features tab open, showing the Compare checkbox and, below it, the ticked Quick View checkbox described as "Adds a button to the offer card that opens a popup displaying key information".

It adds an eye icon button to Ad Cards.
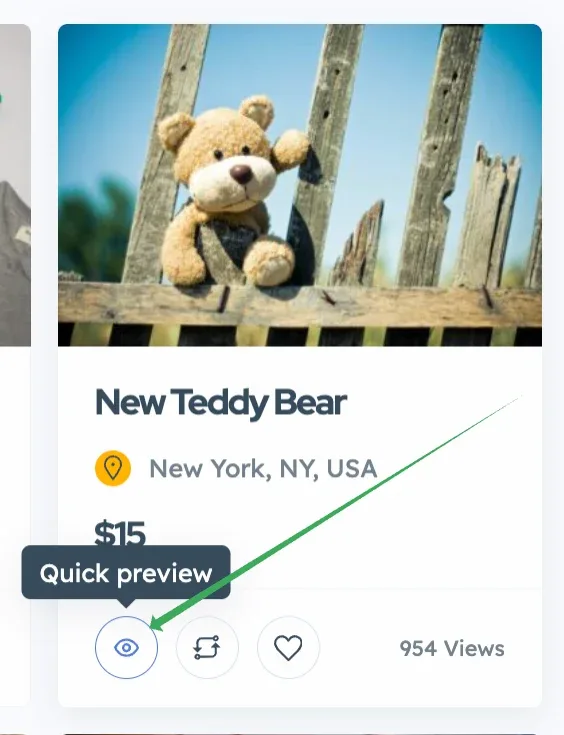
An ad card for "New Teddy Bear" priced at $15, with the eye icon in the row of card buttons showing a "Quick preview" tooltip.

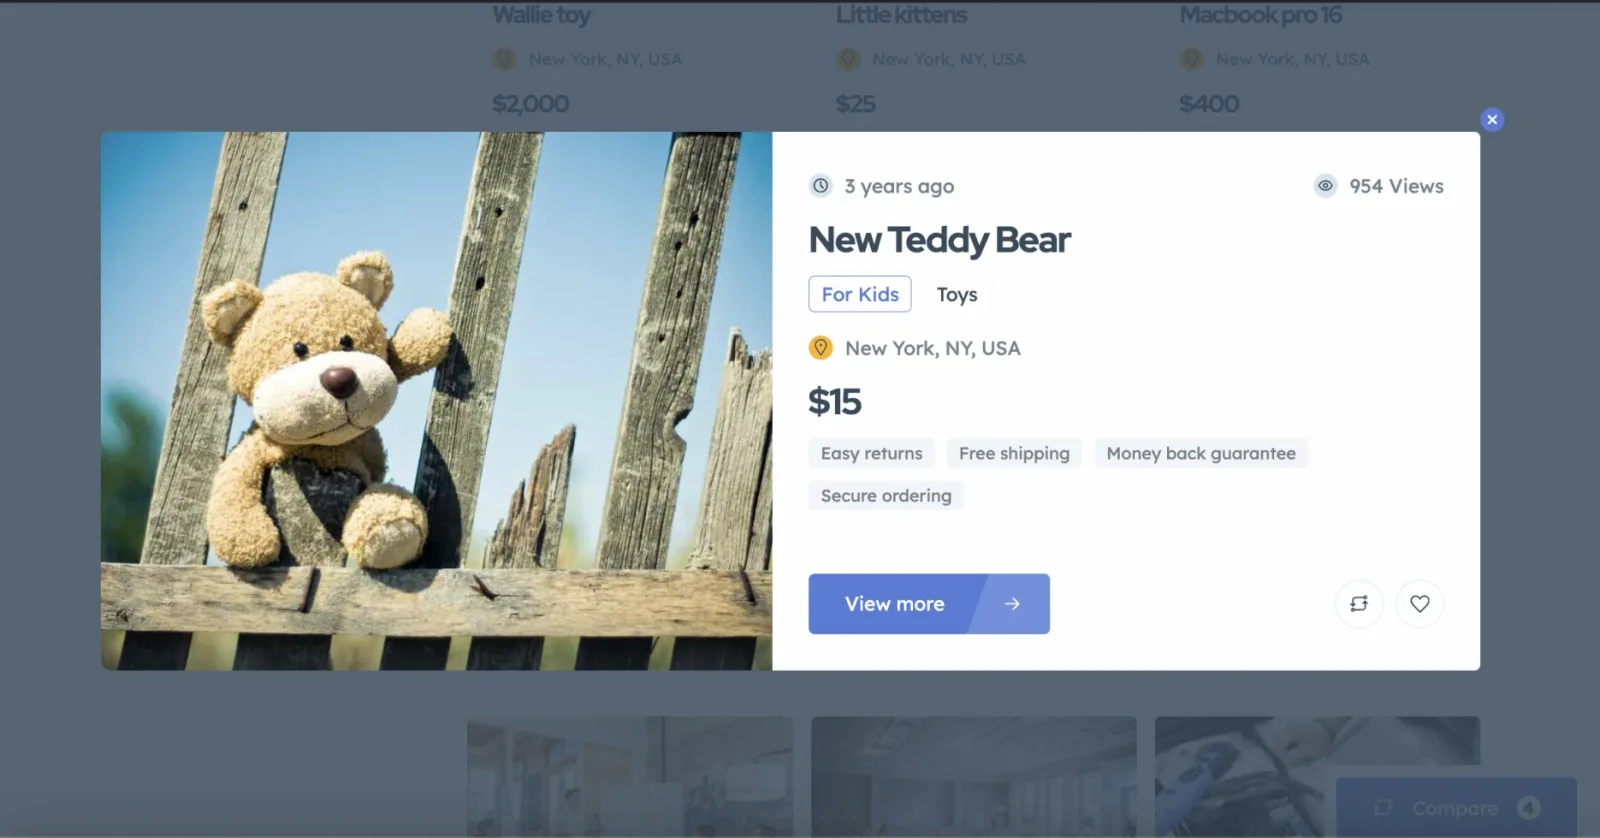
When users click it, a popup opens.

The Quick View popup over a dimmed listing page: the ad photo on the left, and on the right the age of the ad, view count, title, category tags, location, price, a row of small badges and a View more button.

Choosing what the popup shows

  1. 1 Open Site Settings

    Go to Elementor > Site Settings.
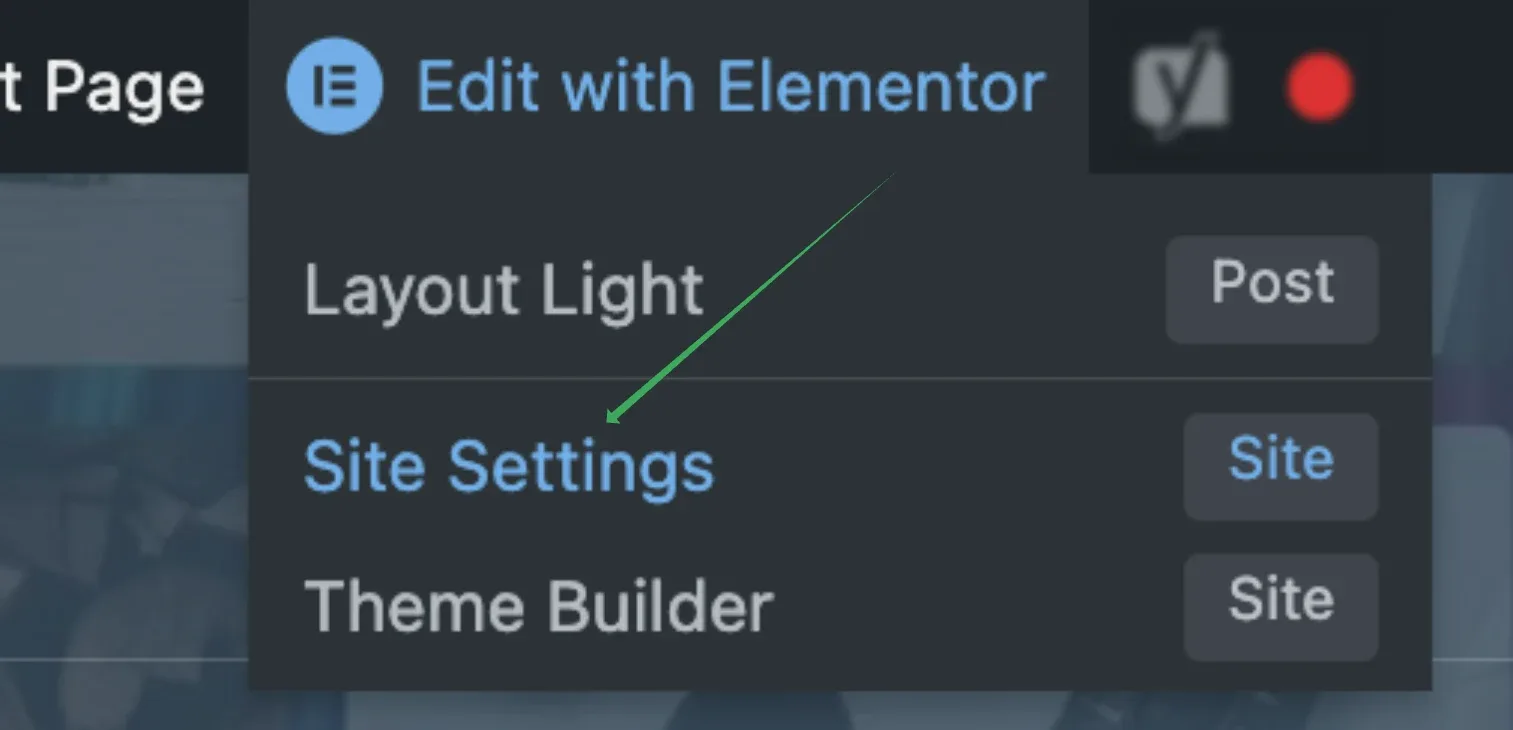
    The Edit with Elementor menu open in the WordPress admin bar, with Site Settings picked out from Layout Light and Theme Builder.
  2. 2 Select Quick View

    In Site Settings, open the Quick View entry under Theme Style.
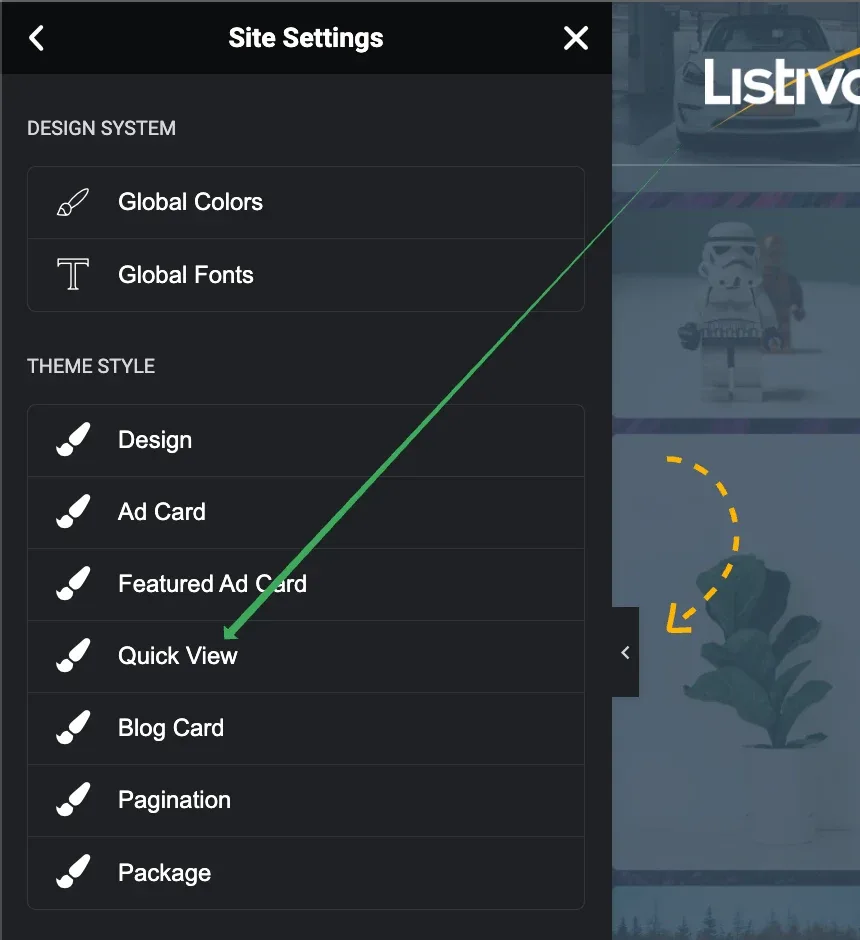
    Elementor's Site Settings panel listing Global Colors and Global Fonts under Design System, and Design, Ad Card, Featured Ad Card, Quick View, Blog Card, Pagination and Package under Theme Style, with Quick View pointed out.
  3. 3 Pick the fields and styling

    Choose the fields you want to display and configure the colors and typography settings.
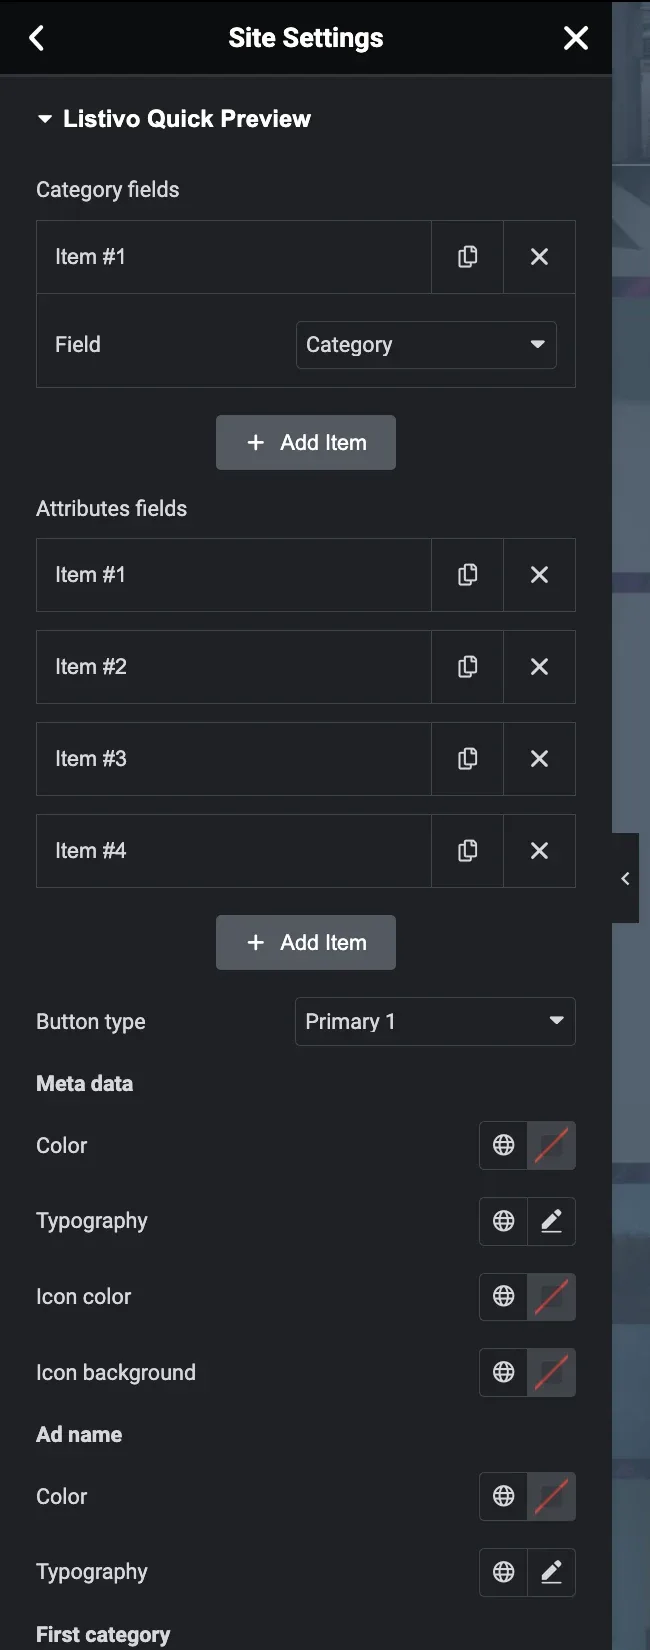
    The "Listivo Quick Preview" settings panel with a Category fields item set to Category, four Attributes fields items, a Button type selector and color and typography controls for Meta data, Ad name and First category.

Ask the people who build Listivo

We answer by email from support@tangiblewp.com. With Premium Support, we also fix your site when something breaks.

Was this guide helpful?