How to Customize Your Ad Form Fields
Choose exactly which fields appear on your Listivo Add Ad form and in what order, by editing the Panel widget with Elementor and checking the result on the front end.
1 minute read
-
1
Update Listivo first
Ensure you are using the most recent version of Listivo.
-
2
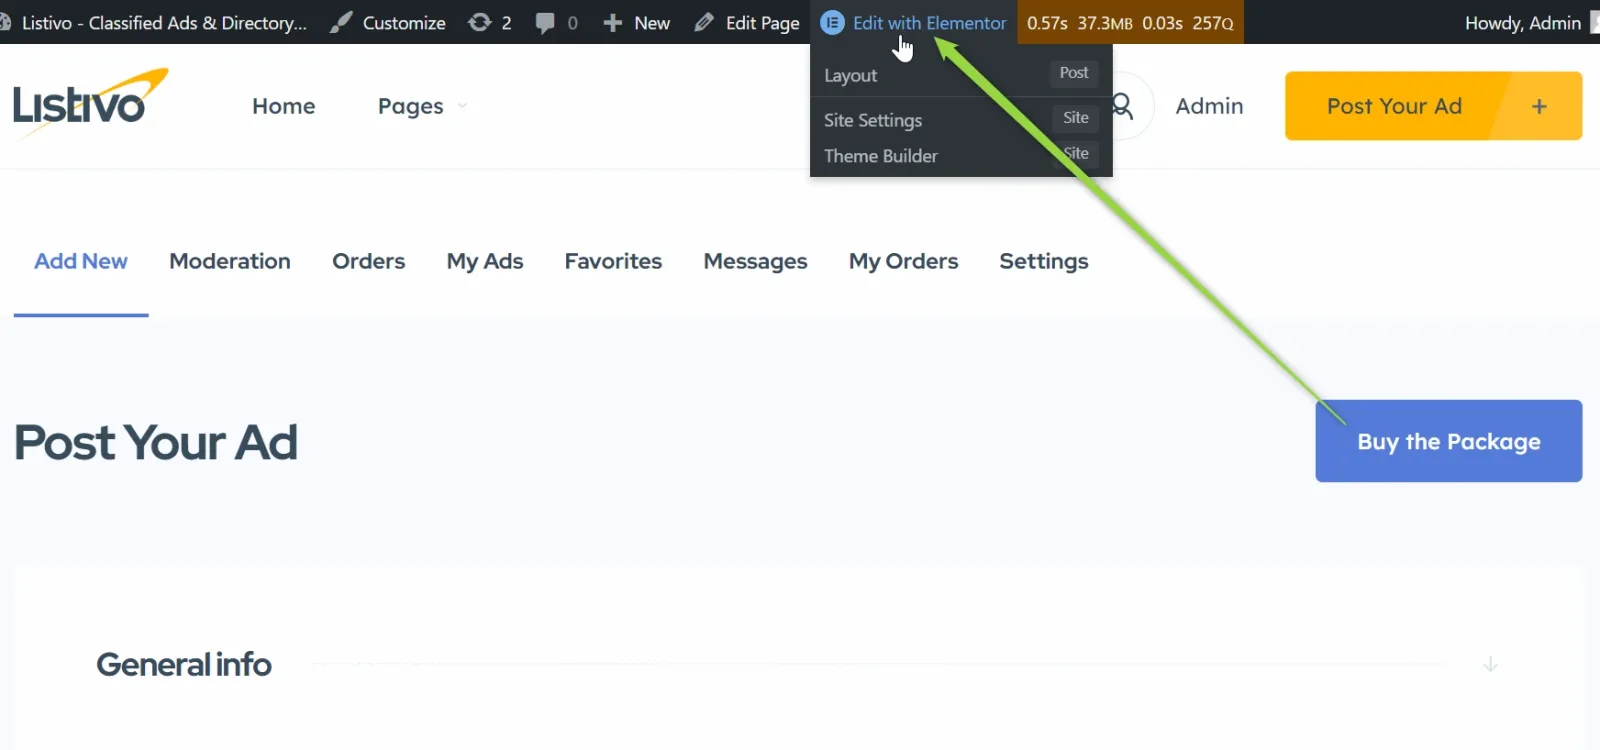
Open the Panel page in Elementor
Access the Panel Page and edit it using Elementor Page Builder.
-
3
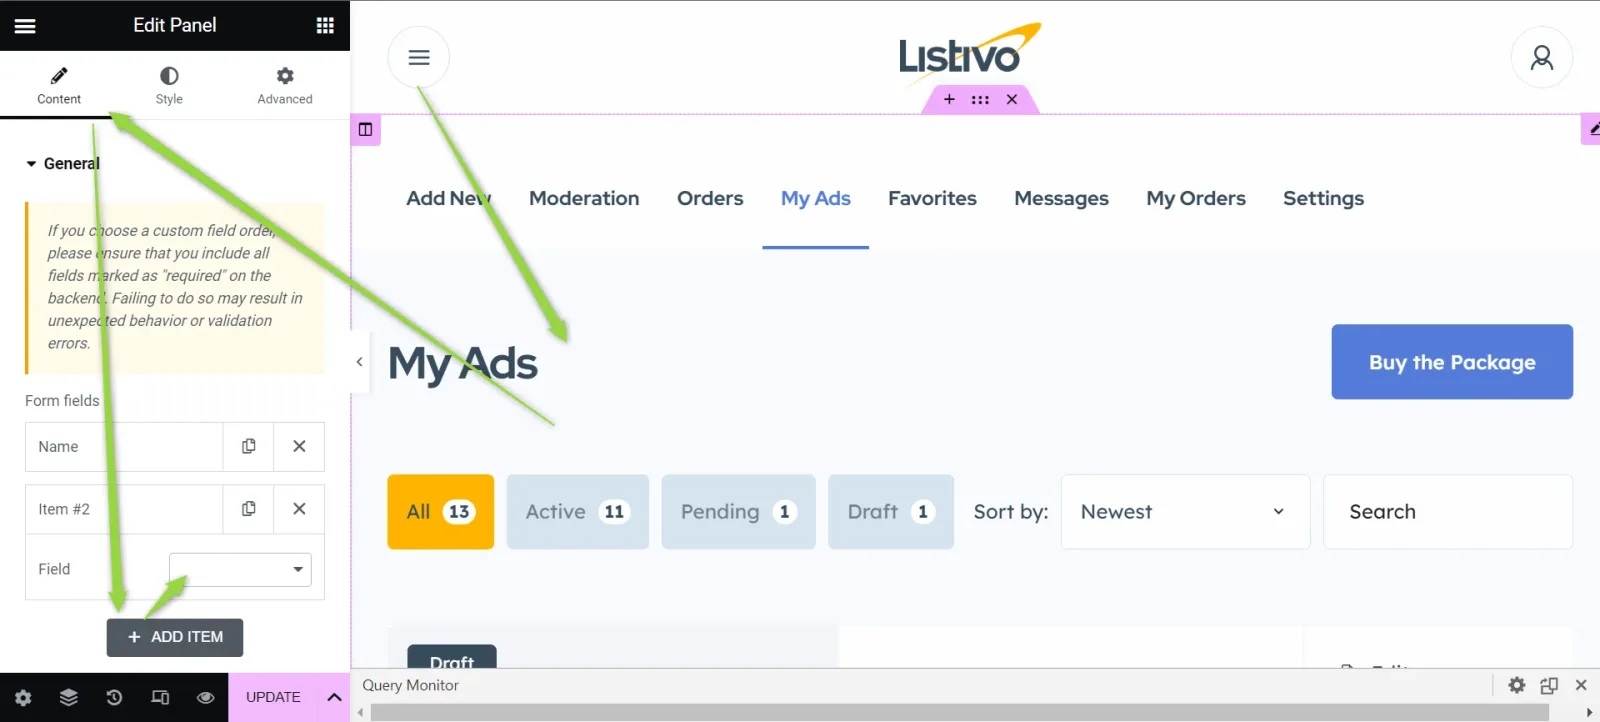
Open the Form Fields section
To customize the form fields for your ad, edit the Panel widget and then visit the Form Fields section.
-
4
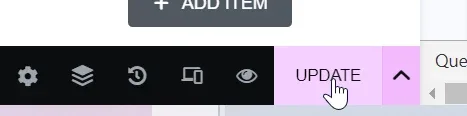
Rearrange the fields and save
Please note that the Elementor Live Preview feature is currently unavailable. However, you can still drag and drop fields to rearrange their order. Once you have finished customizing your form fields, click Update to save your changes.
-
5
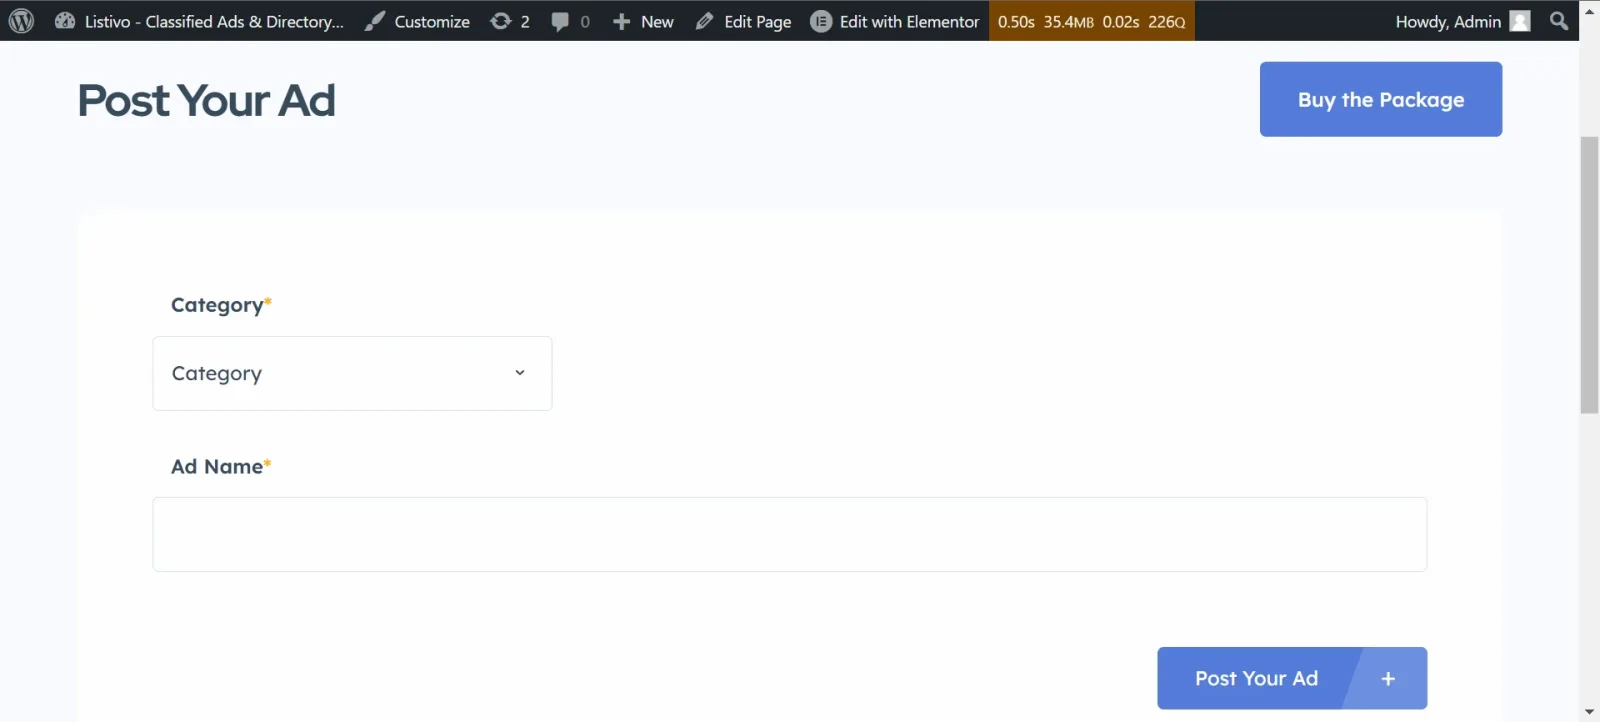
Check the result on the Add Ad page
Open your profile and visit the Add Ad page in a new tab to confirm that only the fields you selected are displayed, and that they appear in the desired order.
Ask the people who build Listivo
We answer by email from support@tangiblewp.com. With Premium Support, we also fix your site when something breaks.
We can also run your site for you, or build a new one.
Was this guide helpful?