Monetization Systems – PayPal, Stripe and WooCommerce Payments Gateways
Vehica can charge users for adding listings, either through its built-in PayPal and Stripe checkout or through any WooCommerce payment gateway. This article shows what each system gives you, how to set up free and paid packages, and which keys you need to start taking payments.
3 minute read
Vehica has 2 types of monetization systems:
- Built-in (PayPal & Stripe)
- WooCommerce Payment Gateways
You can turn one of the systems on here:
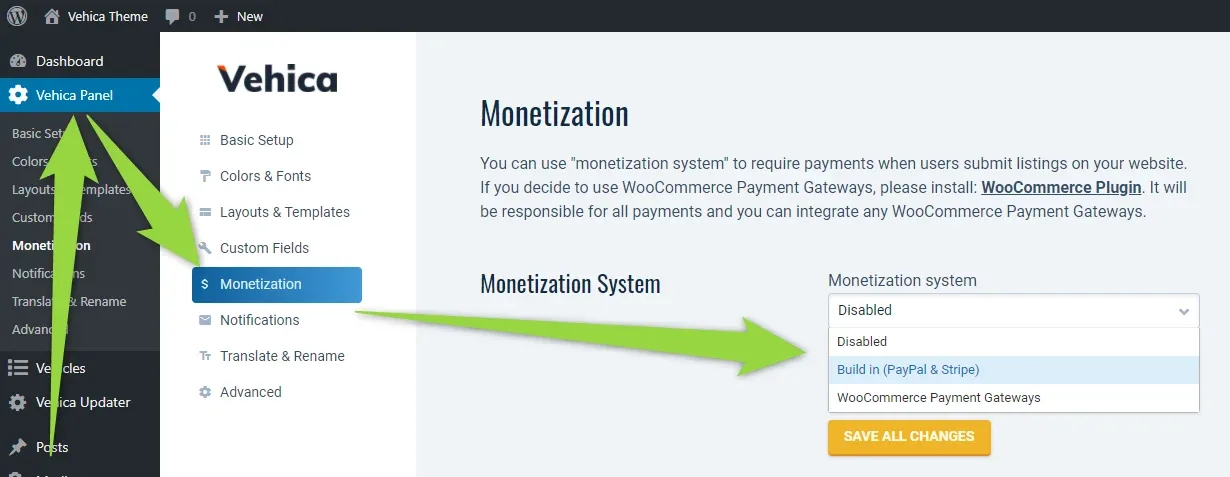
Option 1: Built-in (PayPal & Stripe)
The big benefit of this integration is that it is ultra-fast and easy to use.
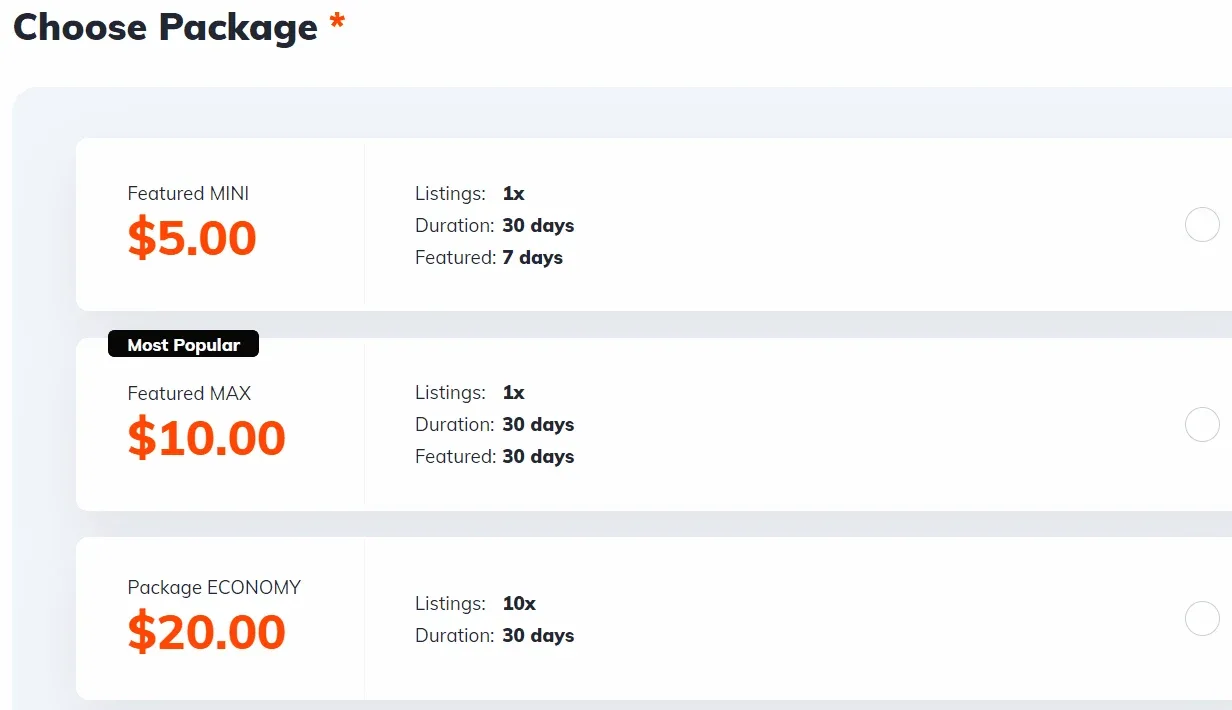
Option 2: WooCommerce Payment Gateways
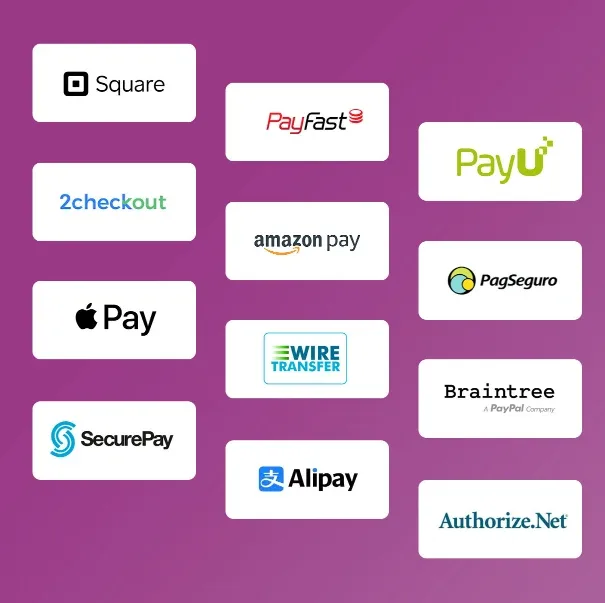
The big benefit of this integration is that it allows you to integrate many different online payment systems, e.g.
Free listings
Both systems offer the option to give your users free listings. It can be an important part of your marketing. You can find it in the Vehica Panel > Monetization.
“Add for free” option
You can create a “free package” that can be used multiple times by each user.
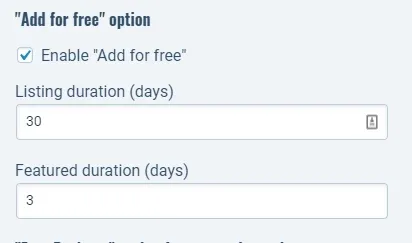
If you configure it the way above, each new listing will be visible on your website for 30 days and it will be featured for 3 days.
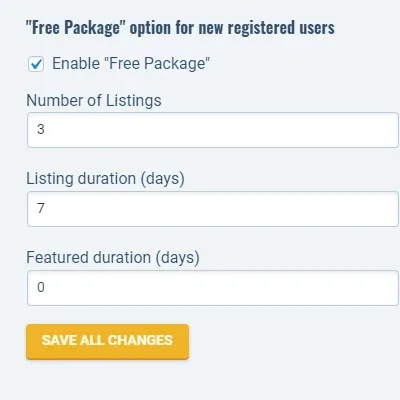
“Free Package” option for new registered users
A new user will get this package for free after registration. The example below shows that a user can add 3 listings for free. The listings will stay 7 days on the website and will not be featured.
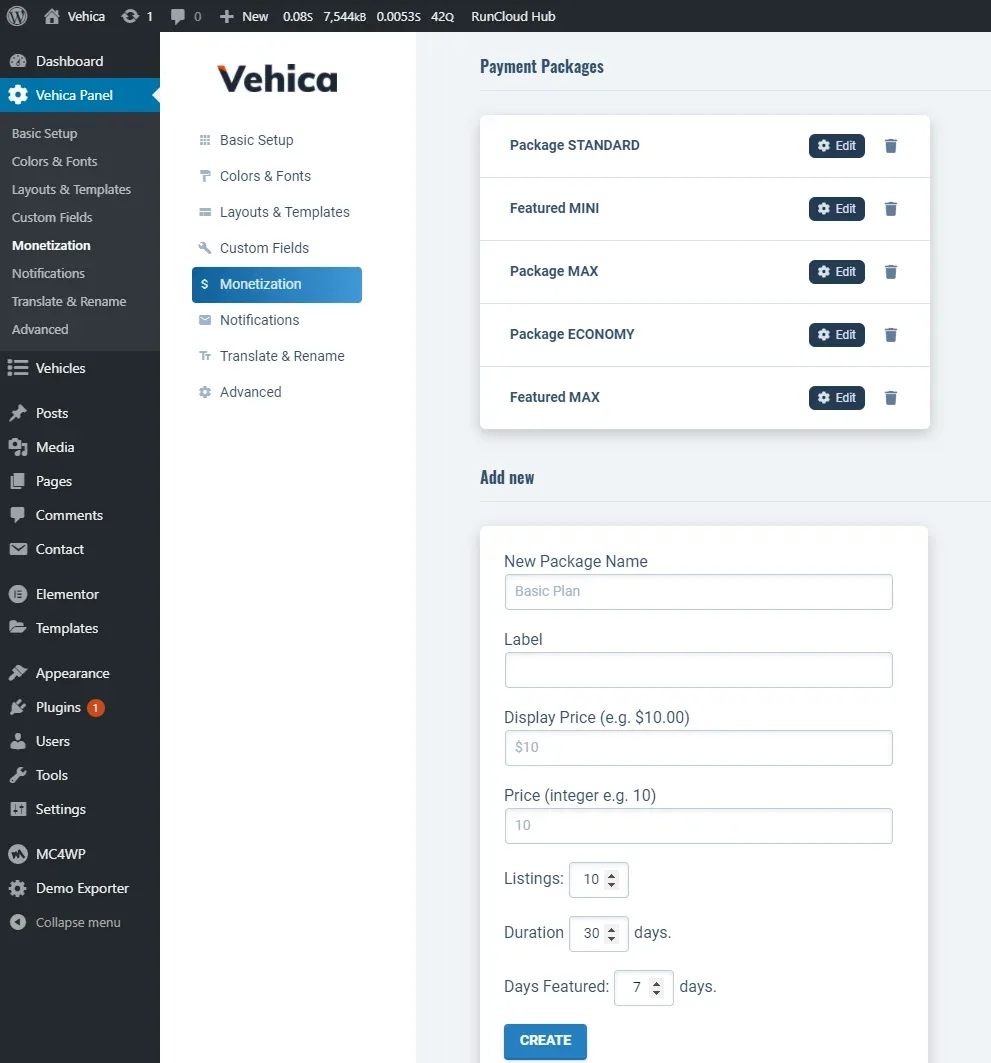
Payment packages
You can edit or add new packages when you scroll down:
Configuring the built-in PayPal and Stripe checkout
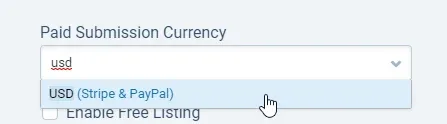
To configure it, first select your currency, e.g. USD.
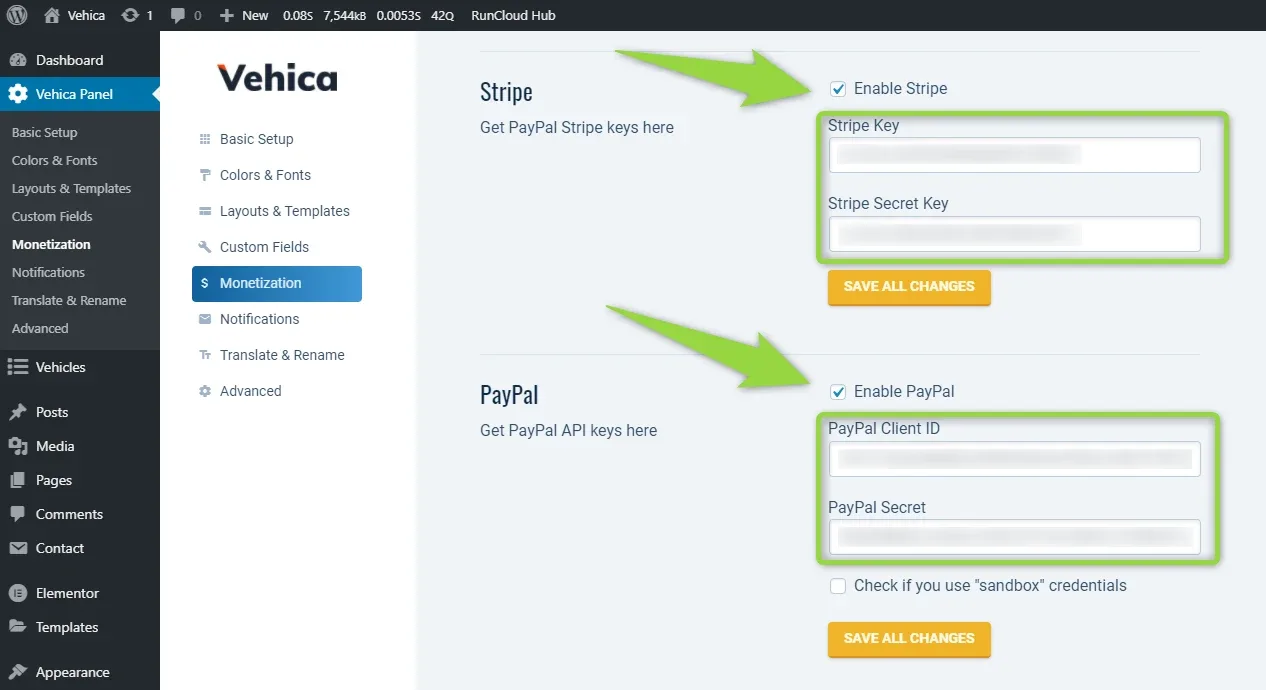
Please generate API keys for both, or one, of the online payment systems:
Now you just need to select “Enable Stripe” / “Enable PayPal” and add your keys to the panel.
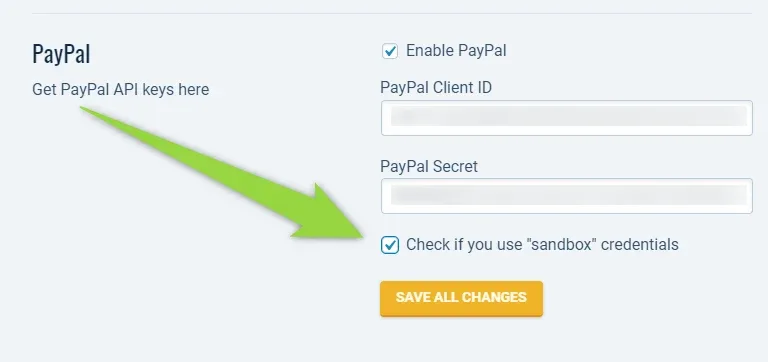
That’s all, your website is fully ready to receive payments.
Configuring WooCommerce Payment Gateways
Install the WooCommerce plugin
Install any payment gateway and configure it
Please consider that some of the payment gateways may be free and some paid. It is also always worth searching Google for your payment gateway name plus the WooCommerce gateway name, e.g. authorize.net woocommerce payment gateway, because an online payment system often has more than 1 addon. You can find payment gateways in many places, e.g.:
- WordPress Repository (free): https://wordpress.org/plugins/search/payment+gateways/
- WooCommerce Extensions (free & paid): https://woocommerce.com/product-category/woocommerce-extensions/payment-gateways/
- CodeCanyon (paid): https://codecanyon.net/search/woocommerce%20payment%20gateway
In short
- Pick one monetization system in Vehica Panel > Monetization: built-in (PayPal & Stripe) or WooCommerce Payment Gateways.
- The built-in system needs only a currency and your Stripe and/or PayPal keys.
- WooCommerce needs the WooCommerce plugin plus a gateway plugin, but opens the door to many more payment providers.
- Both systems can hand out free listings and use the same paid packages.
Ask the people who build Vehica
We answer by email from support@tangiblewp.com. With Premium Support, we also fix your site when something breaks.
We can also run your site for you, or build a new one.
Was this guide helpful?