Skip to content

How to add new category icon to homepage (hero section)?

Put your own SVG into the row of category icons under the homepage search bar — a pickup, for example, which the demo content does not include.

1 minute read

This is how you add your own icon here — e.g. a pickup, which is not part of the demo content.
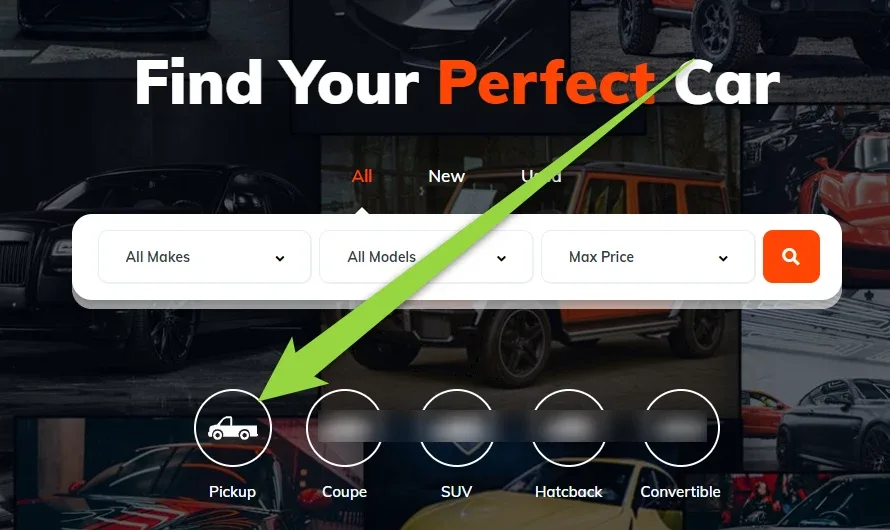
The Vehica homepage hero “Find Your Perfect Car” with the All Makes / All Models / Max Price search bar and a row of round category icons below it — Pickup, Coupe, SUV, Hatchback, Convertible — with an arrow pointing at the Pickup icon.
  1. 1 Download an SVG icon

    Find an SVG icon you like and download it. Here we use the pickup truck icon from uxwing.com.
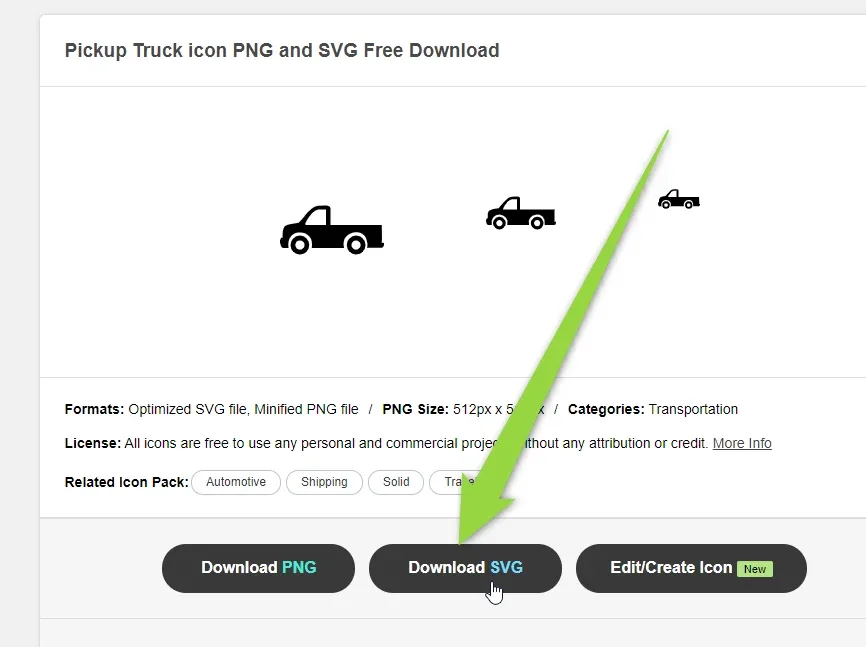
    The uxwing.com page “Pickup Truck icon PNG and SVG Free Download” showing the icon in three sizes, with an arrow pointing to the “Download SVG” button beside Download PNG and Edit/Create Icon.
  2. 2 Edit the homepage with Elementor

    Open the homepage on the front end and click Edit with Elementor in the admin bar.
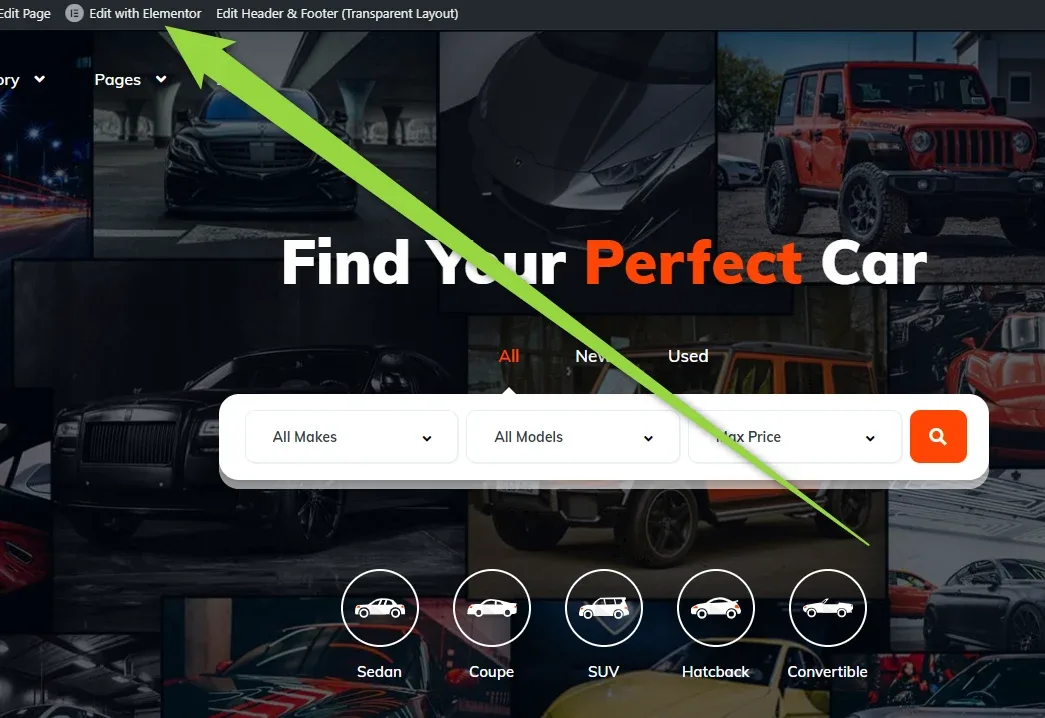
    The Vehica homepage on the front end with the admin bar on top; an arrow runs from “Edit with Elementor” down to the row of category icons — Sedan, Coupe, SUV, Hatchback, Convertible — under the search bar.
  3. 3 Select the icon and upload your SVG

    Click the icon you want to change; in the Icon Box panel, switch the icon source to Upload SVG.
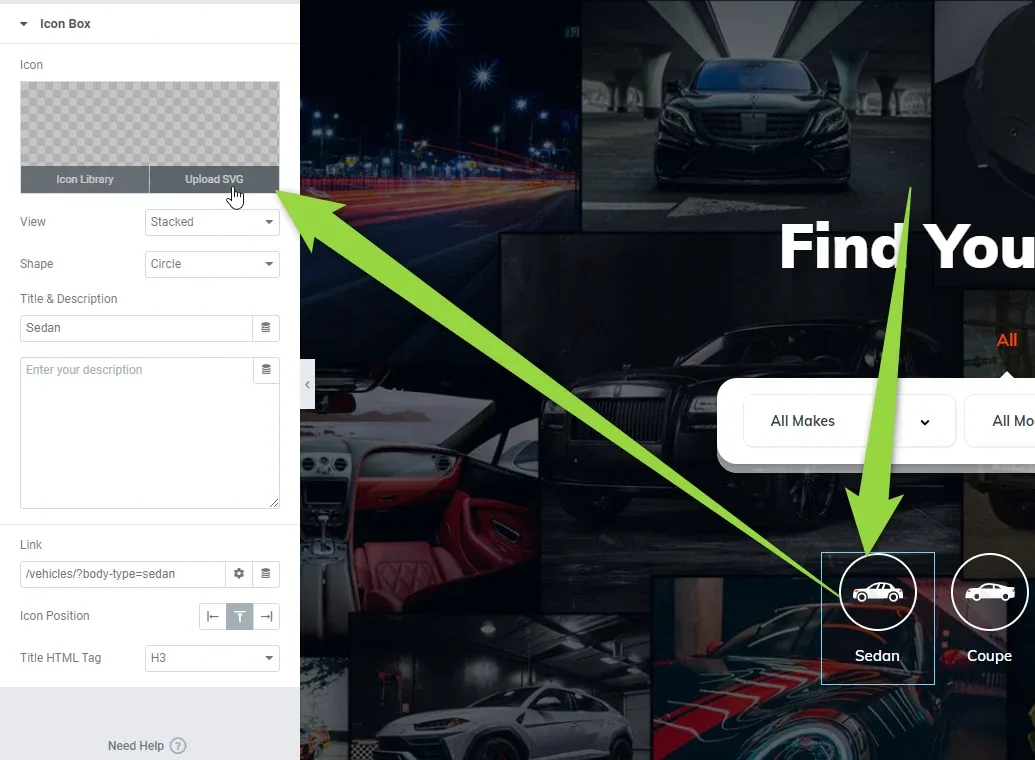
    Elementor Icon Box panel with the icon preview and the Icon Library / Upload SVG tabs, View set to Stacked, Shape Circle, Title & Description “Sedan” and a Link field; arrows run from Upload SVG to the Sedan icon in the hero.
  4. 4 Enable SVG uploads

    The first time you upload an SVG, a popup appears — click Enable. It warns that unfiltered file uploads carry a security risk, so only upload files you trust.
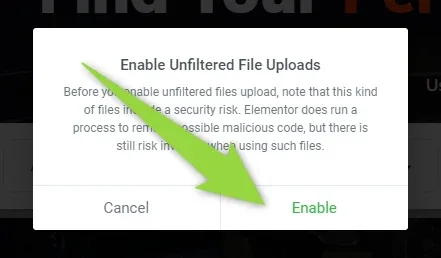
    Elementor’s “Enable Unfiltered File Uploads” dialog explaining that such files involve a security risk, with Cancel and Enable buttons and an arrow pointing to Enable.
  5. 5 Pick the file

    Click Upload files, then Select Files, and choose the SVG you downloaded.
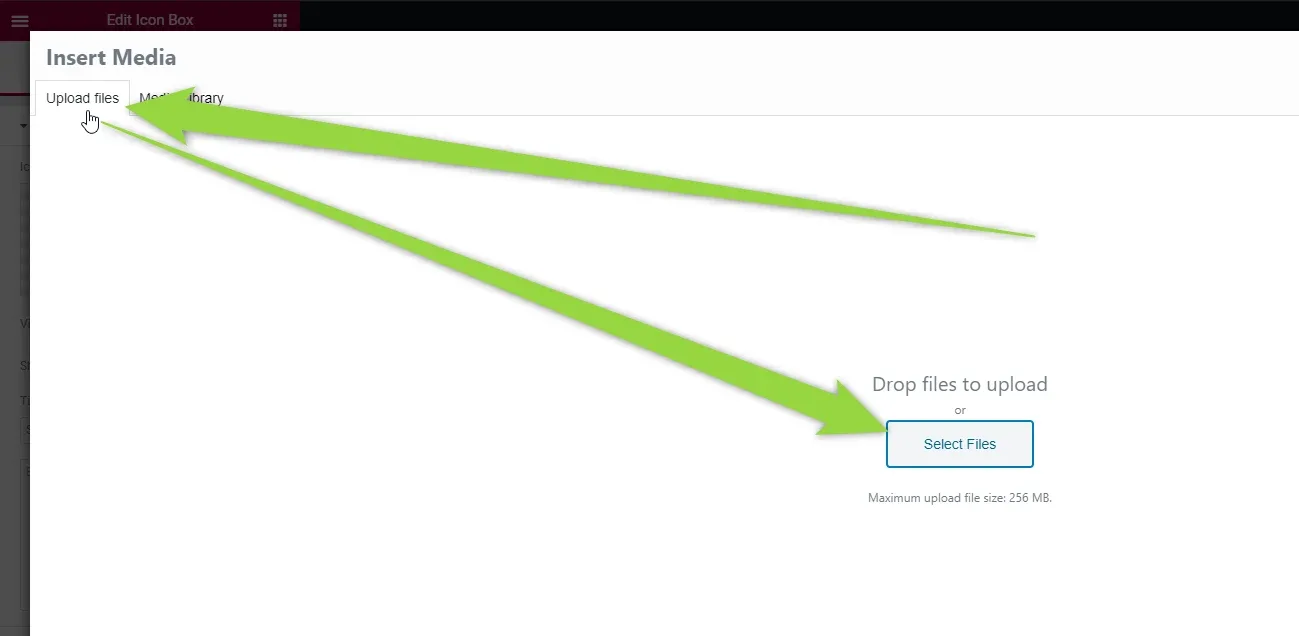
    The WordPress Insert Media screen on the “Upload files” tab, with arrows pointing to the tab and to the “Select Files” button under “Drop files to upload”.
  6. 6 Rename the icon

    Your icon is added to the homepage. You can also change its Title & Description.
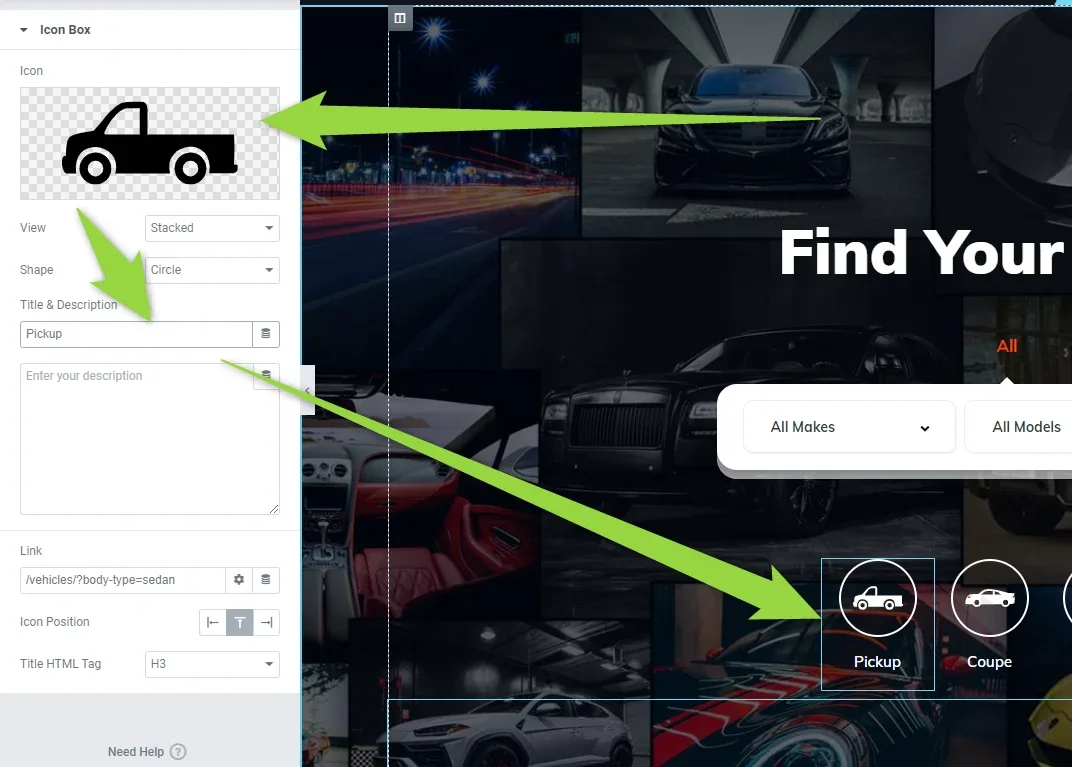
    The Icon Box panel now shows a pickup-truck icon with the title “Pickup”, while the Link field below still reads /vehicles/?body-type=sedan; arrows point to the icon, the title and the new Pickup icon in the hero.

Ask the people who build Vehica

We answer by email from support@tangiblewp.com. With Premium Support, we also fix your site when something breaks.

Was this guide helpful?