How to add CSS code that is future update compatible
Add your own CSS to a Vehica site through the WordPress Customizer, so your styling is kept separately from the theme files and survives theme updates.
1 minute read
Custom CSS written into a theme file is overwritten the next time the theme is updated. The Additional CSS panel of the WordPress Customizer keeps it out of the theme, so it stays where you put it.
-
1
Open the WordPress admin
Go to
/wp-admin/on your site. -
2
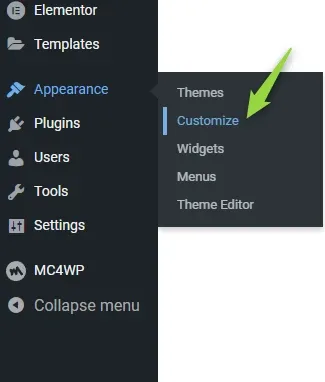
Go to Appearance > Customize
-
3
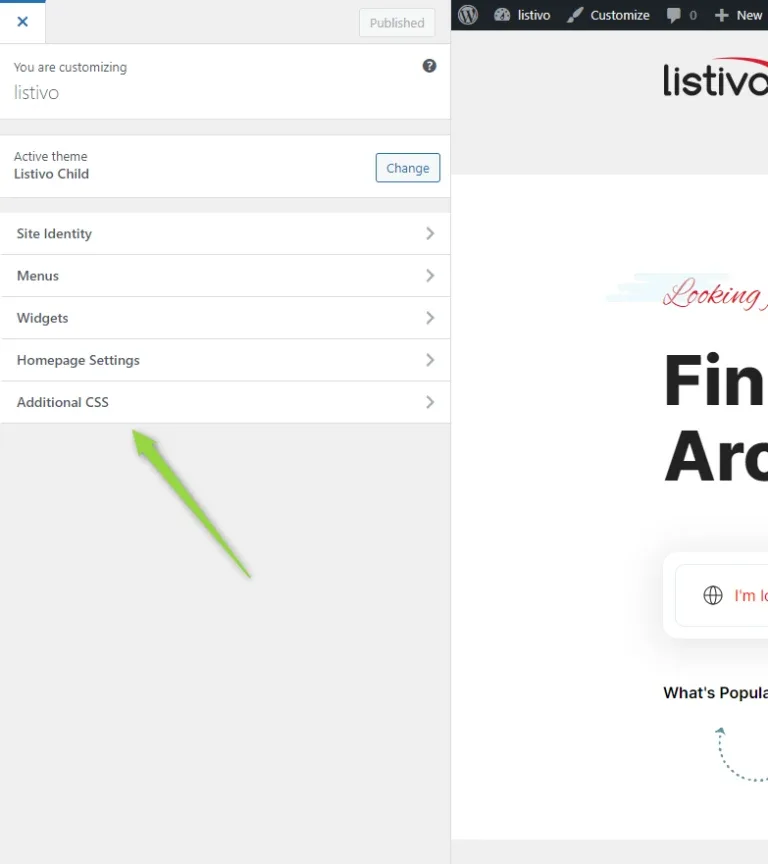
Choose Additional CSS
It is the last entry in the Customizer panel, under Site Identity, Menus, Widgets and Homepage Settings.
-
4
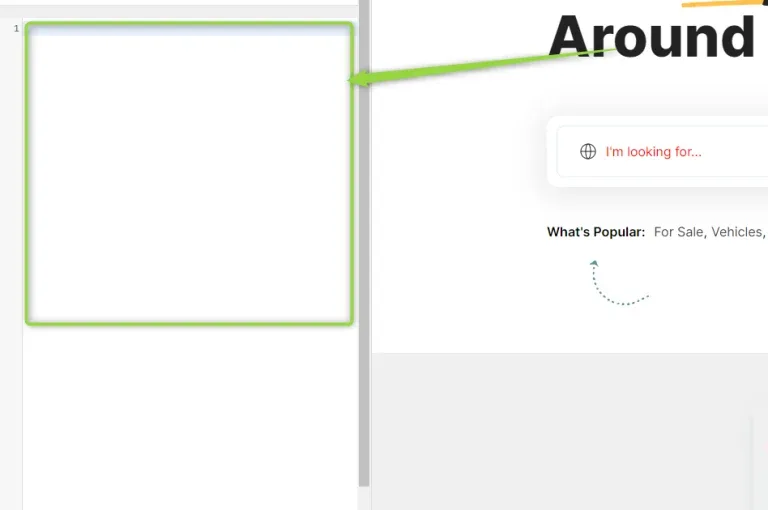
Paste your CSS
Type or paste your rules into the editor and publish the change.
Ask the people who build Vehica
We answer by email from support@tangiblewp.com. With Premium Support, we also fix your site when something breaks.
We can also run your site for you, or build a new one.
Was this guide helpful?