How to create custom size for thumbnails via plugin
Register your own image size in WordPress with a free plugin and use it for Listivo ad cards, then regenerate the images you already uploaded so they match.
1 minute read
You need this plugin on your WordPress: Simple Image Sizes.
-
1
Open the plugin settings
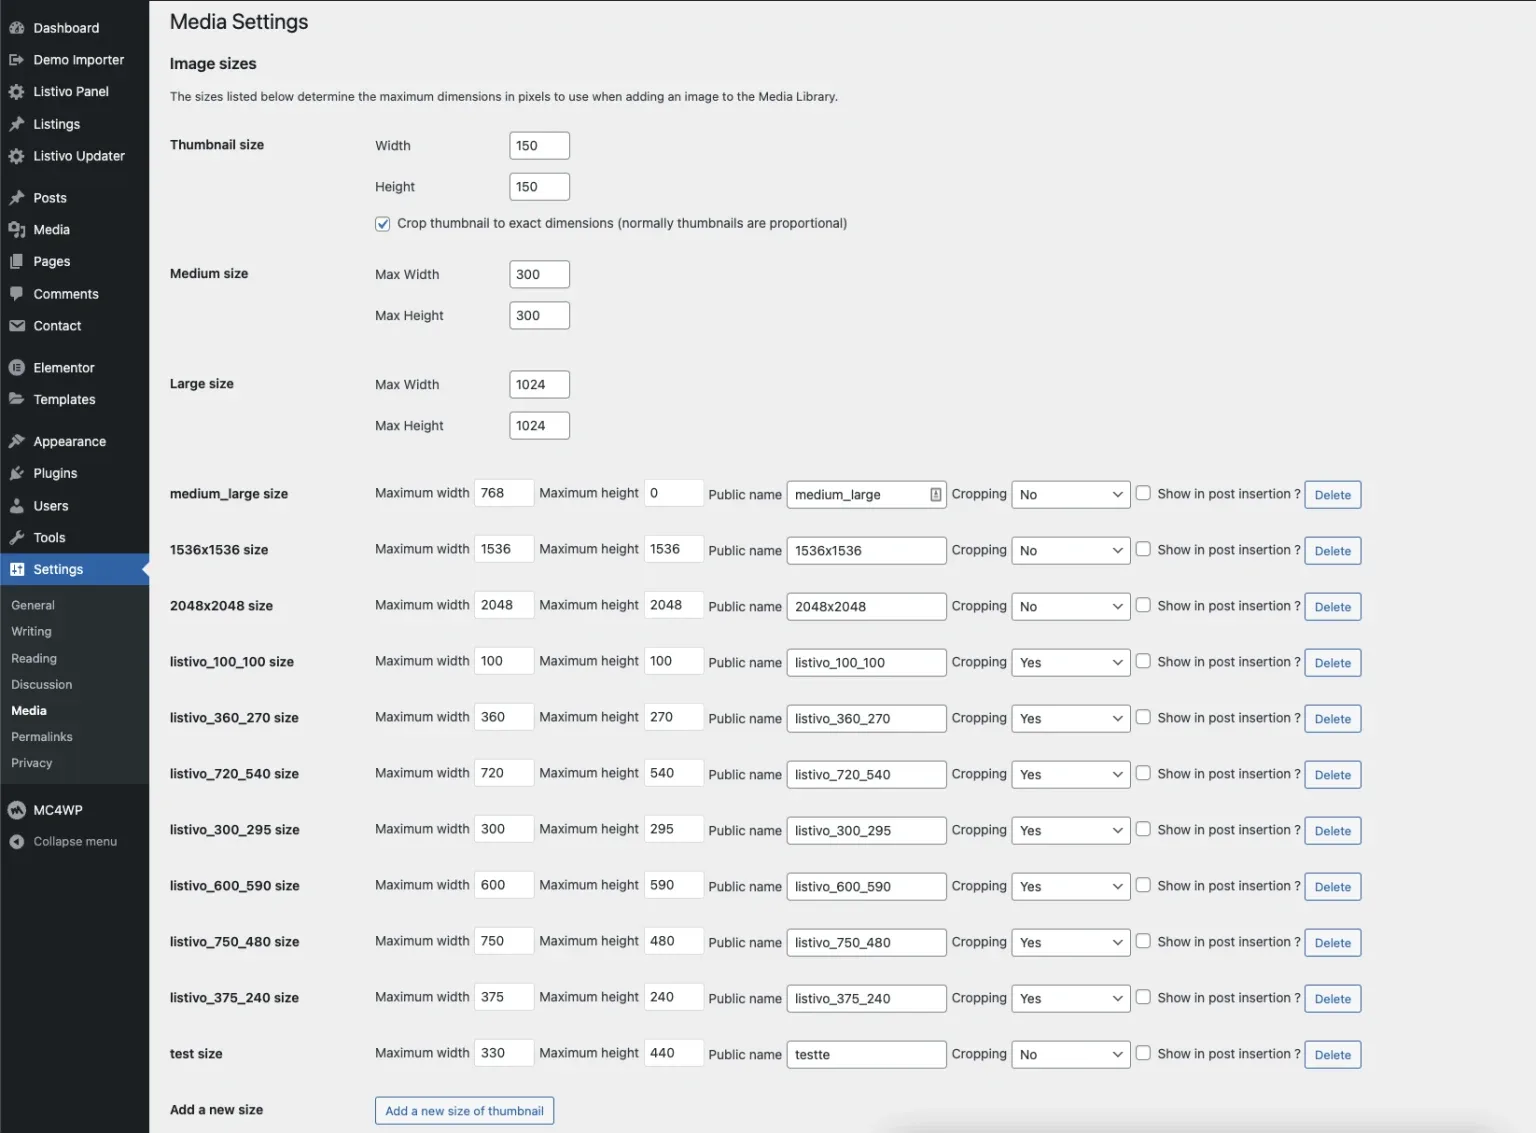
After installation, activate the plugin and go to its settings.
-
2
Add a new size of thumbnail
Use the "Add a new size of thumbnail" button at the bottom of the list.

-
3
Validate and save
Click Validate and then save changes.
-
4
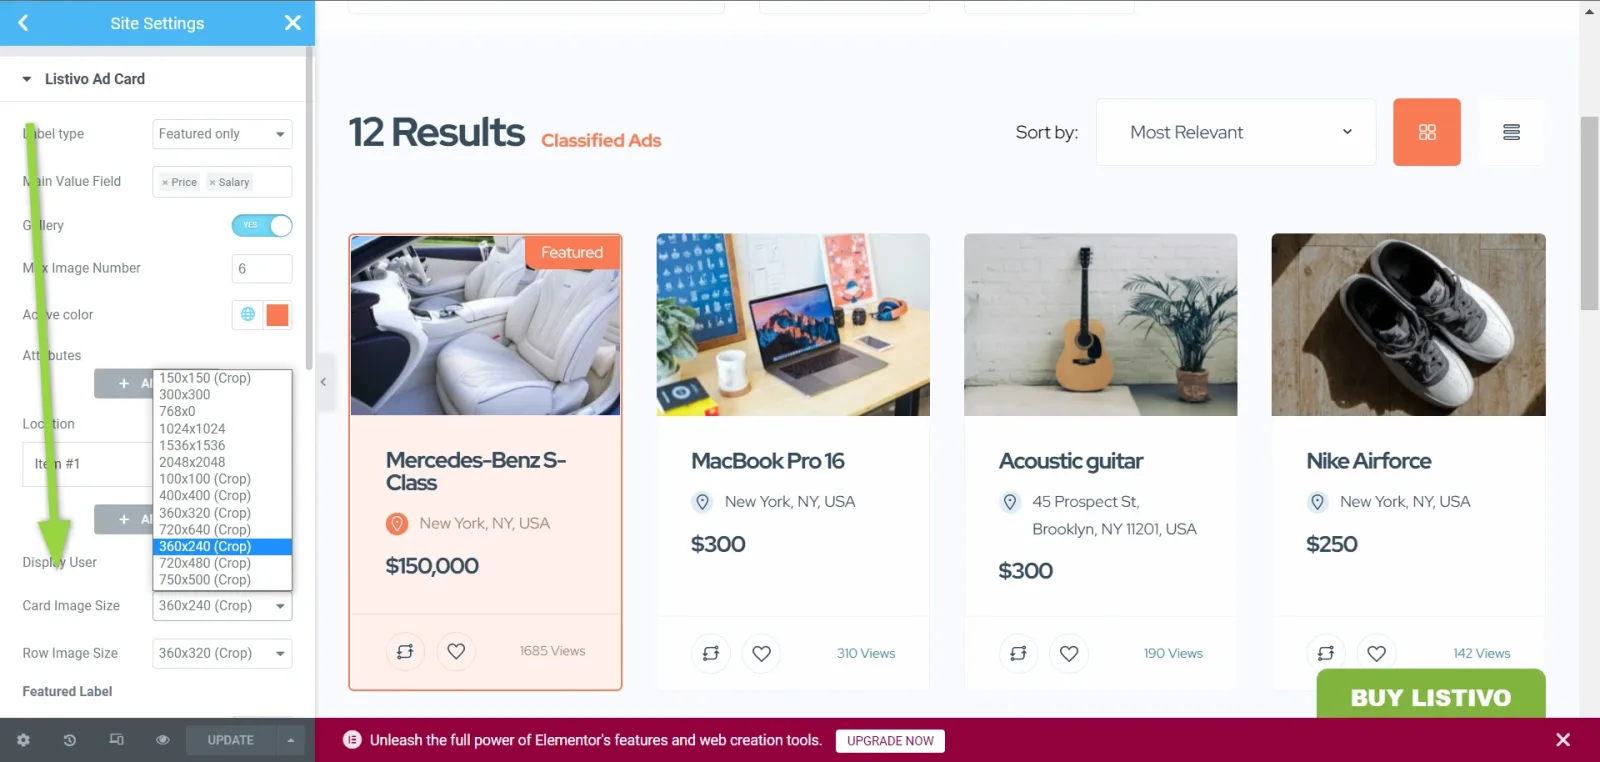
Point the ad card at the new size
Go to Listivo Panel > Design > Listivo Ad Card and set it here.
-
5
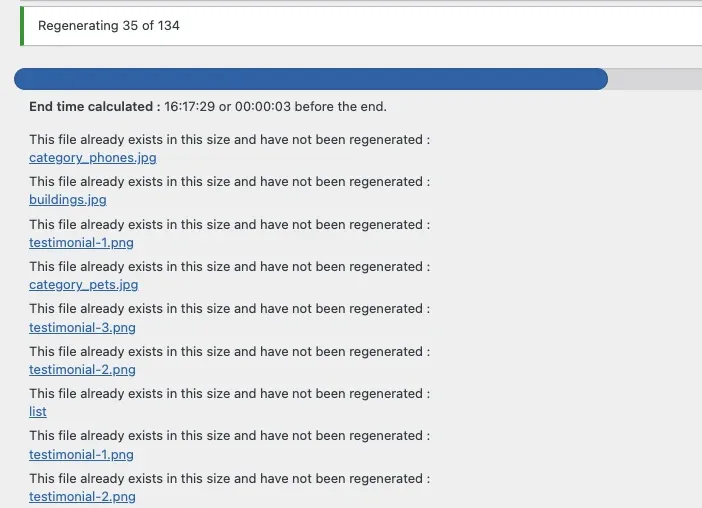
Regenerate the existing images
Save changes, go back to the plugin settings, scroll to the bottom and hit the button.

When the plugin has finished working, every image on your page is available in the new size.
Ask the people who build Listivo
We answer by email from support@tangiblewp.com. With Premium Support, we also fix your site when something breaks.
We can also run your site for you, or build a new one.
Was this guide helpful?