How to Optimize Search Results Page for SEO: H1 Tags, Descriptions, and Meta Details
Replace the generic heading on your Listivo search page with your own H1 and description, let category terms override it, and set the SEO title and meta description that search engines show — per category if you want.
3 minute read
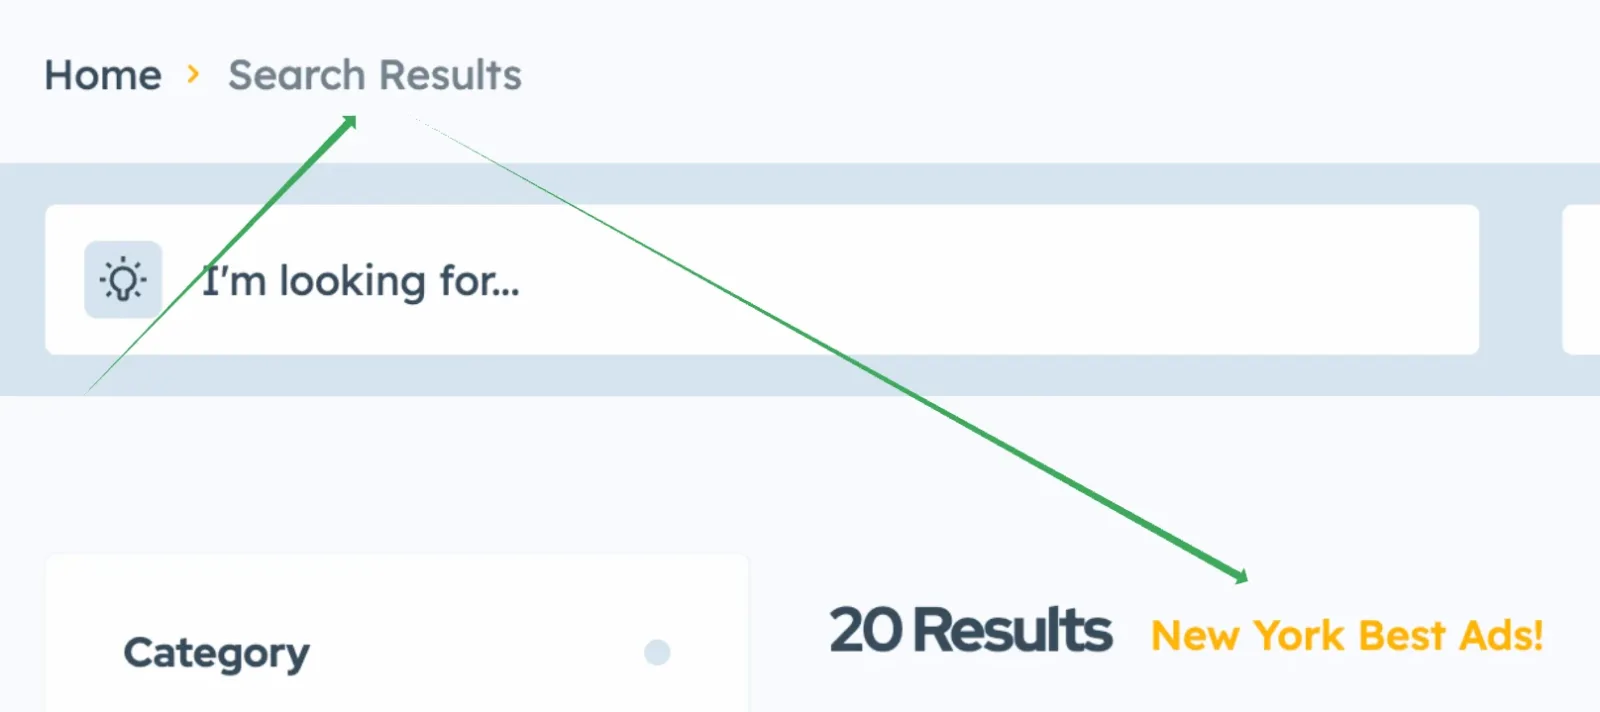
Customizing the H1 text on your search page and adding an additional description below it can significantly improve the user experience by making it more tailored to your website content, and it also provides extra benefits for SEO.
The H1 tag is the text that appears next to the number of results.
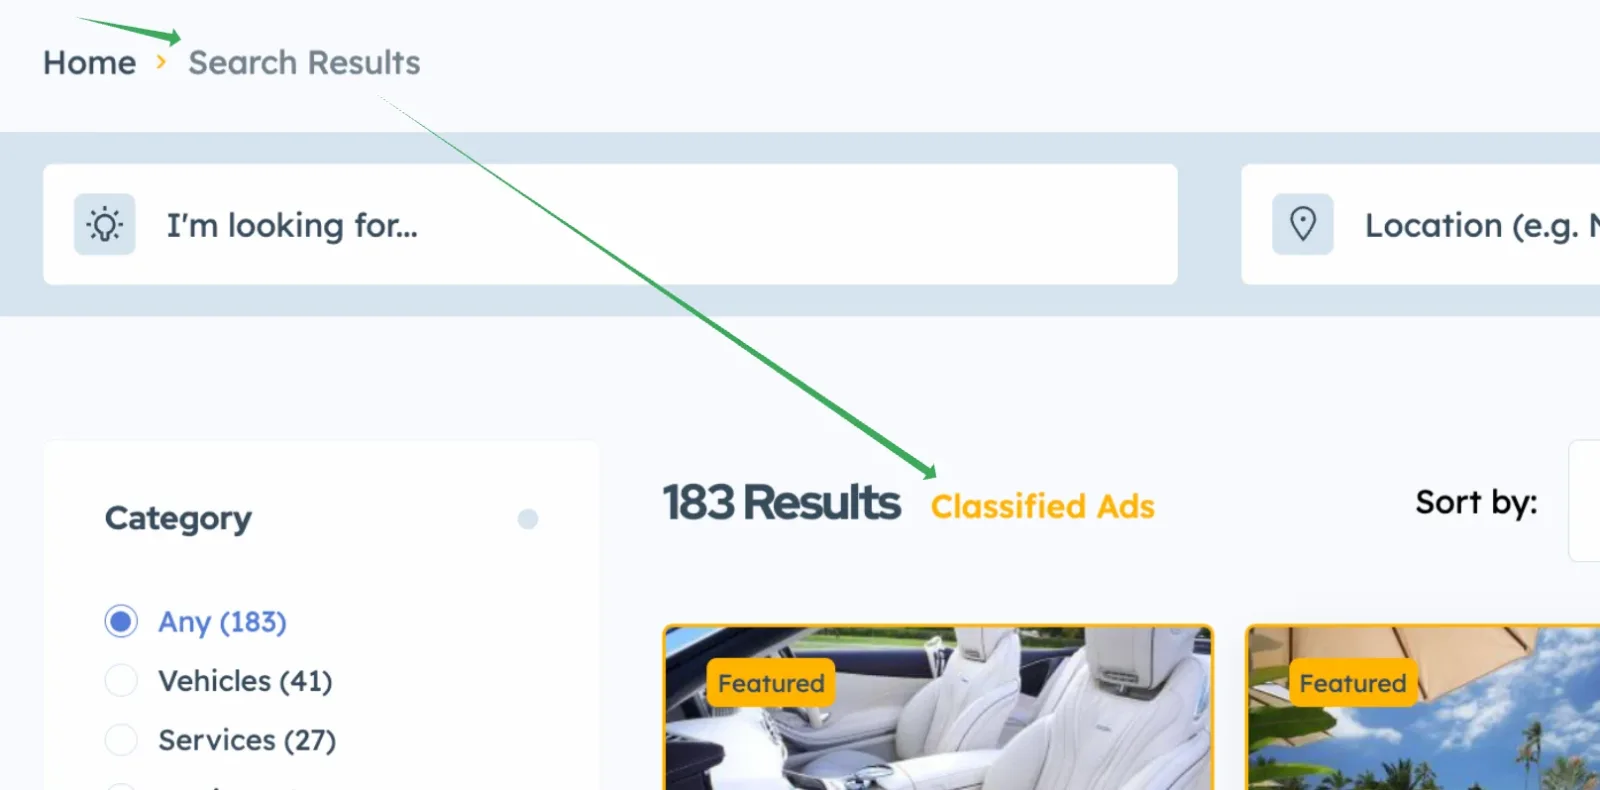
Setting the default H1 and description
-
1
Open the SEO settings
Visit Listivo Panel > SEO, where you will find the option under Search Results Title (H1 tag) - Default.

-
2
Enter your own text
Replace the default text with your own and save the changes.

-
3
Check the search page
The main text on your search page now shows your custom text.
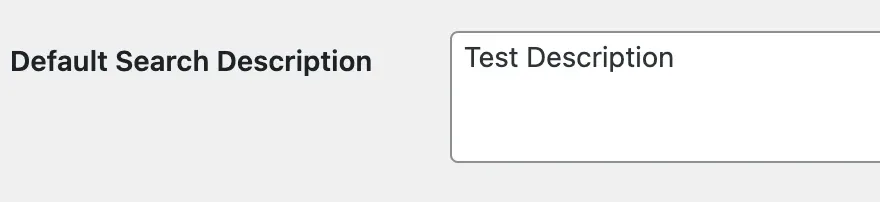
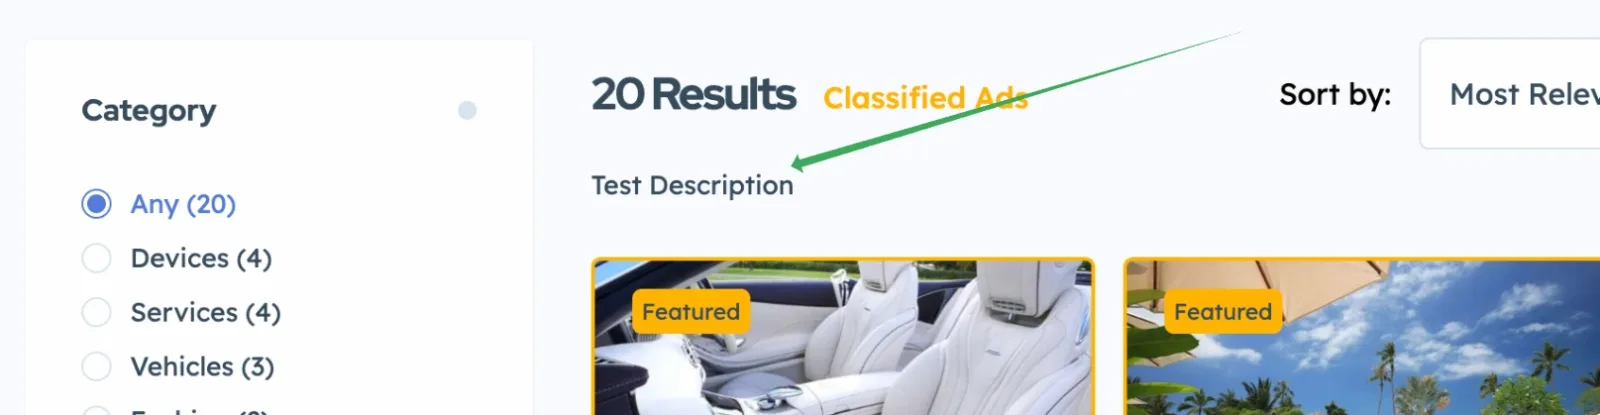
You can also add text below it by typing in the Default Search Description field. For example:
will result in:
Overwriting the H1 tag by fields
Your default H1 text can be overwritten by taxonomy field terms.

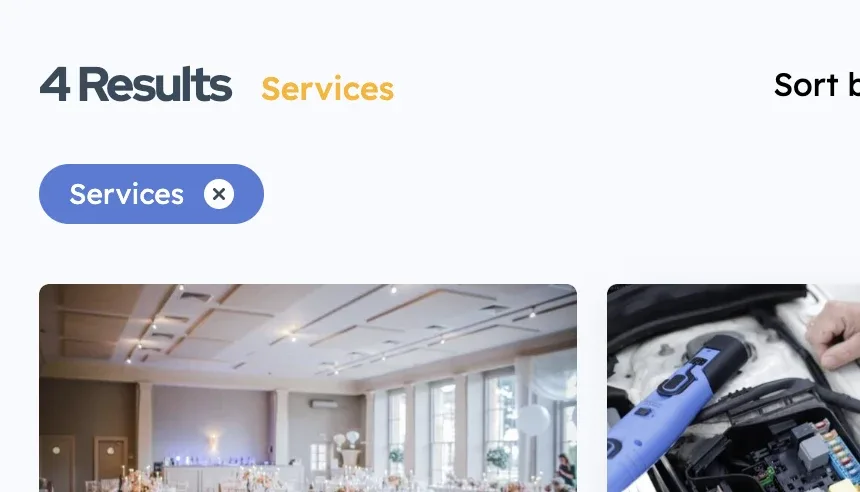
For example, if your users choose a main category and you have a term "Services", it will change the default H1 to "Services".
It usually makes the most sense to have just one field selected in Fields, such as Category. If you select more than one, like "Category" and "Service Type":

it will combine both in the H1:
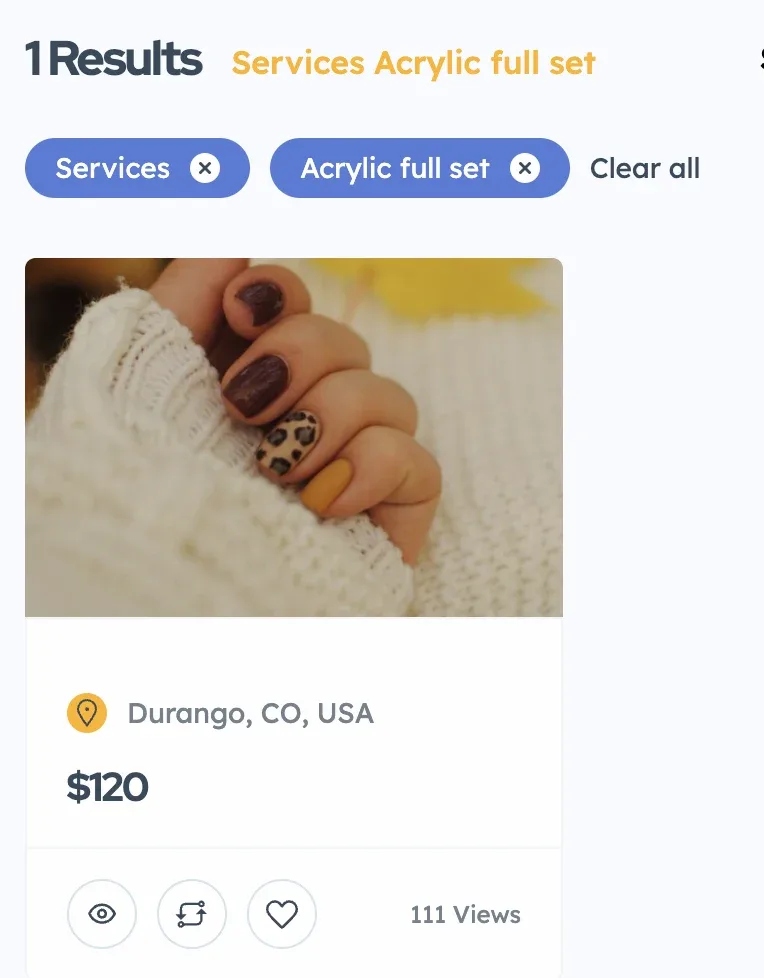
In the case shown in the screenshot, it would be more useful to display just the service type without the category name. To achieve this, you can use Priority Fields. Do not add "Service Type" to Fields, but to Priority Fields, as shown in the screenshot below:
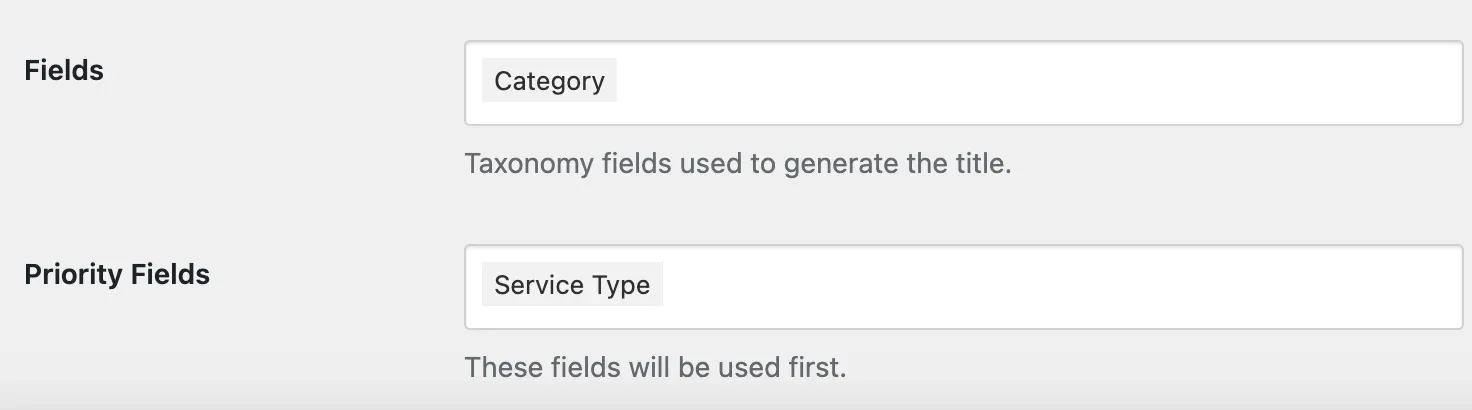
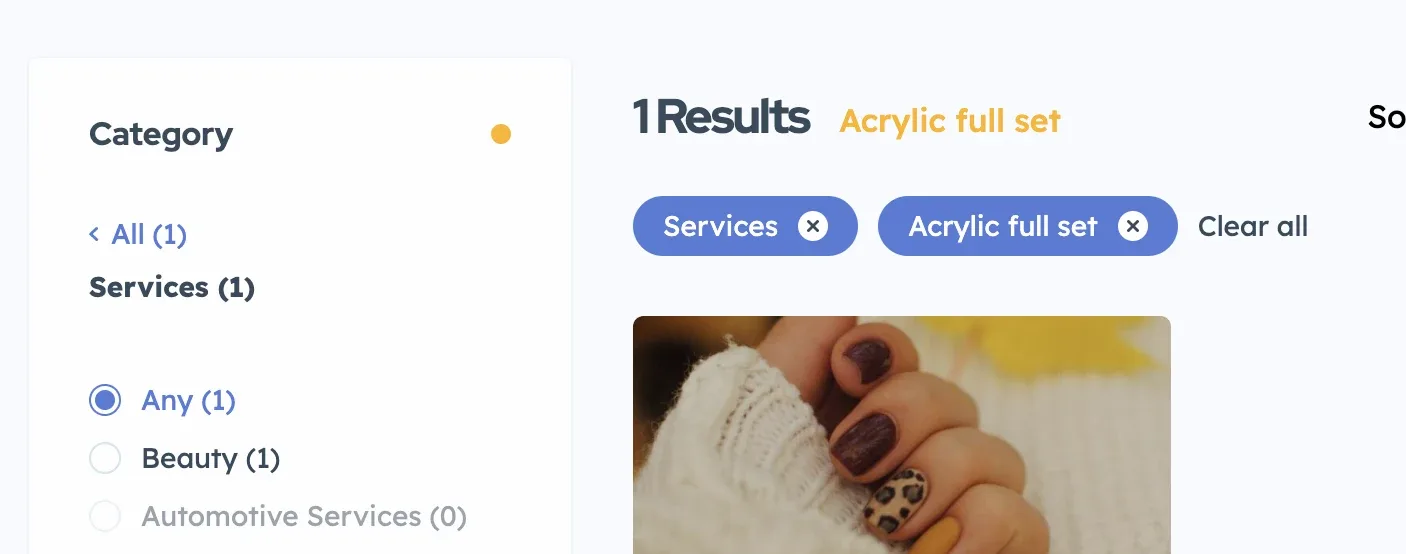
The Priority field will overwrite the category field, resulting in only the service type being used.
Overwriting the description below H1 for a specific category
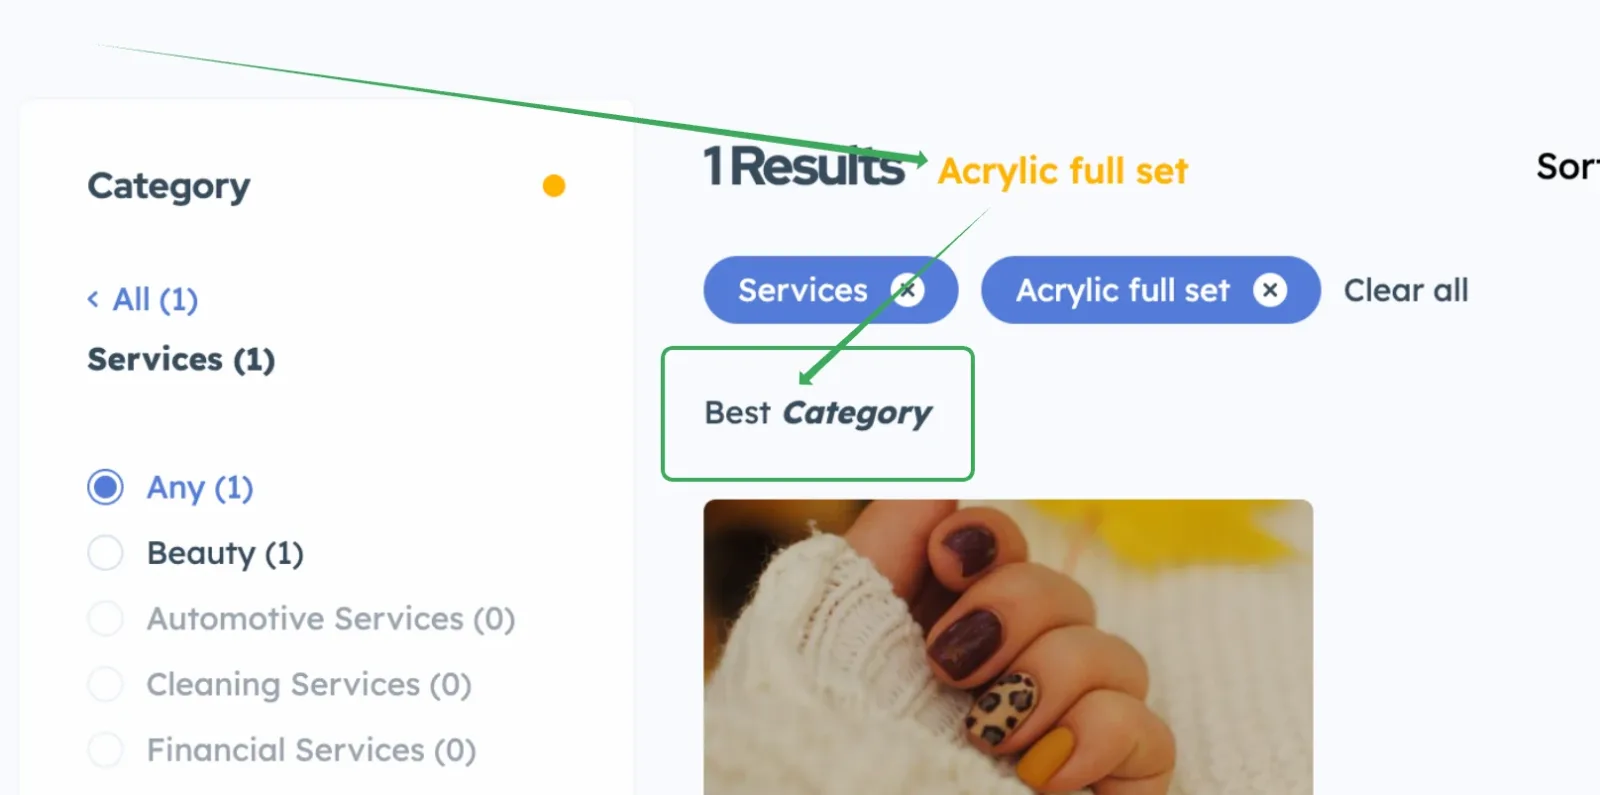
If you also wish to show a description for each category, simply visit the term setting in the backend and type your text there.
<strong> will be rendered rather than shown as text.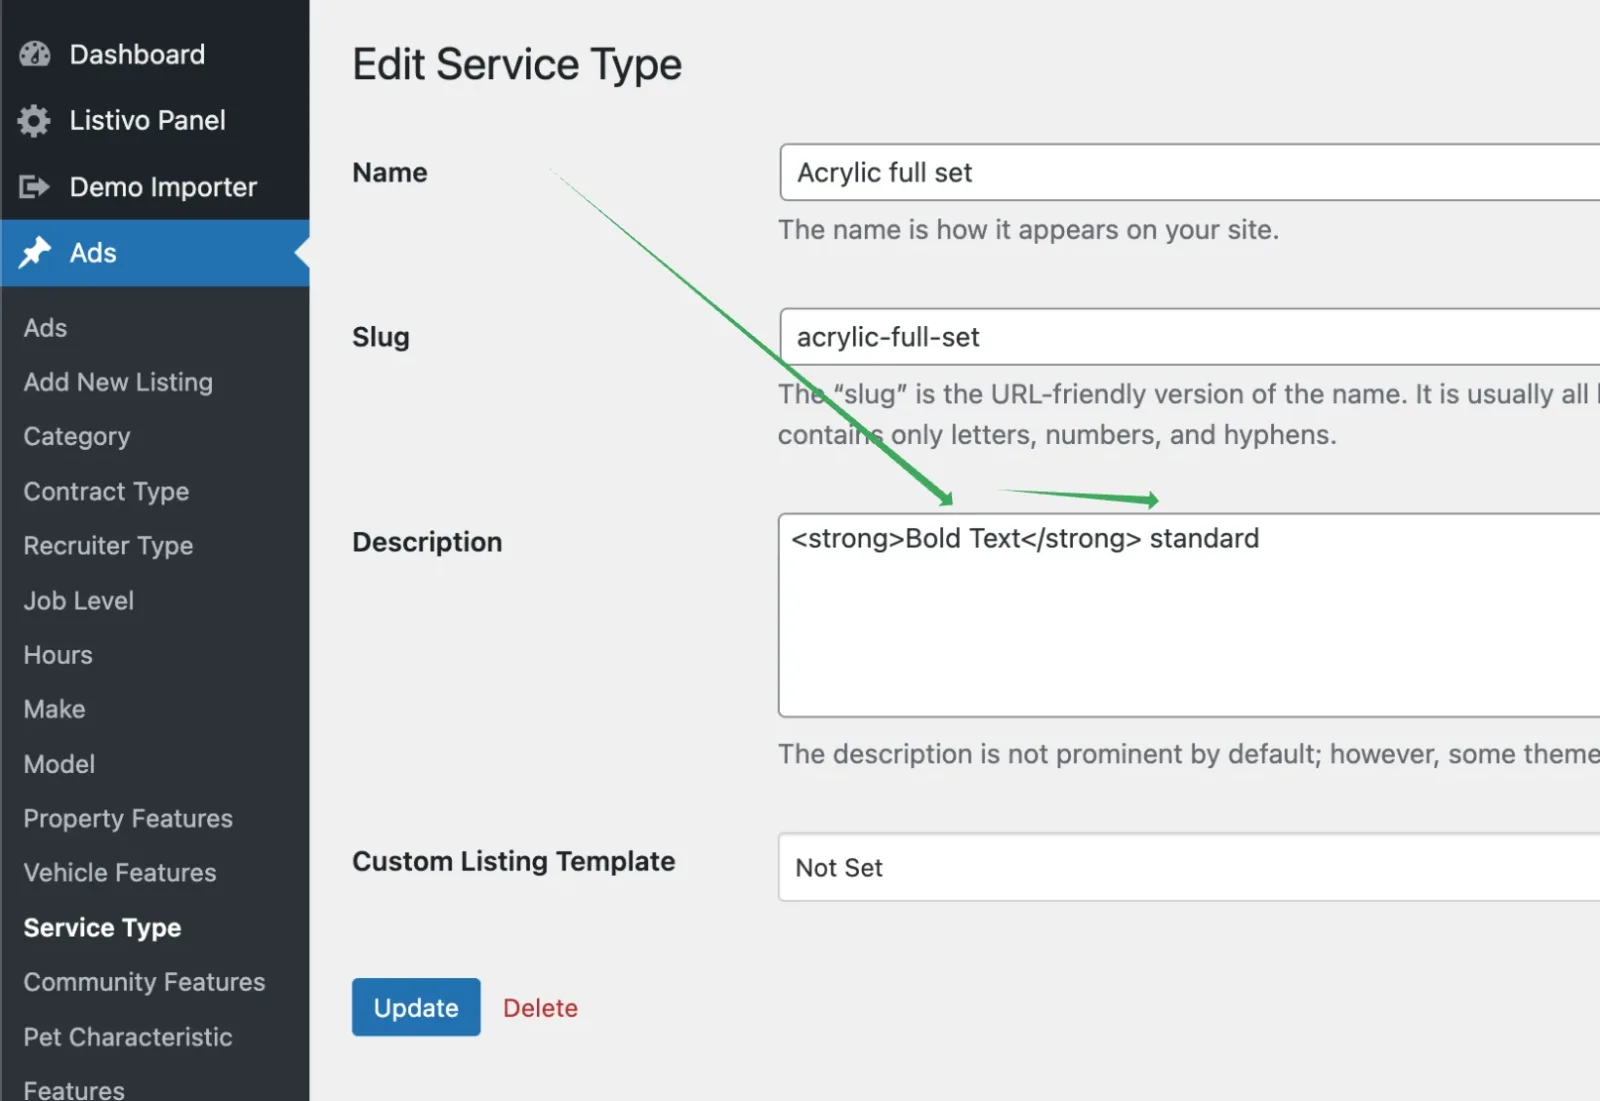
However, as we recommend in our main SEO article, it is best to use the Yoast plugin. By activating it, you will have easier options with a rich text editor styling bar, as shown in the screenshot below:
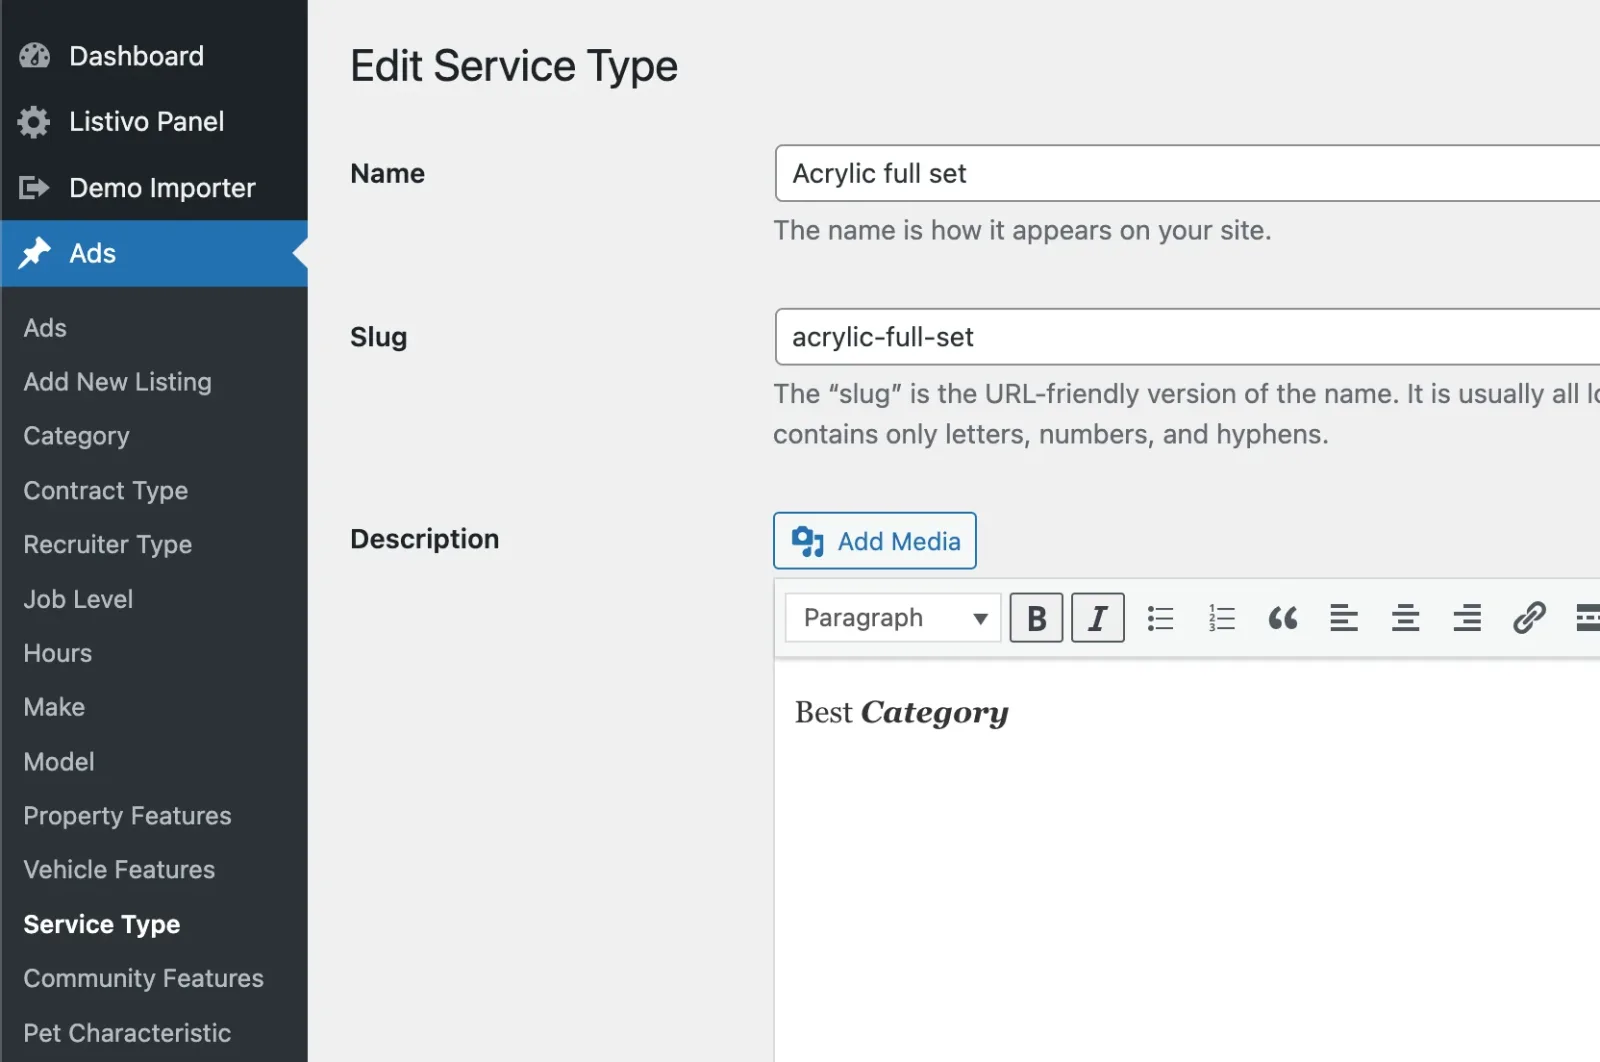
After saving, the description will display like this for the specific category.
Custom SEO titles and meta descriptions
For the general search page meta title and description, navigate to Yoast SEO > Settings > Ads.
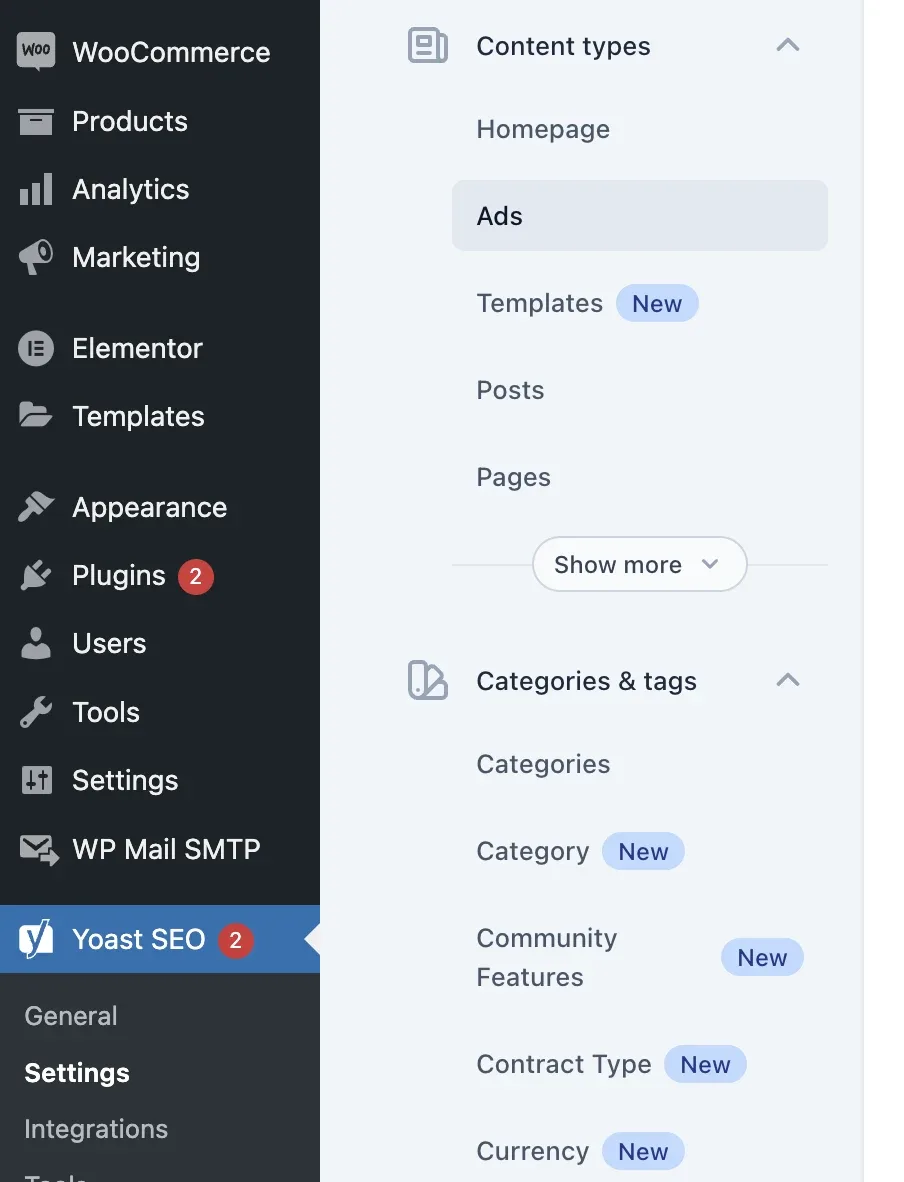
Make sure to scroll down to the "Ads archive" section, which looks like the default shown below.
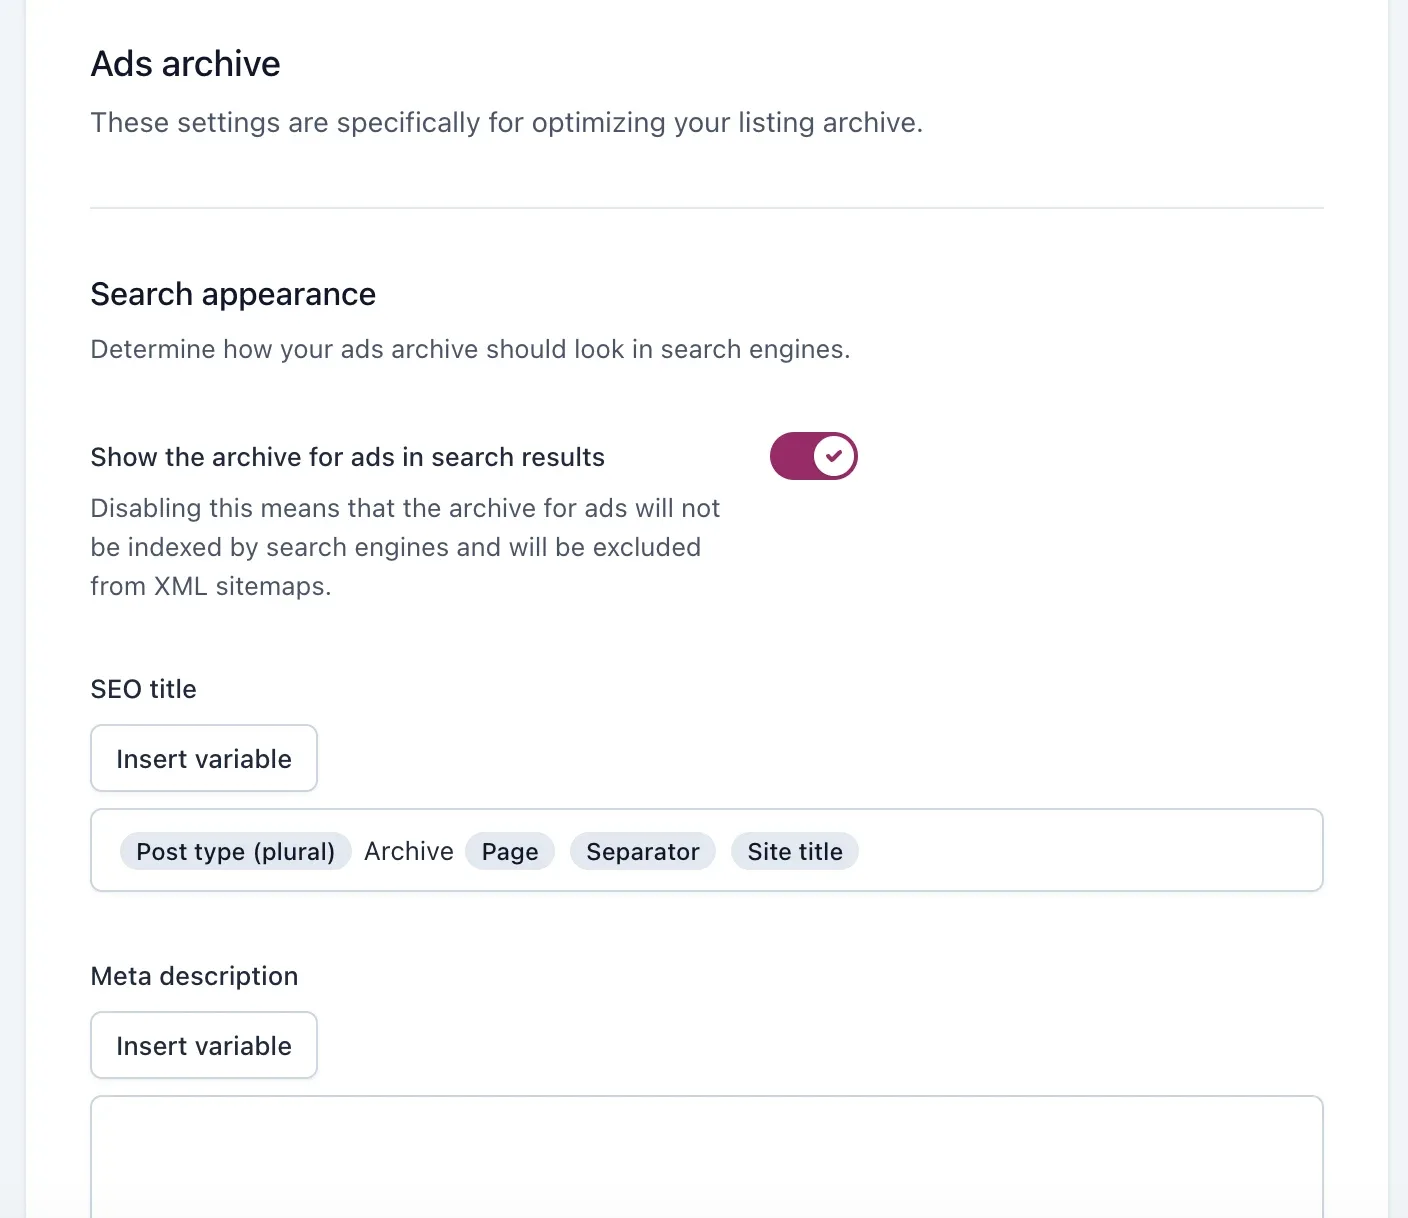
If you change the SEO title and meta description in that place, they will be used on your search results page.
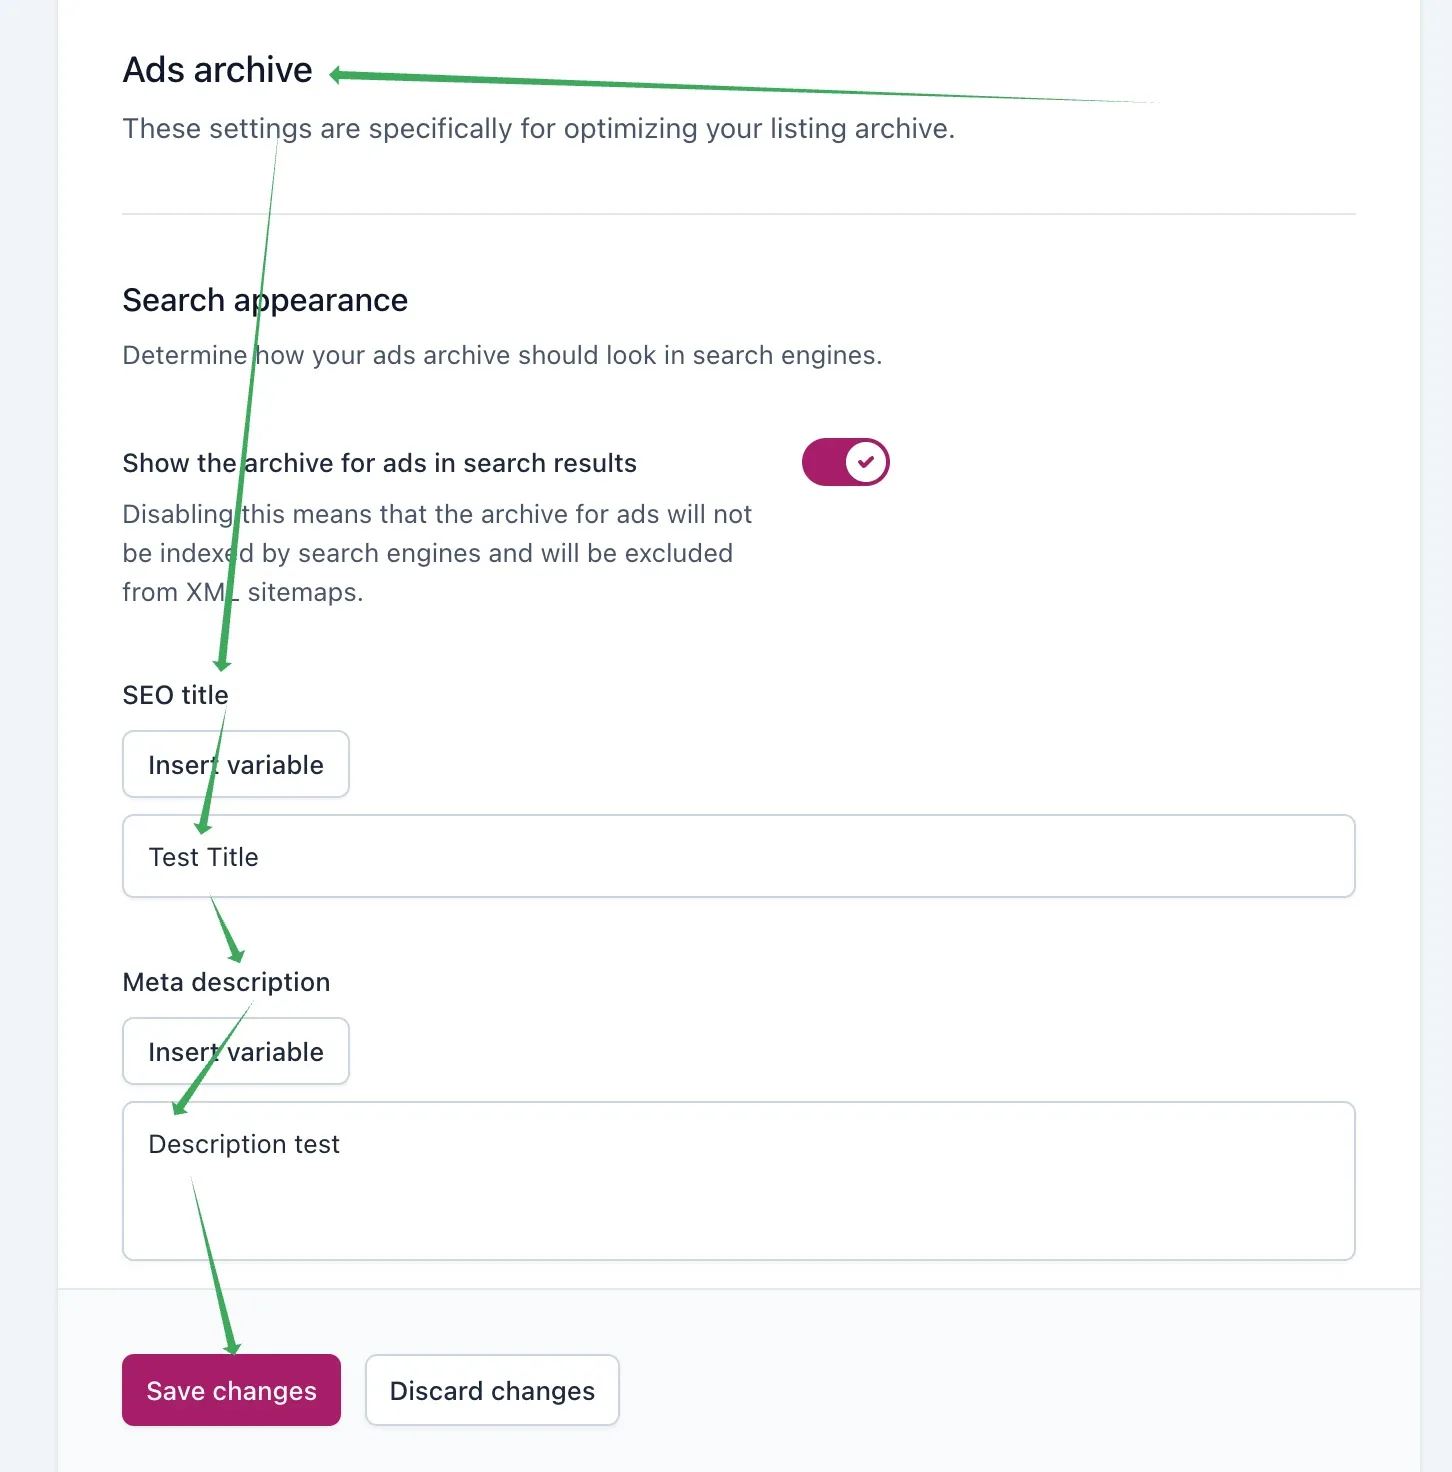
It will look like this on your ads page.

Overwrite SEO title and meta description based on your custom fields
For each Field and Priority Field, Listivo has options to set a custom SEO title and SEO description. We will show this using the example of the category Vehicles:
-
1
Edit the term
In the terms list, click Edit under Vehicles.

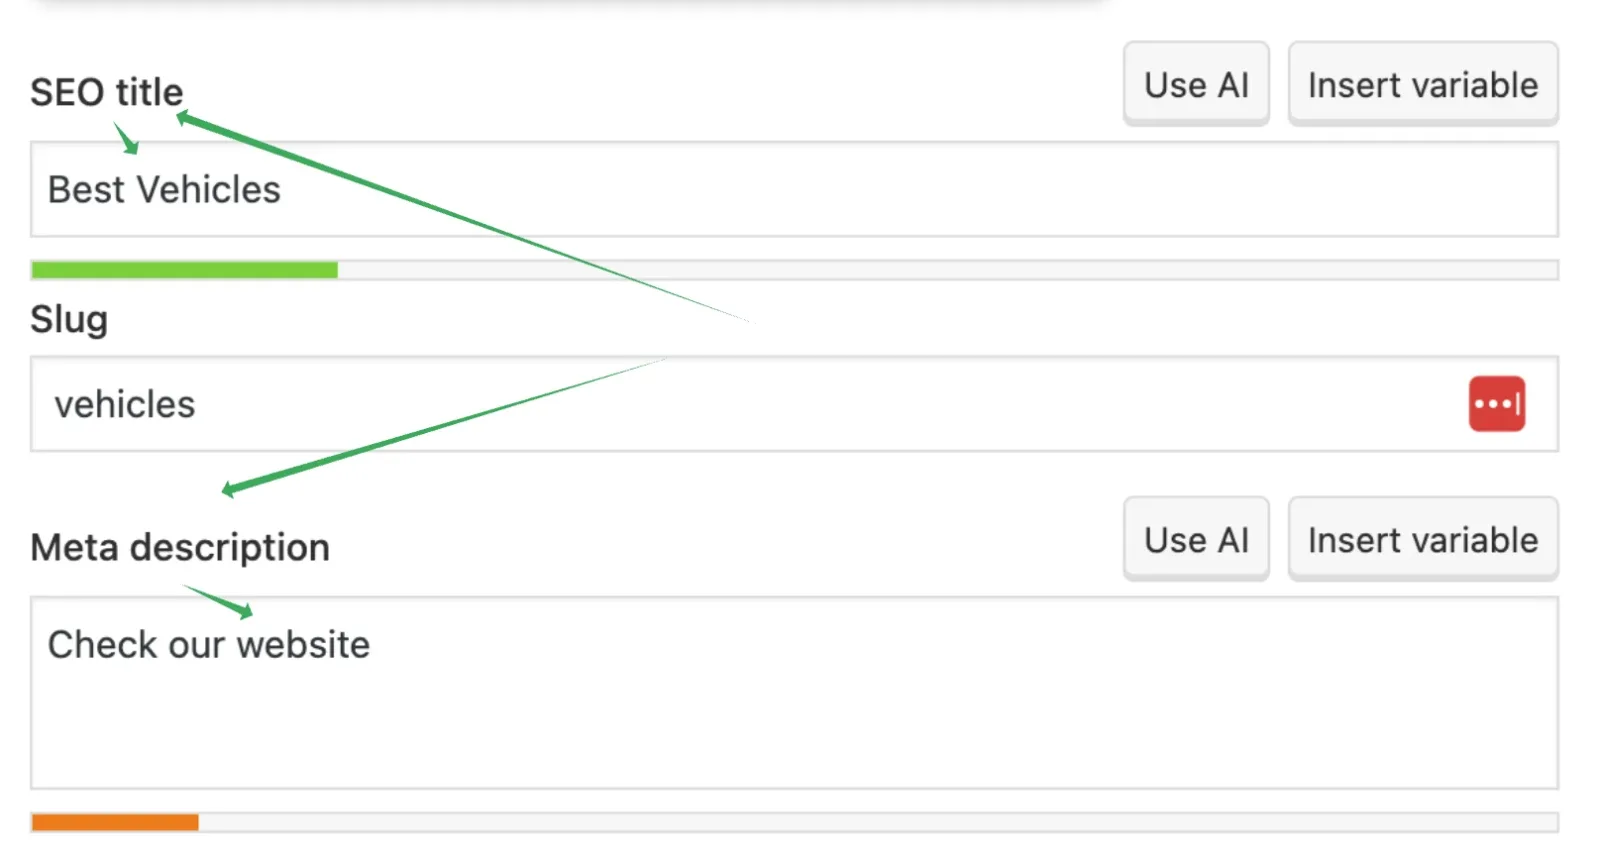
- 2 Scroll down to the Yoast panel
-
3
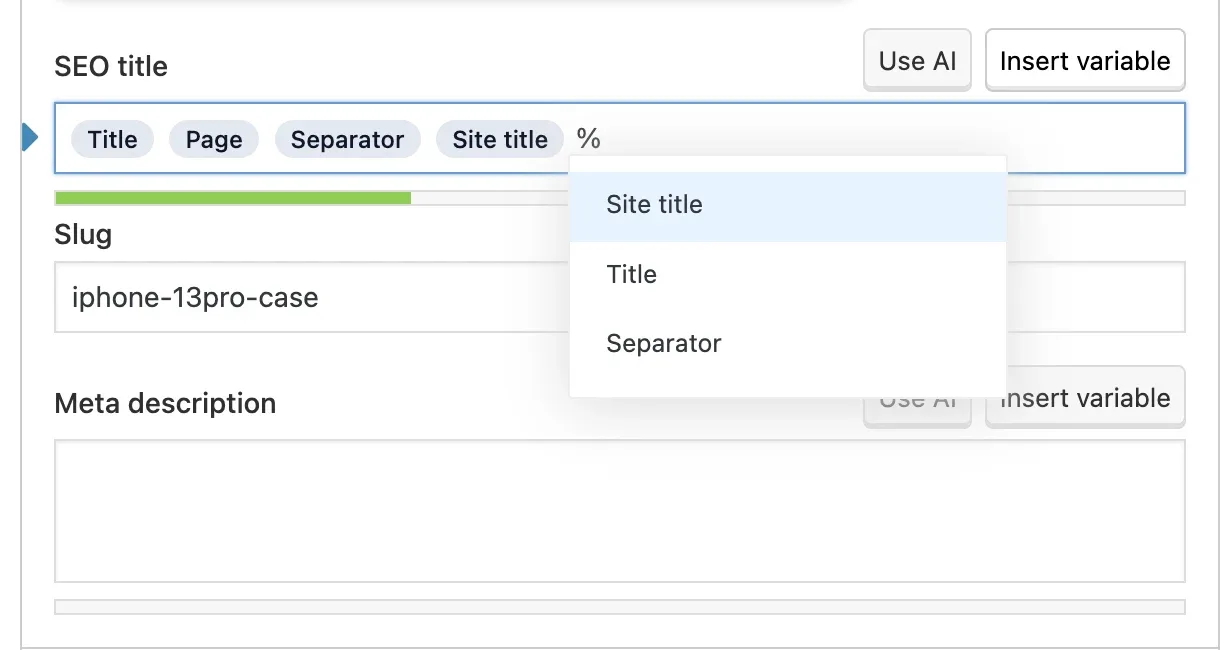
Set your SEO title and meta description
-
4
Click Update
The Update button sits at the bottom of the term edit screen.
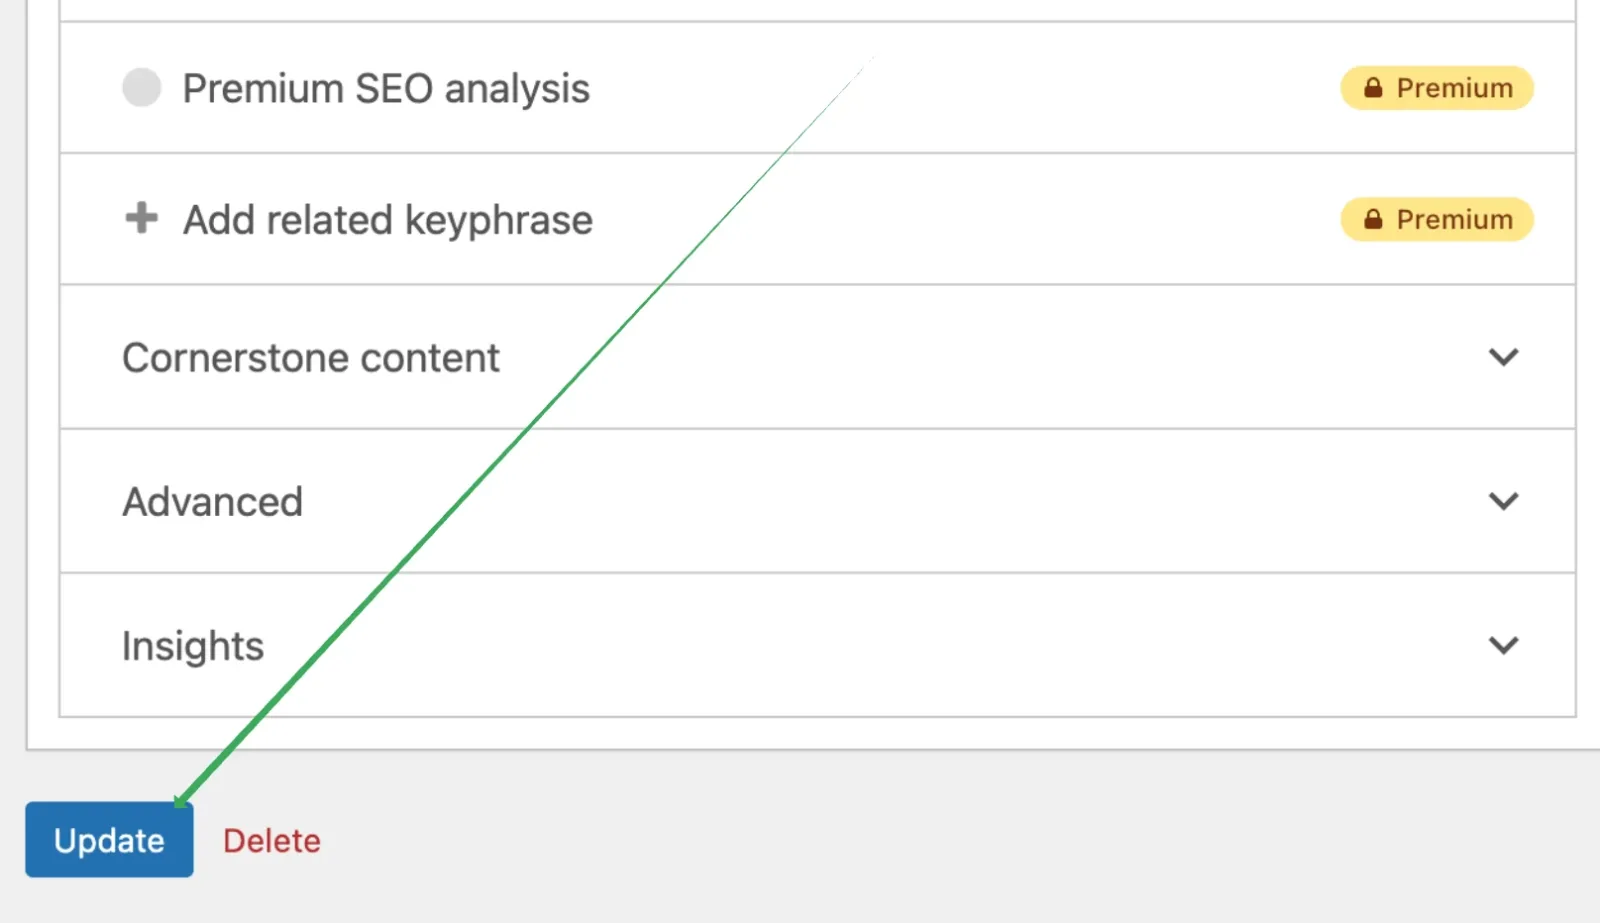
From now on, your SEO title and meta description will display for search engines such as Google for this specific category.

Limitations for Yoast integration
- This custom change to titles and meta descriptions works only for the fields selected in Fields and Priority Fields in your Listivo > SEO panel. It will not work for other fields, as your visitors may select different criteria on your search page in different orders, and implementing all types of different fields would result in unstable behavior.
- Ads' custom field values cannot currently be used in the Yoast SEO title and SEO description. The theme offers only the options that the plugin allows, and we do not have any custom variables that would enable this.
Ask the people who build Listivo
We answer by email from support@tangiblewp.com. With Premium Support, we also fix your site when something breaks.
We can also run your site for you, or build a new one.
Was this guide helpful?