Adding CSS code for future update compatibility
Add your own CSS through the WordPress Customizer, where it is stored outside the theme files and stays in place through every Listivo update.
1 minute read
-
1
Open your WordPress dashboard
Visit
/wp-admin/on your site. -
2
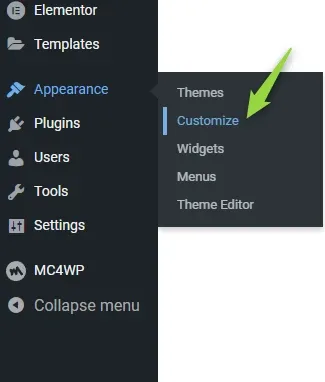
Go to Appearance > Customize
-
3
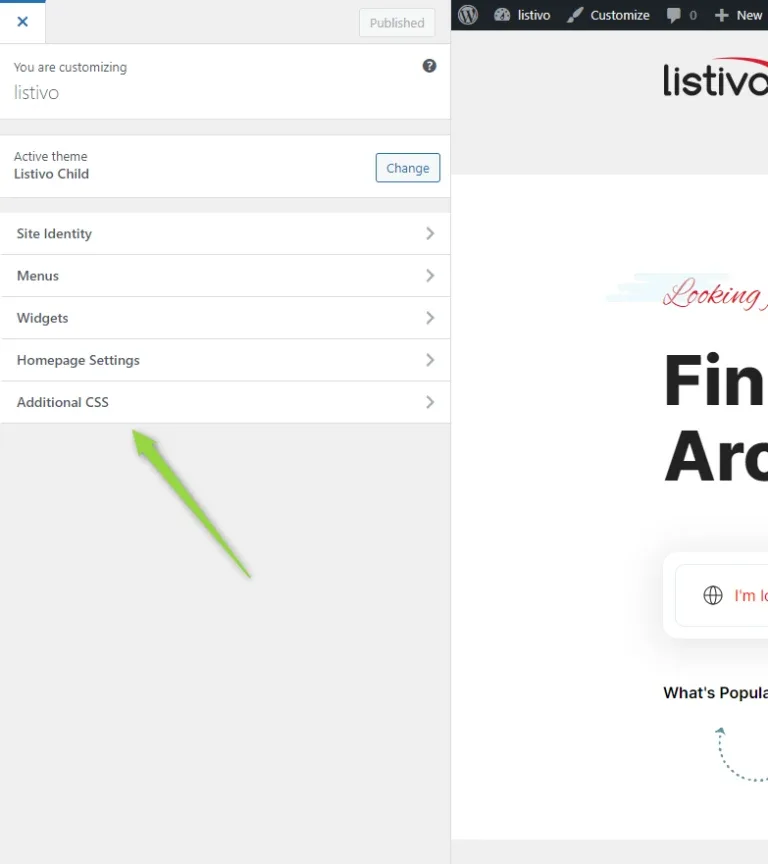
Choose Additional CSS
-
4
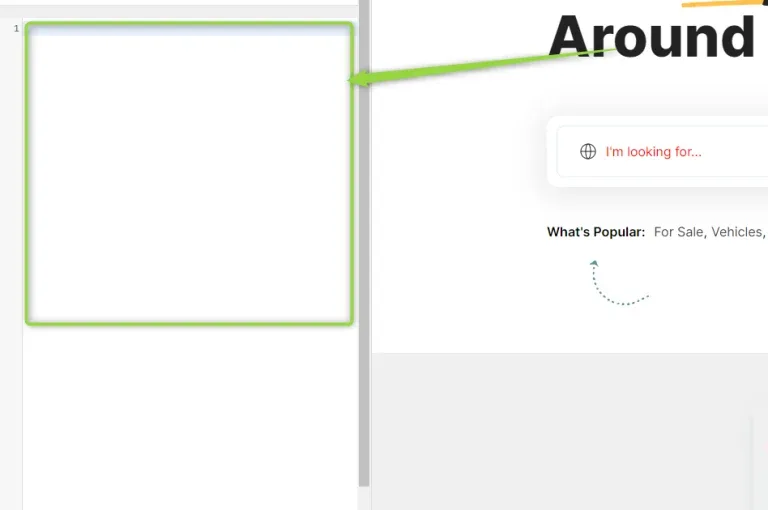
Insert your CSS code
-
5
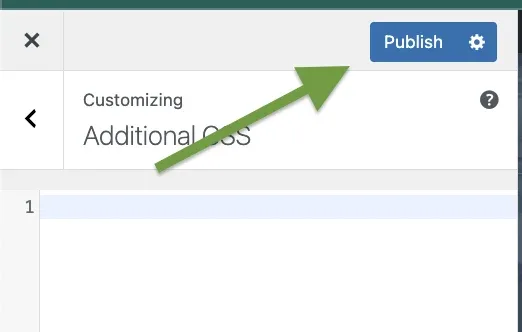
Click Publish
This makes the changes visible on your website.
Ask the people who build Listivo
We answer by email from support@tangiblewp.com. With Premium Support, we also fix your site when something breaks.
We can also run your site for you, or build a new one.
Was this guide helpful?